Sakari Salesforce Integration Guide: Get API Key & Connect Using MultiSync Made Easy

By Team MultiSync Made Easy
Published on April 8, 2026   |   Updated on May 4, 2026   |  
2 Mins Read
Sakari Salesforce Integration Guide: Get API Key & Connect Using MultiSync Made Easy

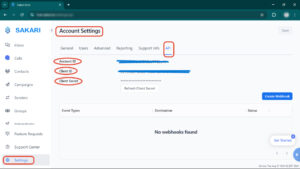
If you’re looking to integrate Sakari with Salesforce, the first step is setting up your Sakari API credentials correctly. In this guide, we’ll walk you through how to generate your Sakari API key and connect it with MultiSync Made Easy, enabling seamless data synchronization and improved workflow automation.

Step-by-Step Guide to Sakari API Key Setup

Step 1:

First, sign in to your Sakari account, and if you don’t have one, create a new Sakari account

create a new Sakari account

Step 2:

After logging in, you will see your account dashboard like this.

account dashboard

Step 3:

Navigate to Settings > Account Settings > API and create an Account ID, Client ID, and Client Secret.

sakari Account Settings

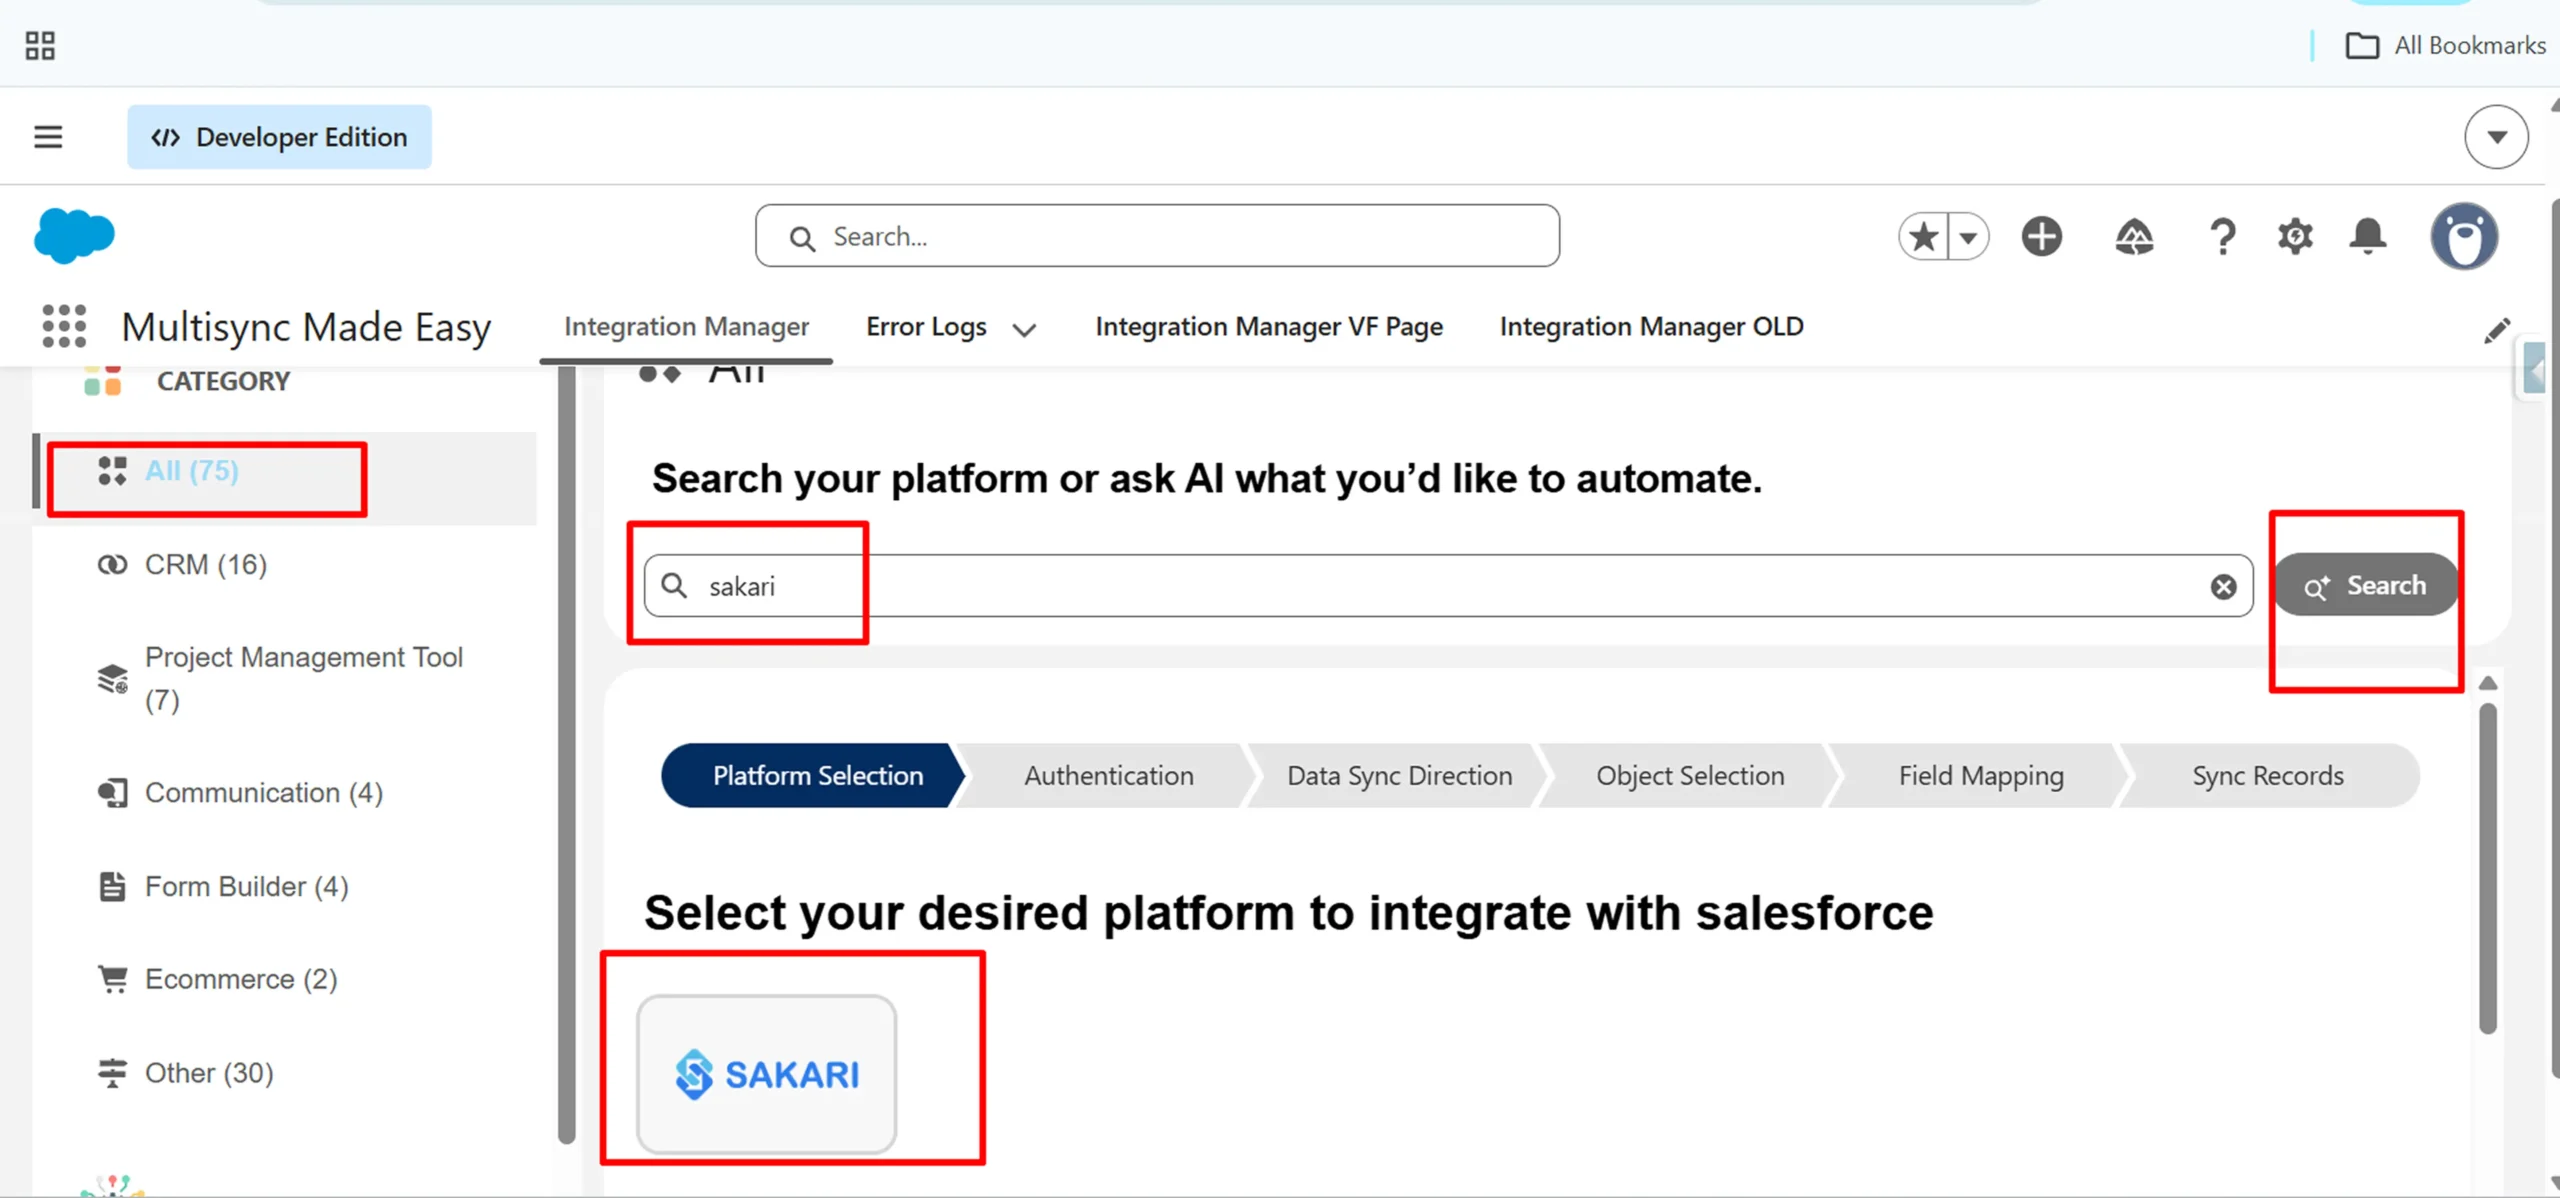
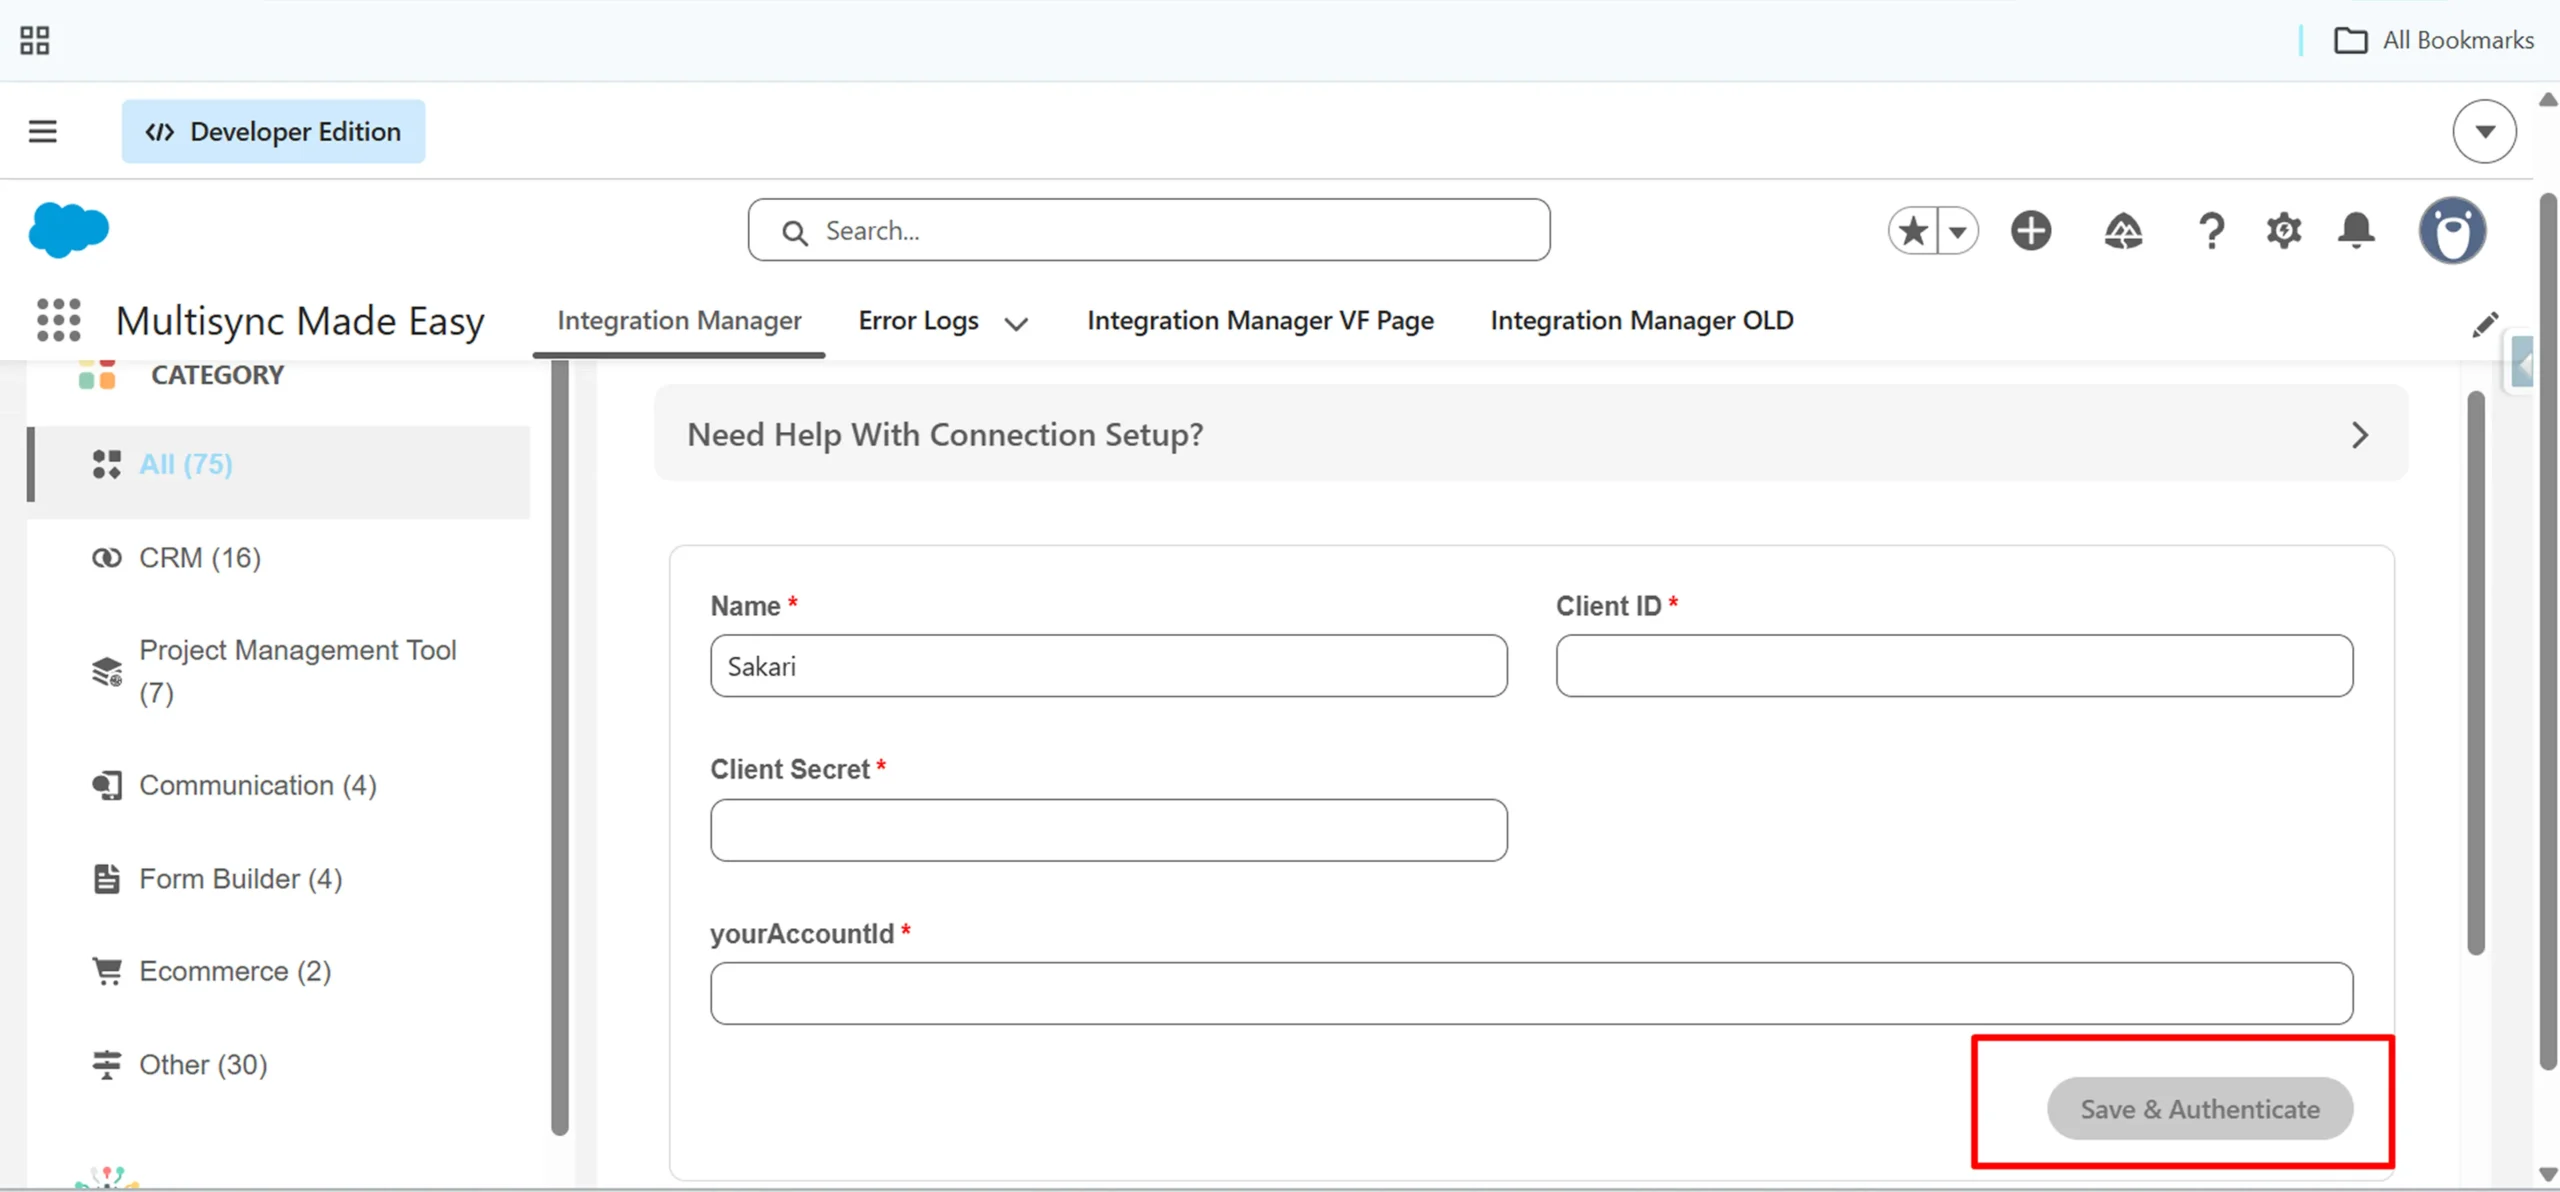
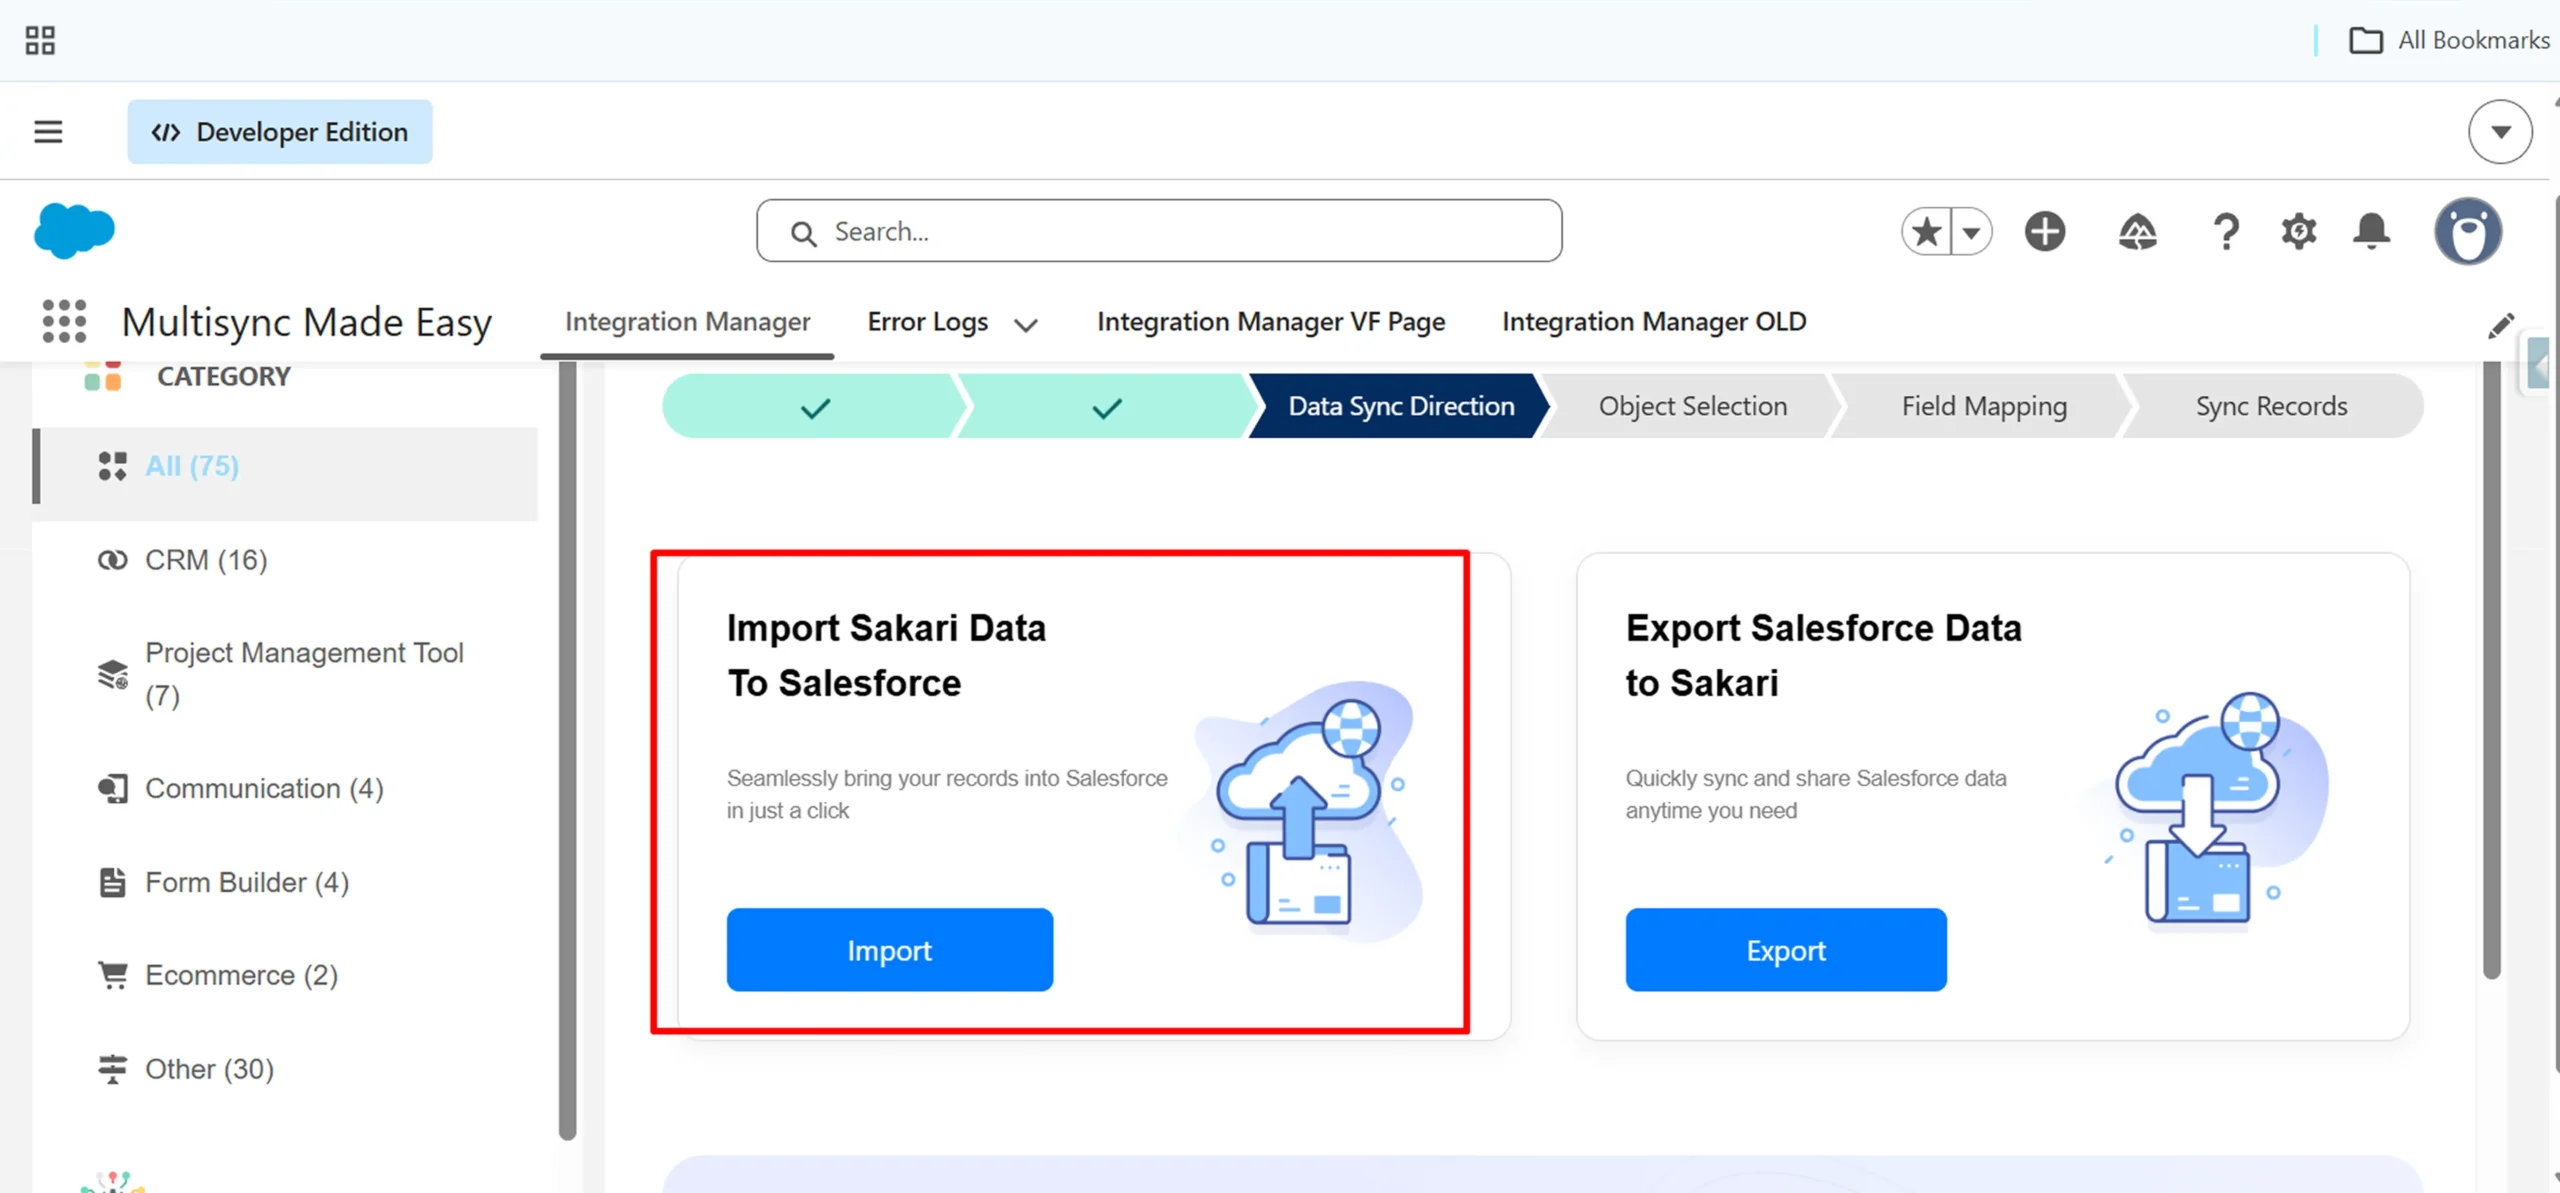
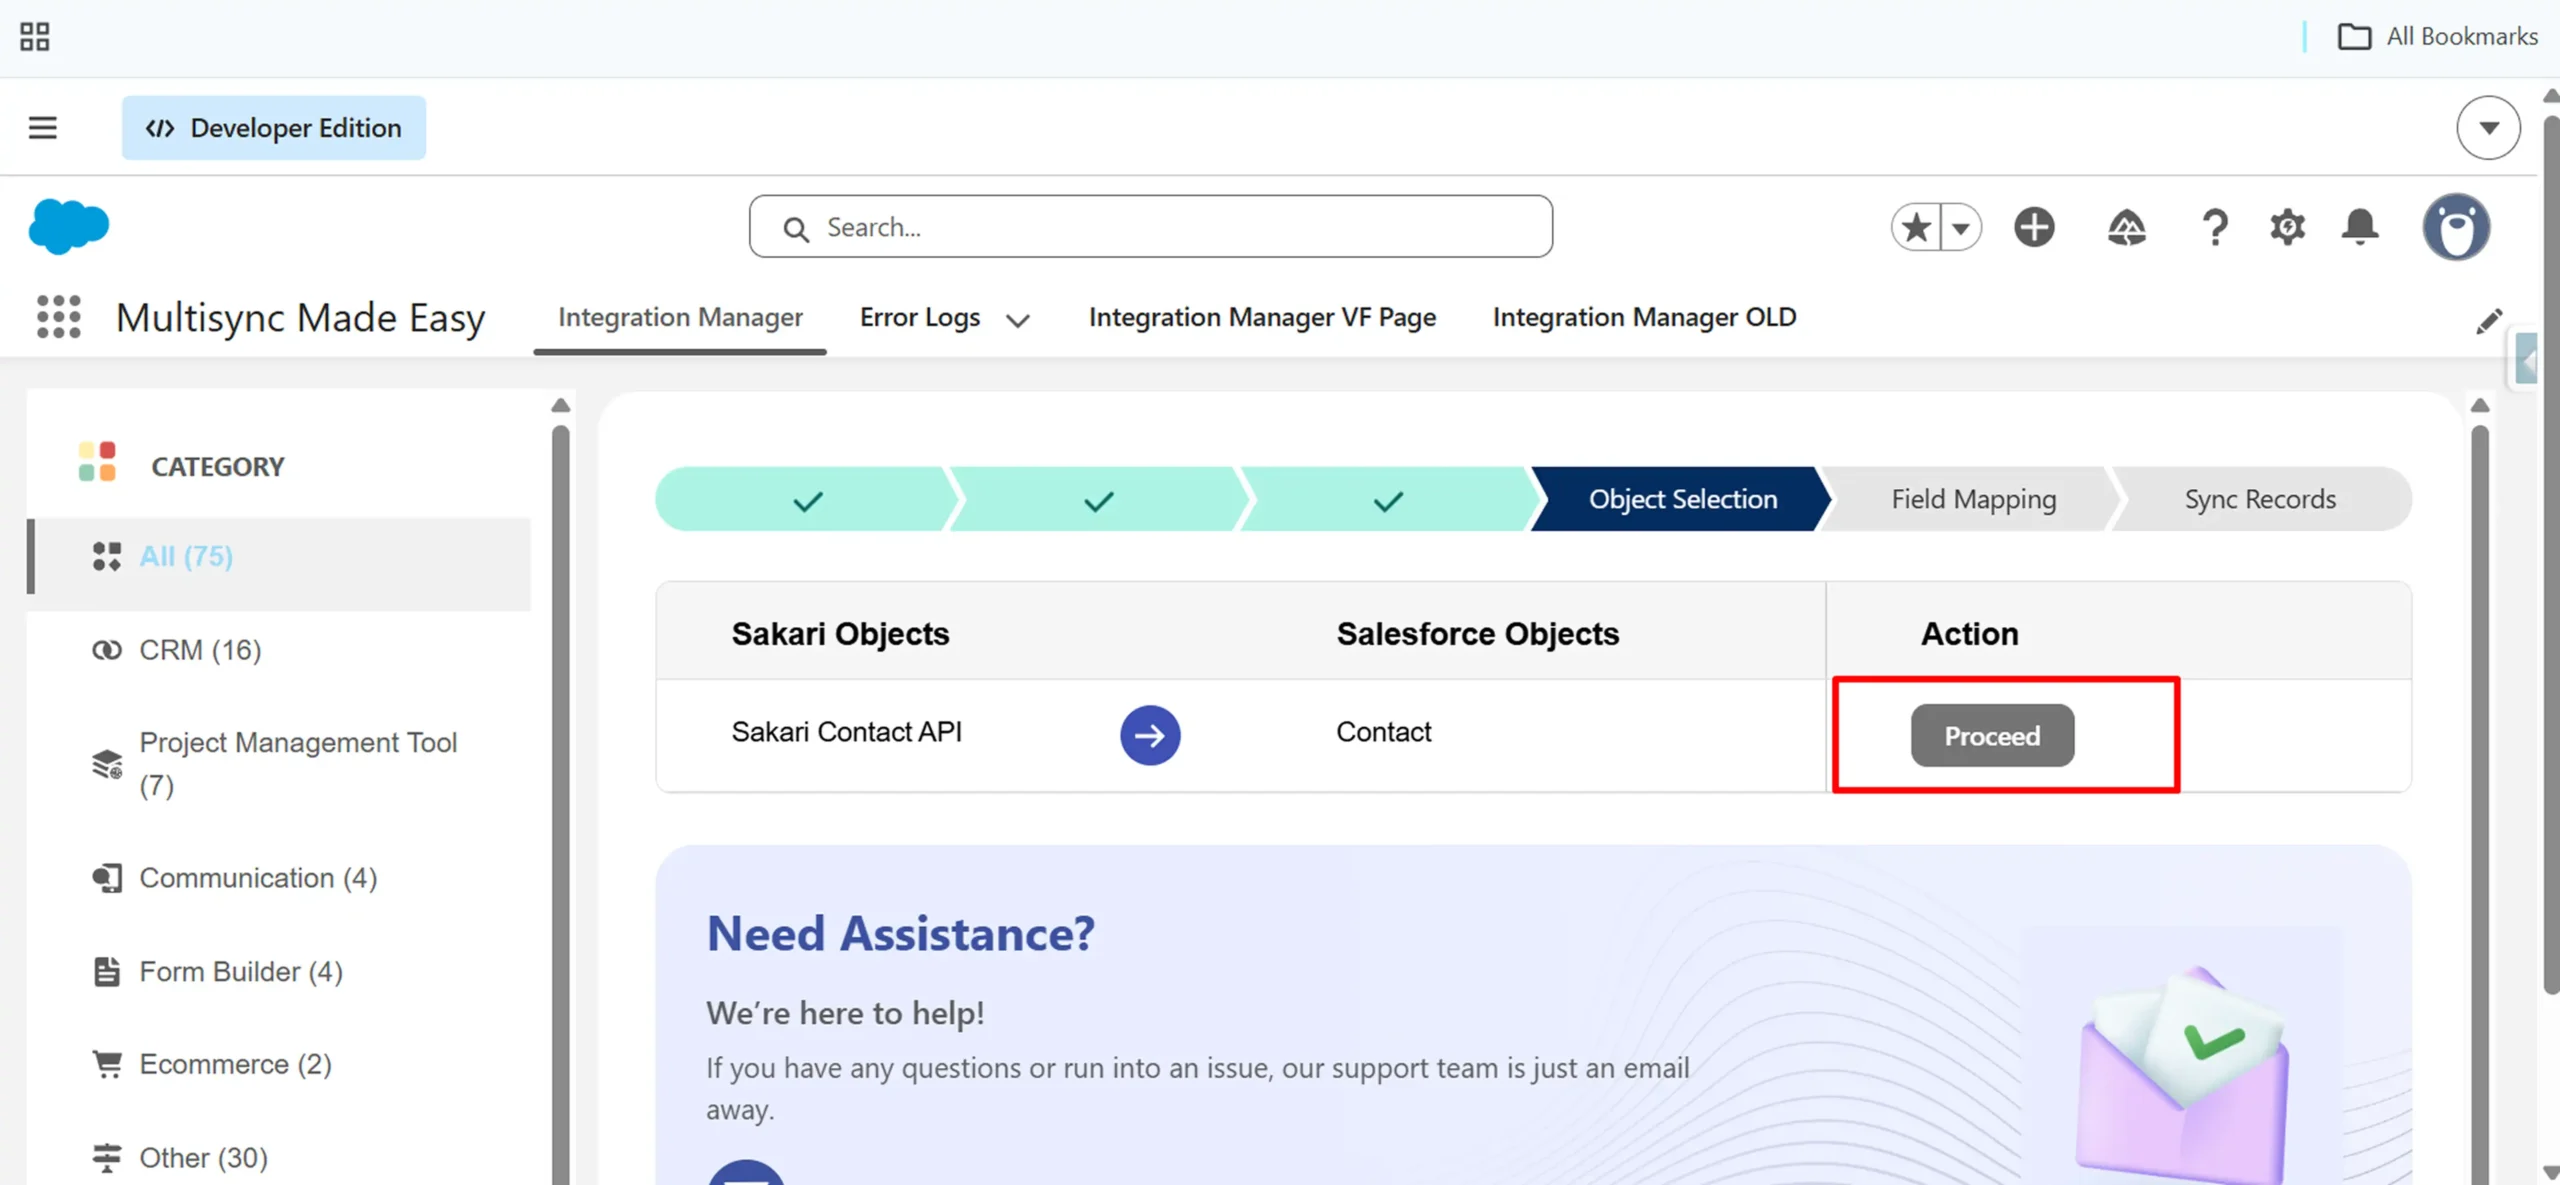
Now, since we got the API key, let’s see how to integrate Sakari and MultiSync Made Easy:

Step 4:

Log in to Salesforce and go to the Multisync Made Easy page. Then click on ‘All’ and type Sakari in the search bar.

Sakari search bar

Step 5:

After choosing the Sakari, enter the Client ID, Client Secret and yourAccountId and Click on ‘Save & Authenticate’.

sakari Save & Authenticate

Step 6:

After clicking on Save & Authenticate, you will see the dashboard given below. Now, click on the Import button.

sakari Import button

Step 7:

After clicking on Import, next comes the Object Selection. Here, click on the Proceed button.

sakari Proceed button

Step 8:

After that, click on Preview Mapped Data followed by Validate Field Mapping.

sakari Preview Mapped Data

sakari Validate Field Mapping

Step 9:

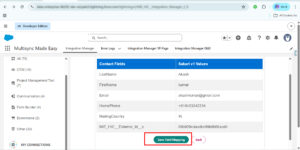
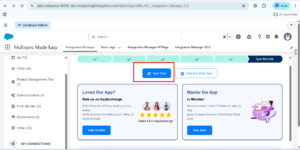
Next, click on Save Field Mapping.

sakari Save Field Mapping

Step 10:

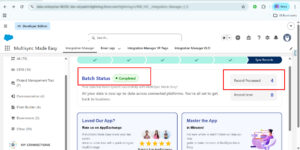
Now in the Sync Records dashboard, click on Sync Data.

sakari Sync Data

Step 11:

After clicking on Sync Data, you will see that your data has been successfully synced with MultiSync Made Easy and Sakari. The record was created successfully, and the data has been generated.

sakari Sync Data

Step 12:

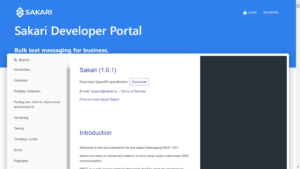
To obtain the Sakari API URL, visit the official documentation: Sakari API Documentation.

Sakari API URL

Now, you have successfully integrated Sakari with MultiSync Made Easy. Explore the app at your convenience, and if you need any further assistance, contact our MultiSync Made Easy Support team.

Demo Video


The All-in-One Salesforce Connector for Future Businesses

Step ahead with our robust and intelligent app that instantly integrates multiple platforms — even the unknown ones!

Salesforce Connector