How to Integrate ClickUp with Salesforce: Step-by-Step Guide

By Team MultiSync Made Easy
Published on June 9, 2026   |  
3 Mins Read
How to Integrate ClickUp with Salesforce: Step-by-Step Guide

Connecting ClickUp with Salesforce is a crucial step for businesses that want to keep project management and customer data synchronized across both platforms. Without an integration, teams often spend time manually updating records, managing duplicate information, and switching between systems to access the latest data.

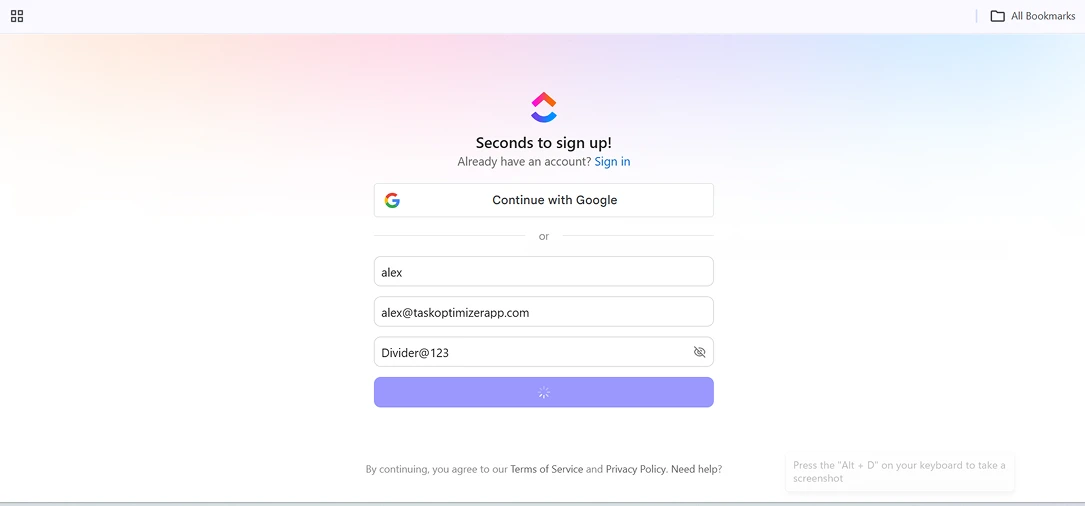
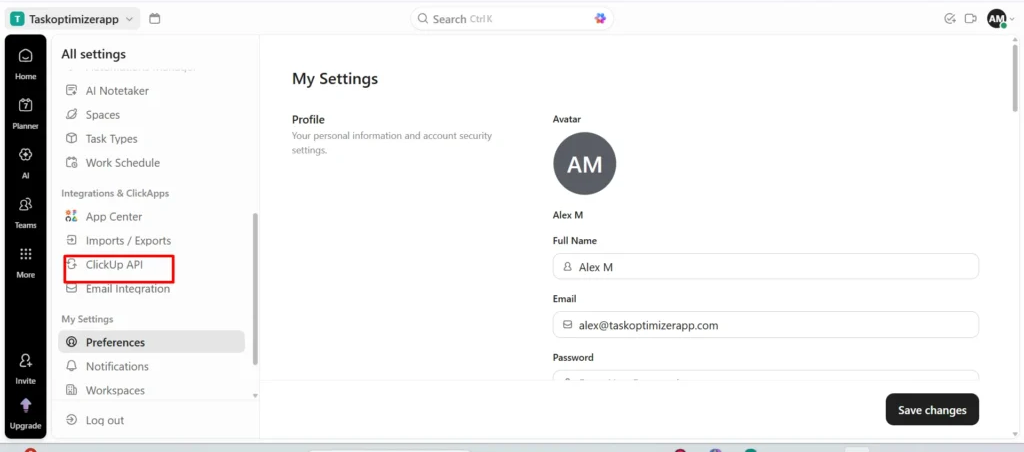
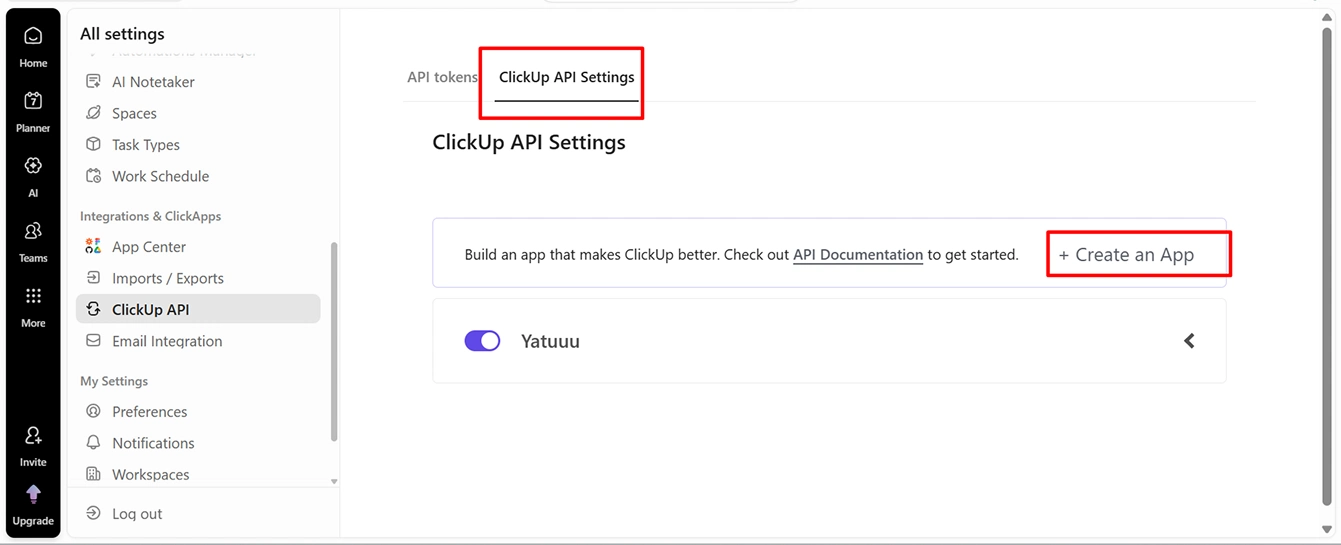
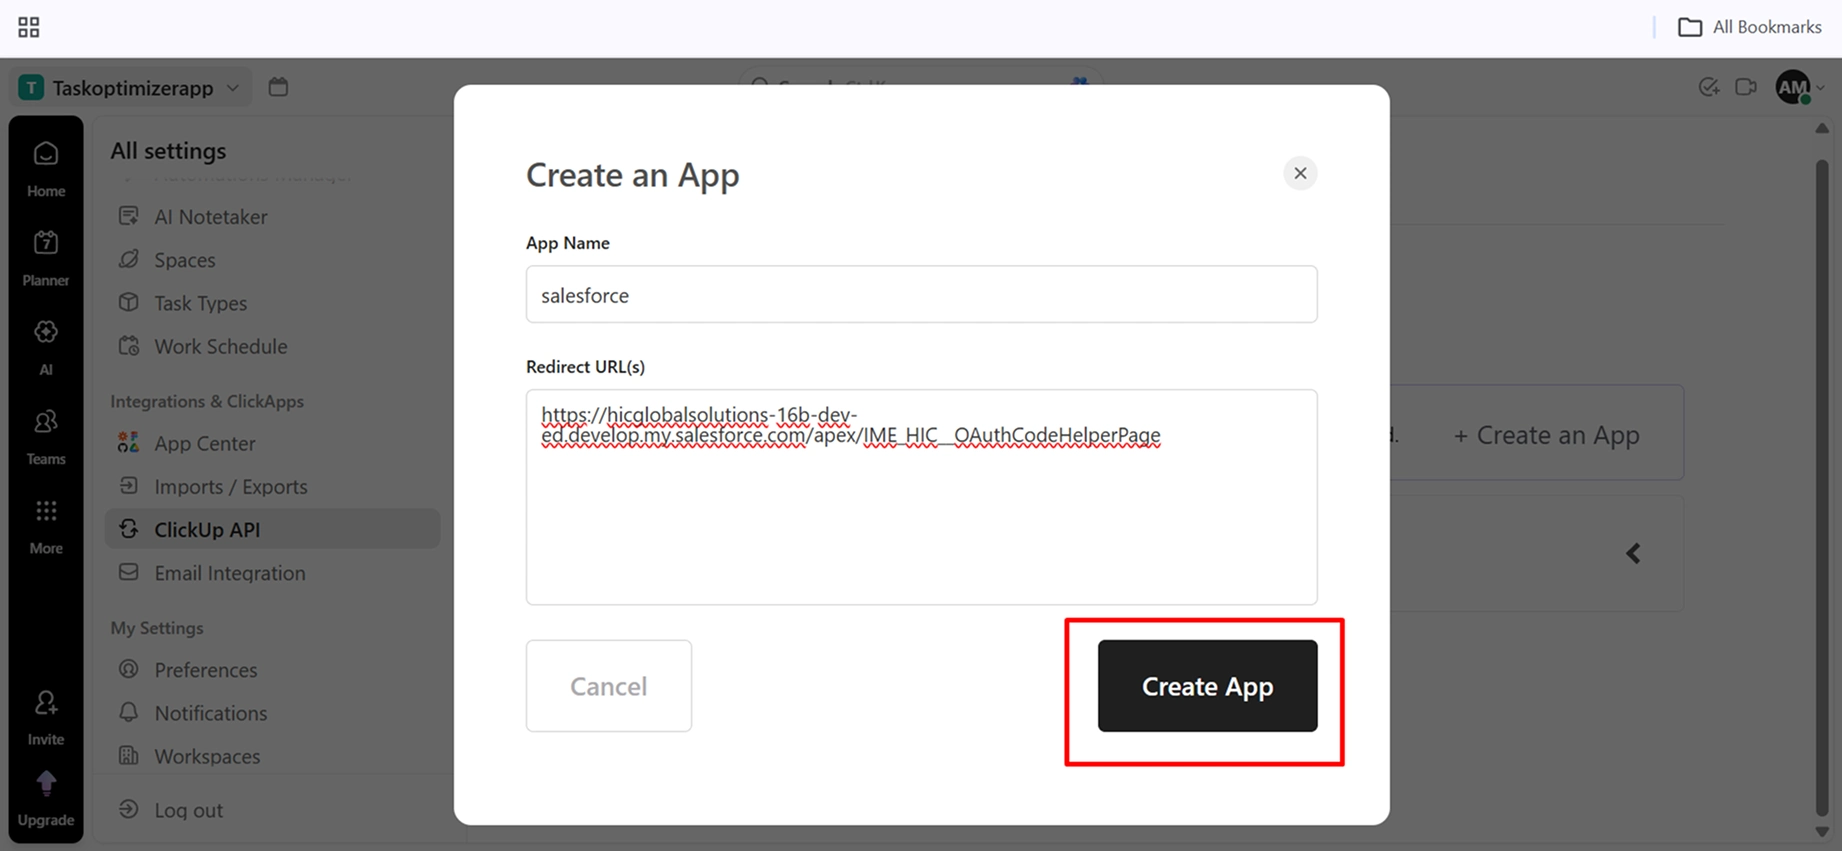
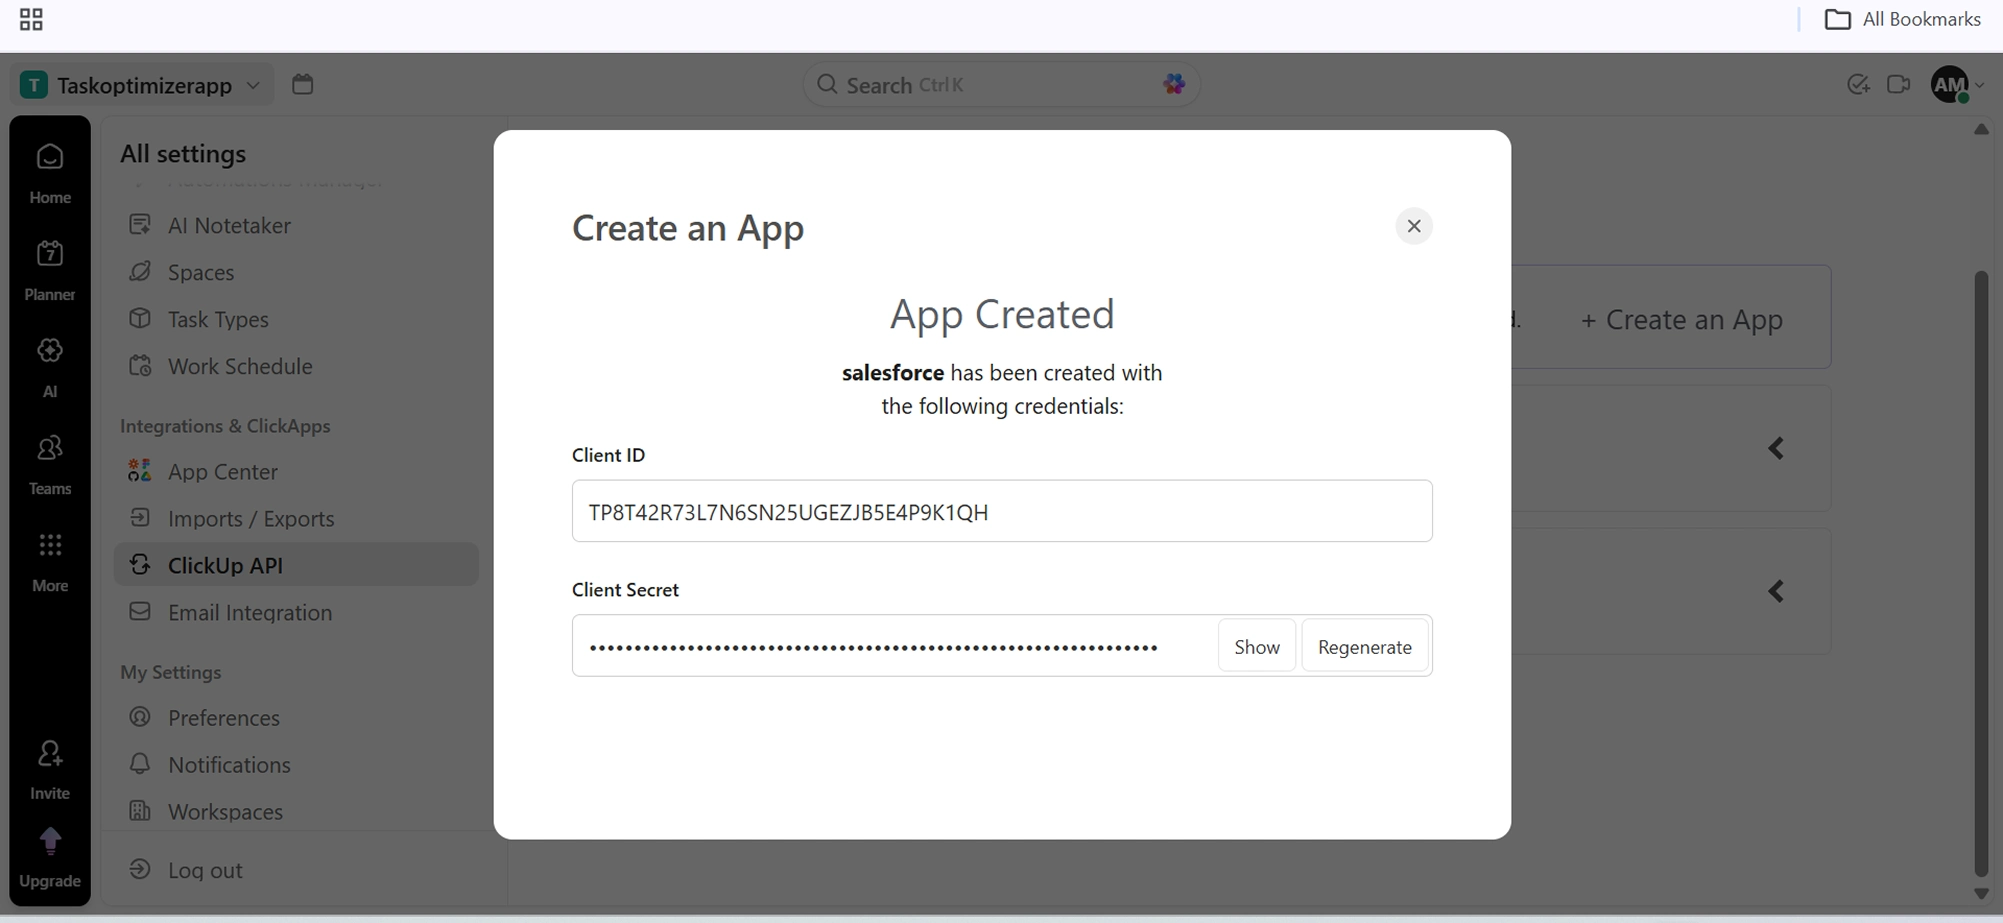
To establish a secure ClickUp Salesforce integration, you first need ClickUp API credentials, which enable communication between ClickUp and Salesforce. In this step-by-step guide, we’ll show you how to generate a ClickUp API key and connect both platforms using MultiSync Made Easy for seamless data synchronization and data migration in Salesforce.


A simple guide to integrating ClickUp with Salesforce


Step 1: First, sign in to your ClickUp account. If you do not have an account, create a new one and fill in all the required details.

sign in to your ClickUp account

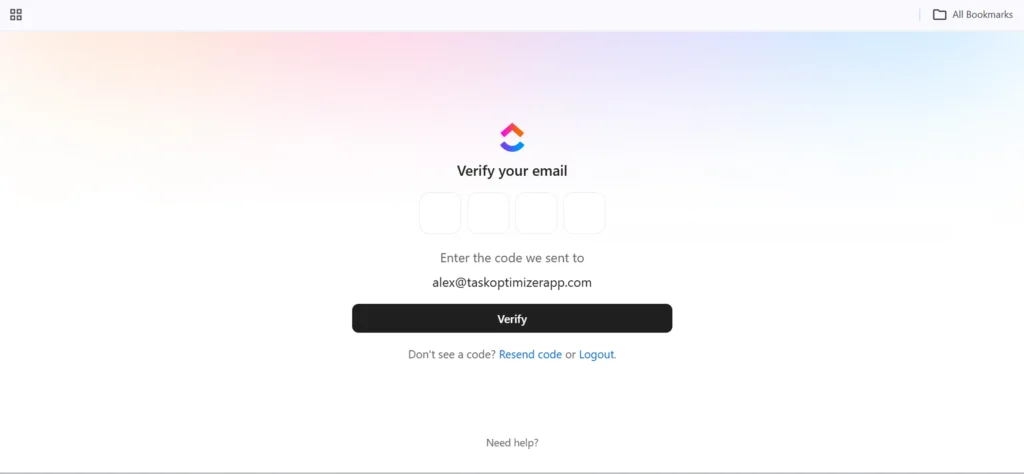
After signing up, verify your email address.

verify your email address


Step 2: Complete the ClickUp setup by following the on-screen instructions and click Next to continue. 

click Next to continue

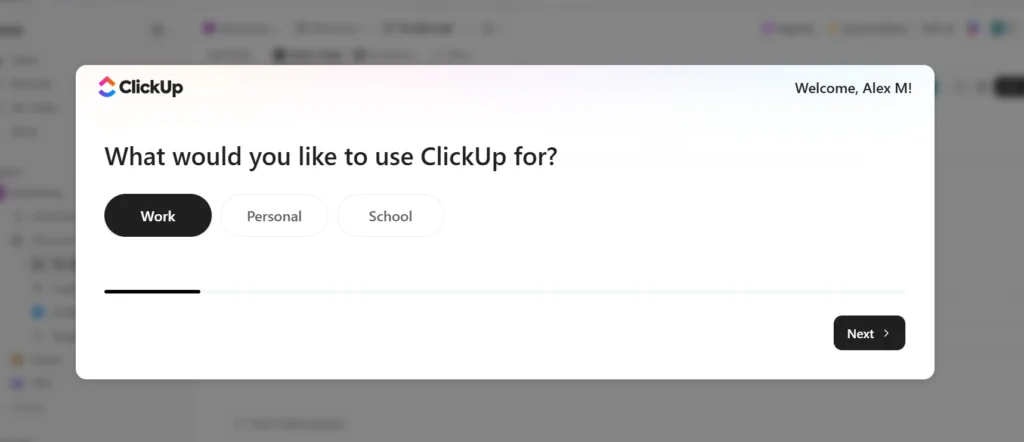
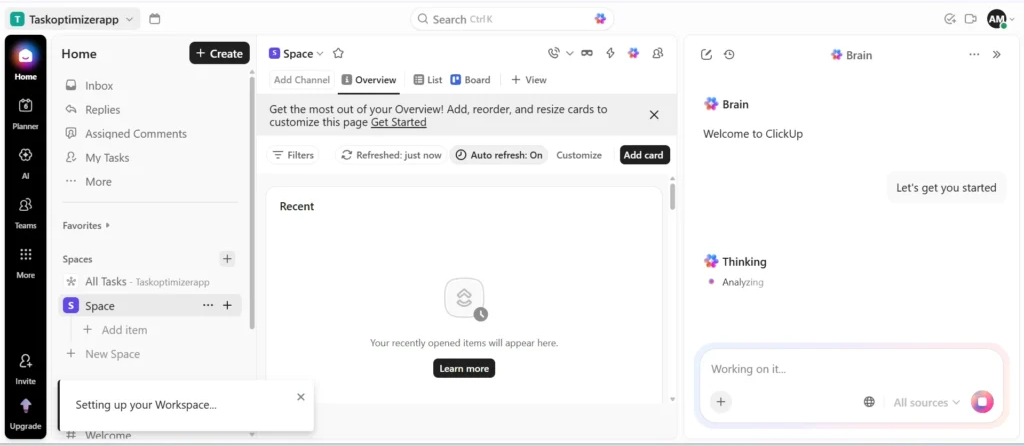
Once the setup is complete, your ClickUp workspace will open.

ClickUp workspace will open


Step 3: Click on the Profile Icon and then select Settings.

Click on the Profile Icon and then select Settings


Step 4: In Settings, click ClickUp API, then select ClickUp API Settings. Next, click Create App, fill in all the required details, and click Create App.

In Settings, click ClickUp API

select ClickUp API Settings

click Create App


Step 5: Once the app is created, copy the Client ID and Client Secret. You’ll need these details later while connecting ClickUp with Salesforce. 

copy the Client ID and Client Secret


Step 6: Now, log in to Salesforce, open the MultiSync Made Easy app, click All, and search for ClickUp.

search for ClickUp


Step 7: Select ClickUp, enter the Client ID and Client Secret, then click Save & Authenticate.

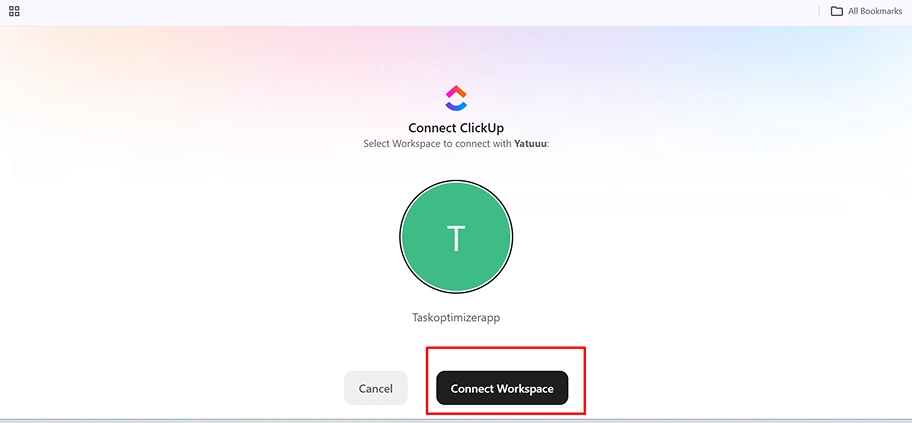
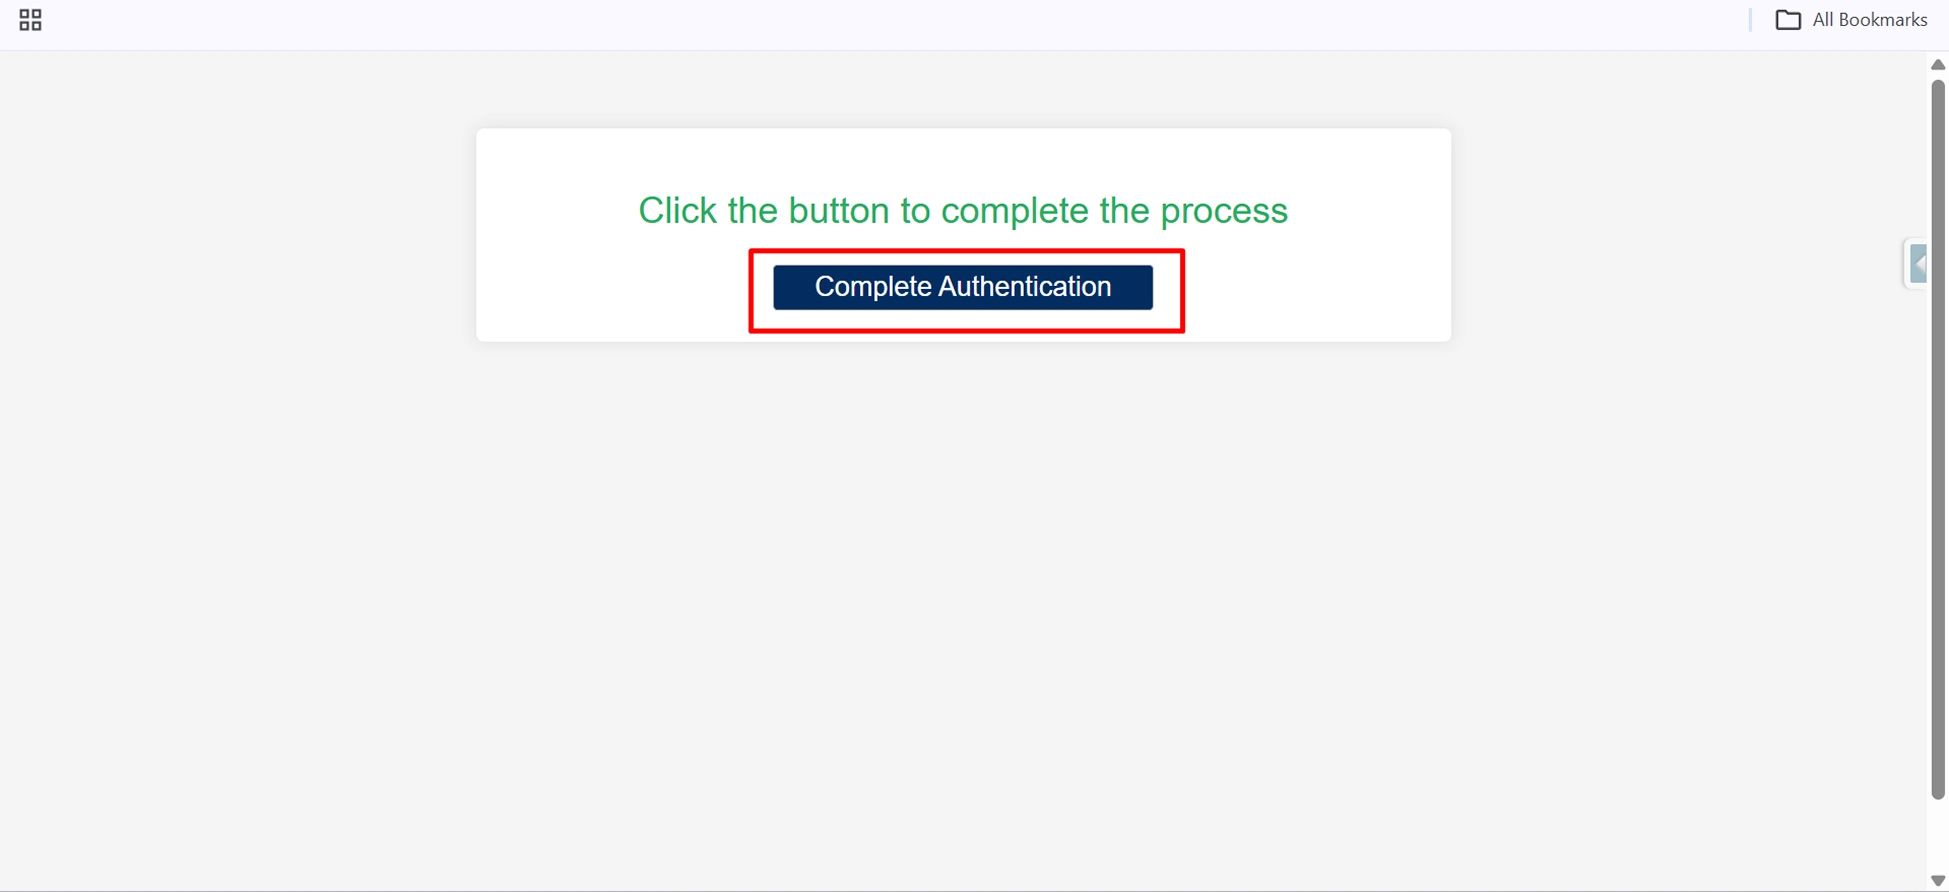
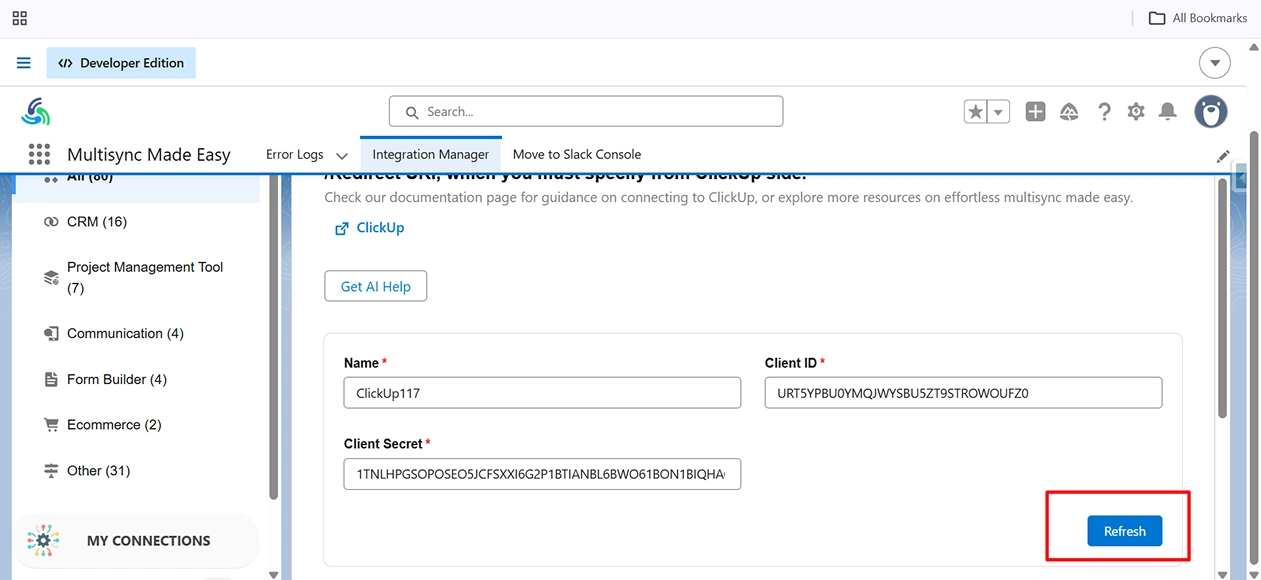
The Connect ClickUp page will appear. Click Connect Workspace, then click Complete Authentication, and finally click Refresh.

click Save & Authenticate

Click Connect Workspace

click Complete Authentication

click Refresh button


Step 8: After completing authentication, you will see the dashboard. Click Import.

Click Import


Step 9: After clicking Import, the import dashboard will appear. Click Proceed.

Click Proceed Button


Step 10: Click Preview Mapped Data, then click Validate Field Mapping, and finally click Save Field Mapping.

Click Preview Mapped Data

click Validate Field Mapping

click Save Field Mapping


Step 11: Click Sync Data to start syncing data between ClickUp and Salesforce. 

Click Sync Data


Step 12: Once the sync is complete, your ClickUp and Salesforce records will be connected successfully through MultiSync Made Easy. 

ClickUp and Salesforce records


Conclusion

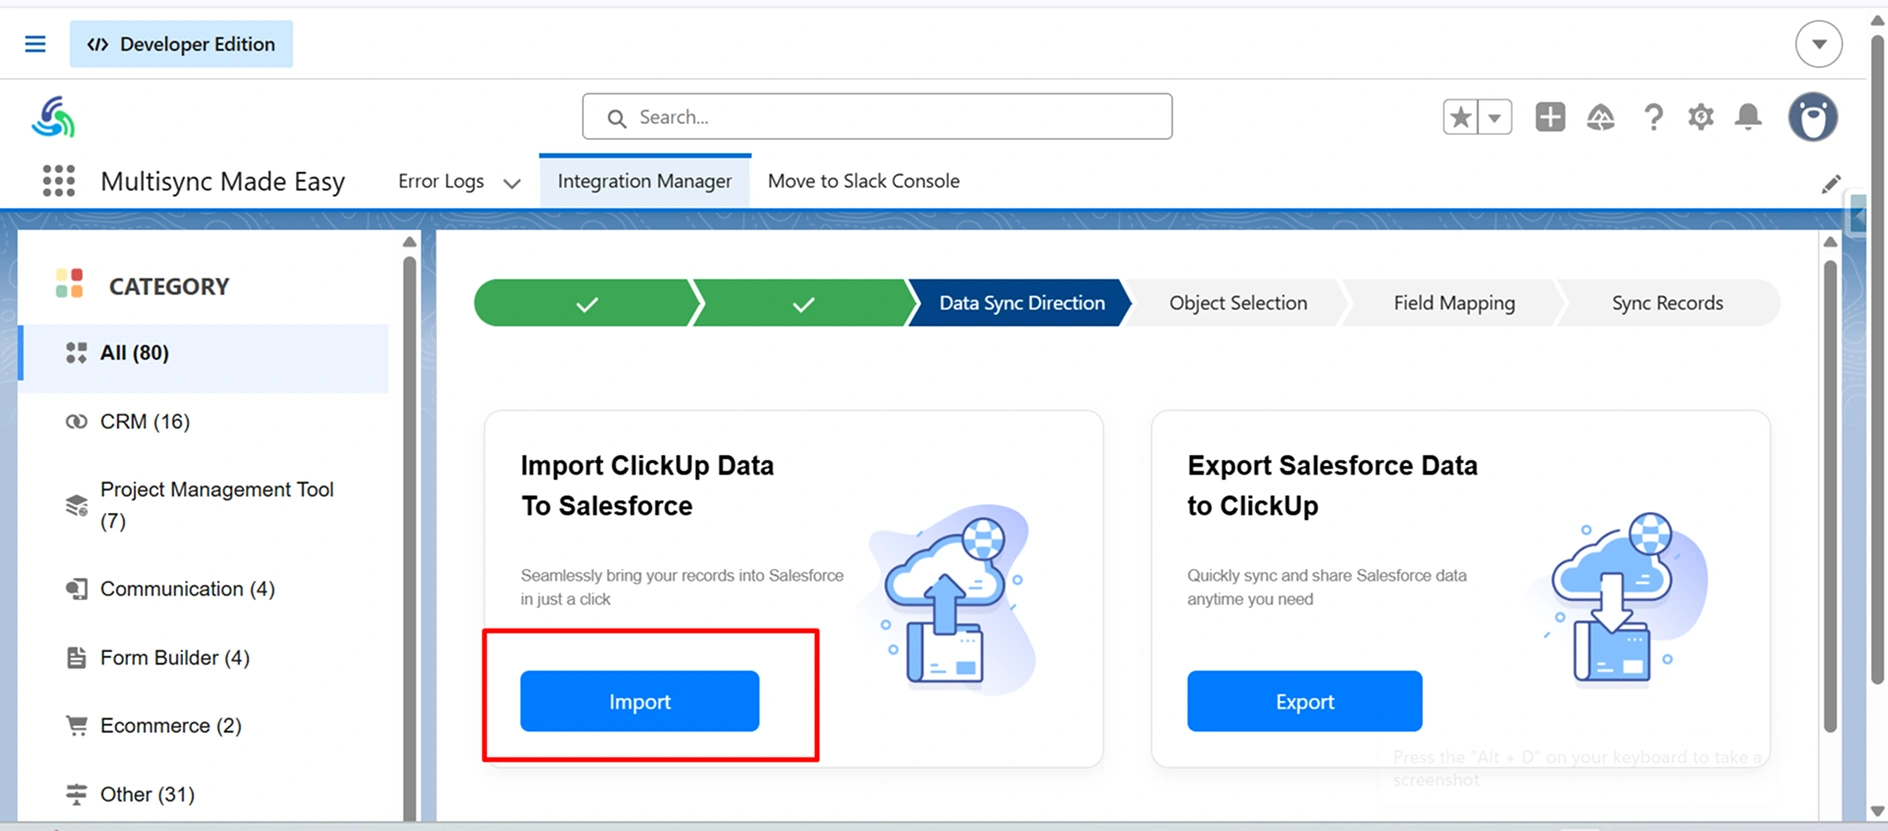
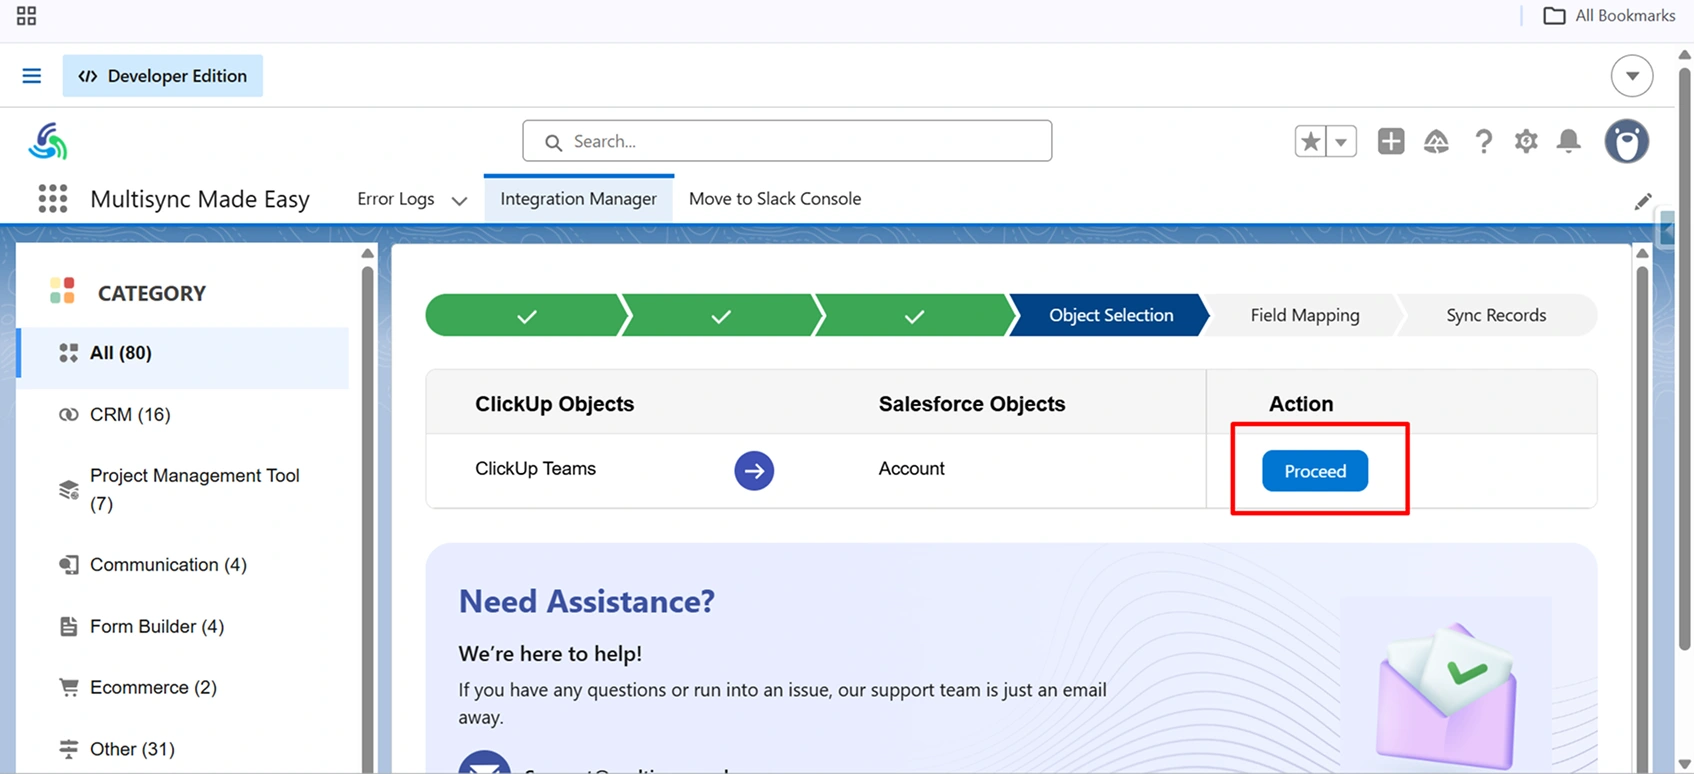
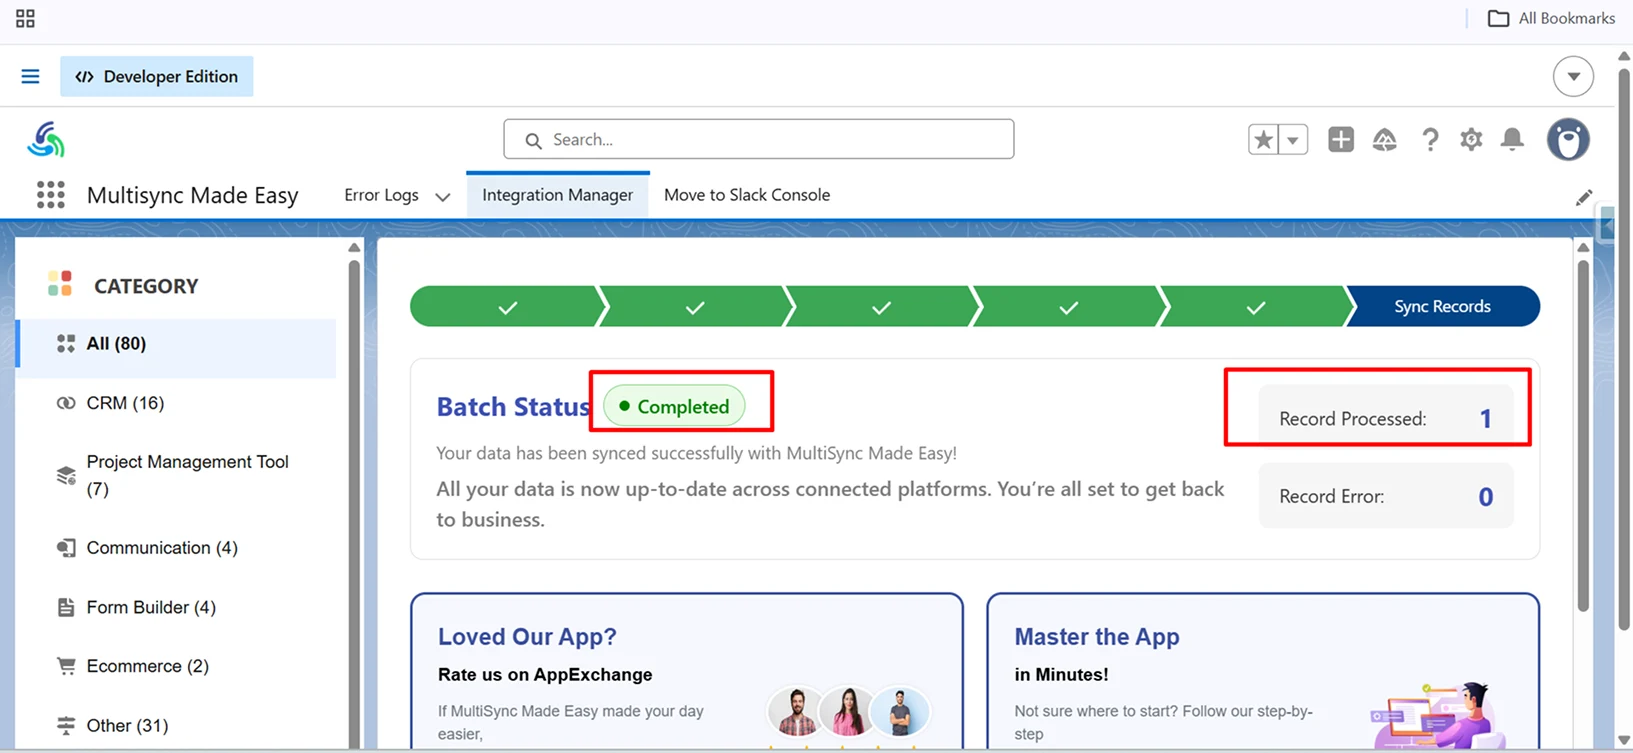
So, that’s it! By generating your ClickUp API credentials and completing the setup process, you can establish a seamless ClickUp Salesforce integration that keeps information connected across both platforms. This helps teams avoid repetitive data entry, reduce errors, and ensure everyone is working with the latest information.

Managing data across multiple platforms can quickly become challenging, which is why Salesforce integration tools help businesses keep information connected and up to date. Whether you’re looking to automate workflows or simplify data migration in Salesforce, connecting ClickUp and Salesforce can help create a more streamlined and productive way of working.

The All-in-One Salesforce Connector for Future Businesses

Step ahead with our robust and intelligent app that instantly integrates multiple platforms — even the unknown ones!

Salesforce Connector