Calendly integration helps businesses automate appointment scheduling and keep customer data synchronized across platforms. With MultiSync Made Easy, you can easily integrate Calendly with Salesforce, streamline workflows, and eliminate manual data entry.
This guide walks you through the complete Calendly API integration process, enabling seamless data synchronization using one of the most powerful Salesforce integration tools available today.
Let’s check out the step-by-step guide:
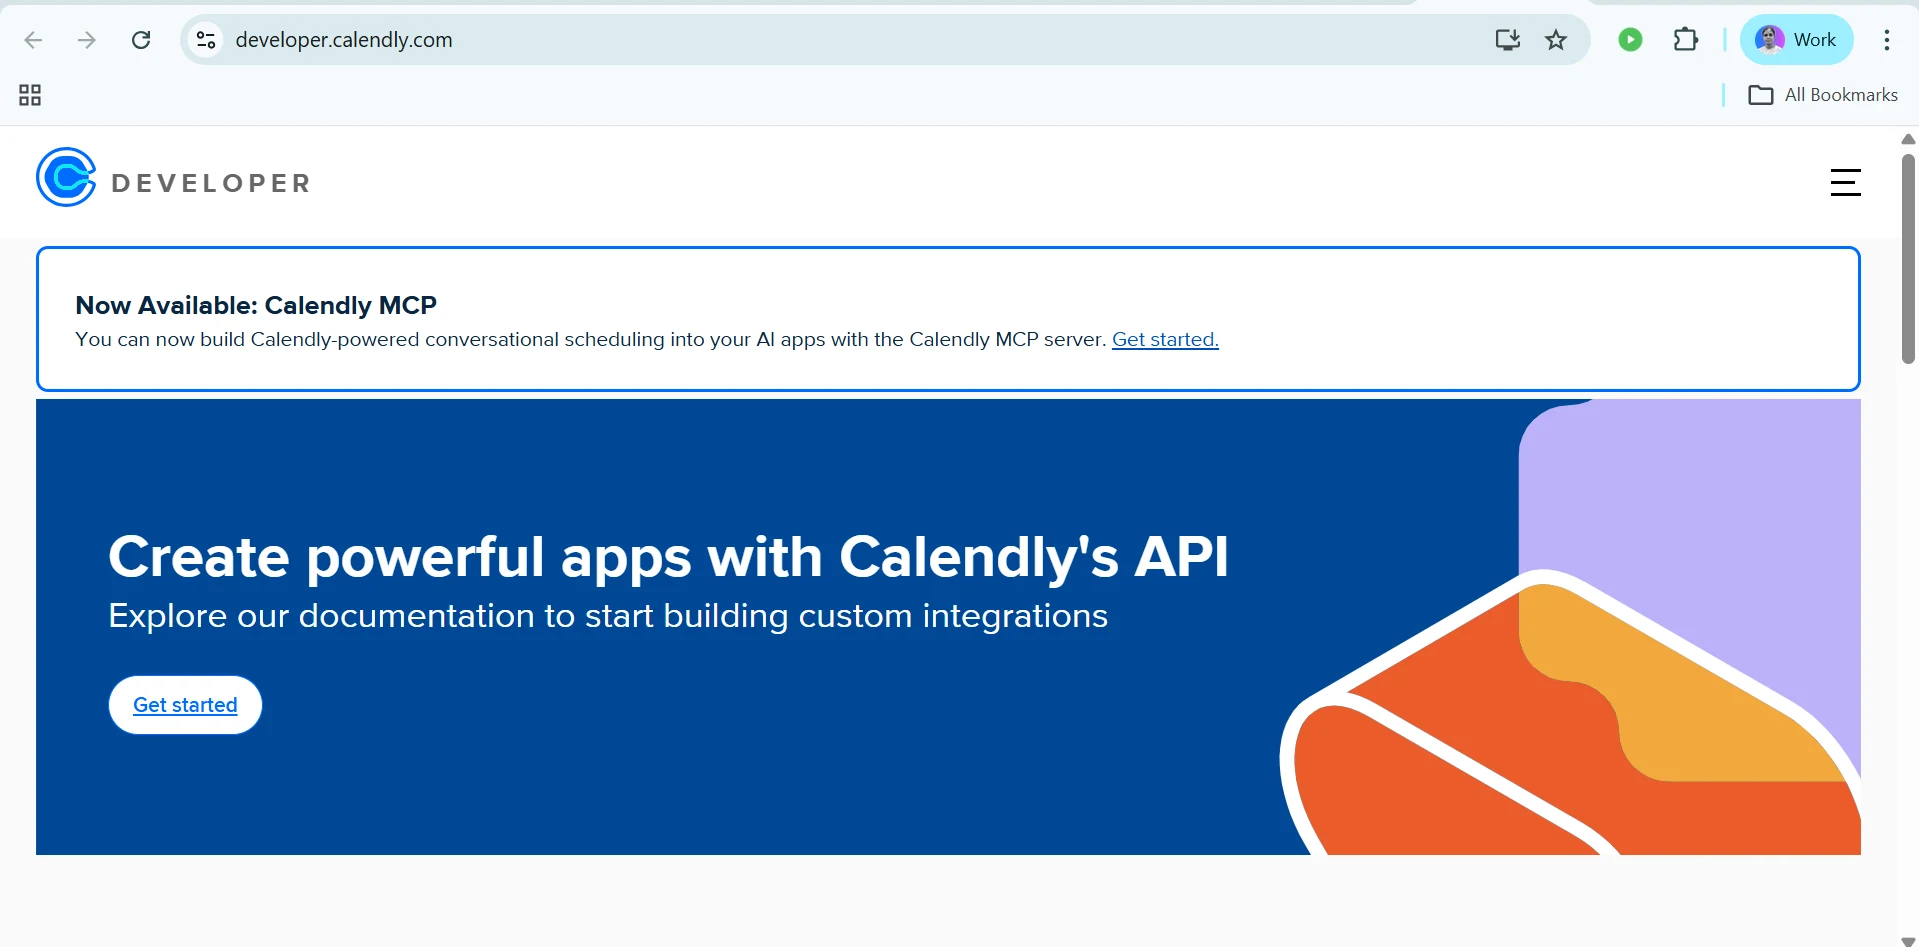
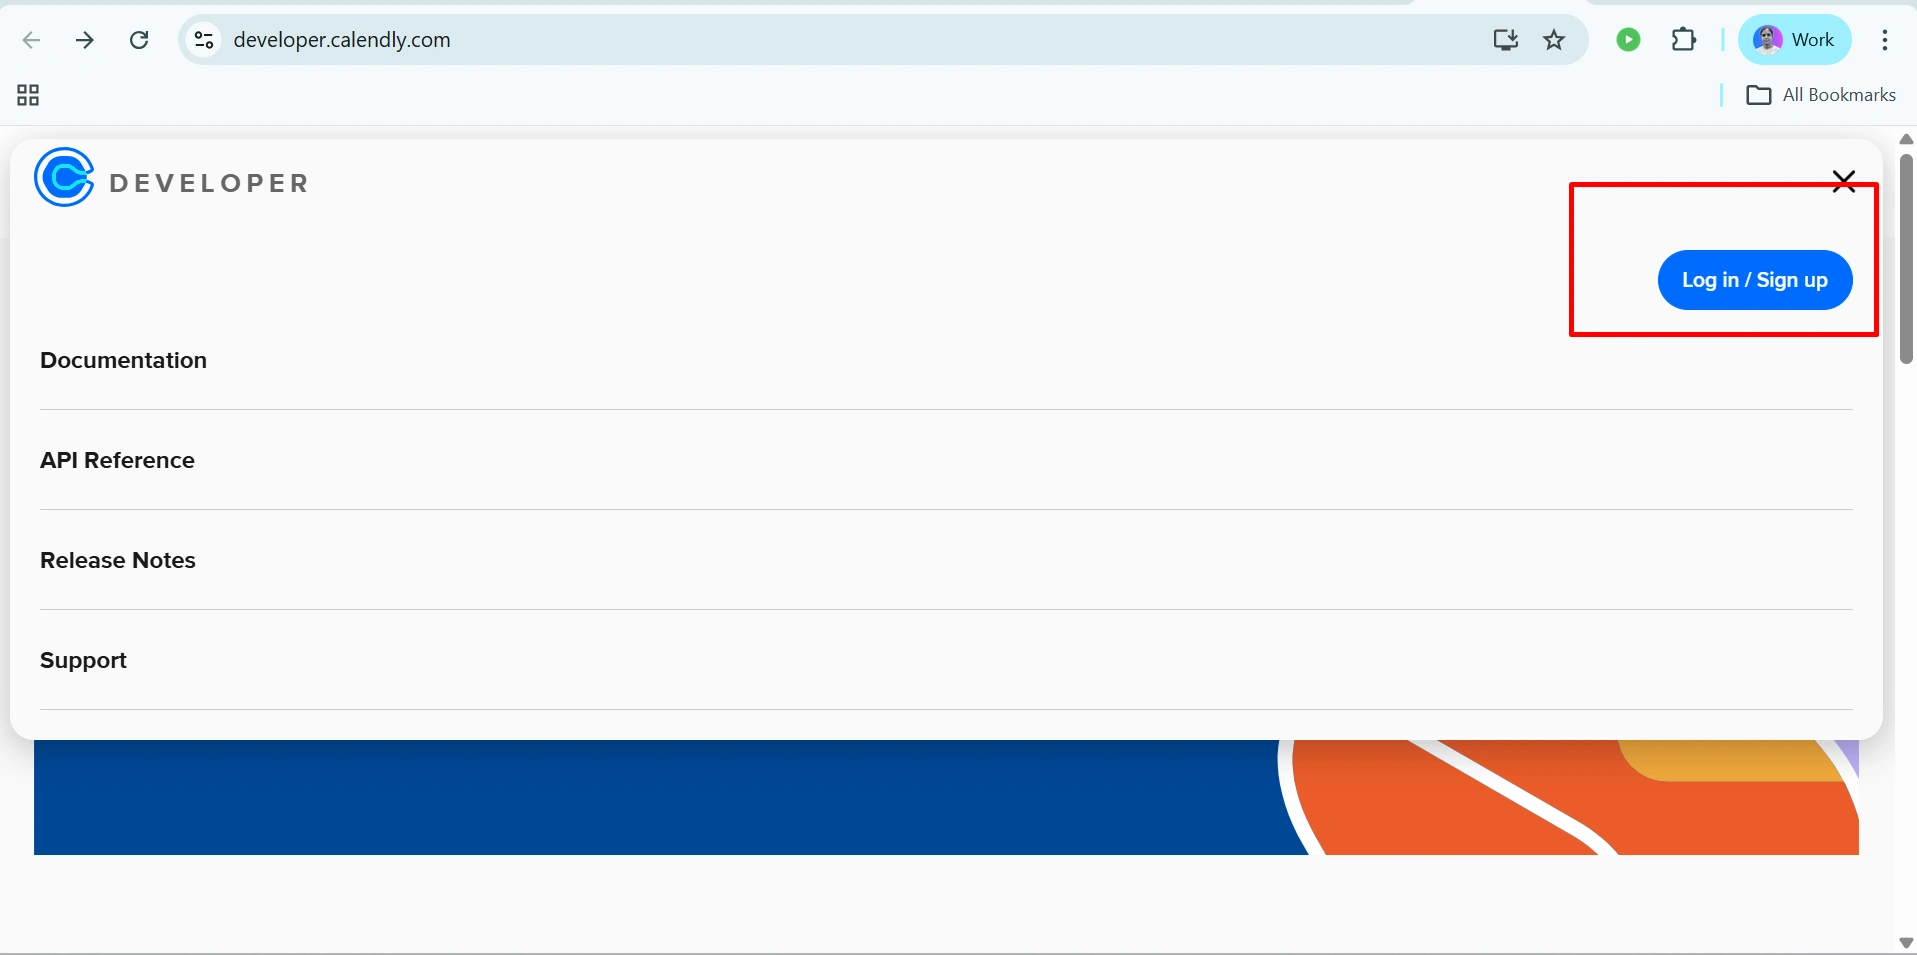
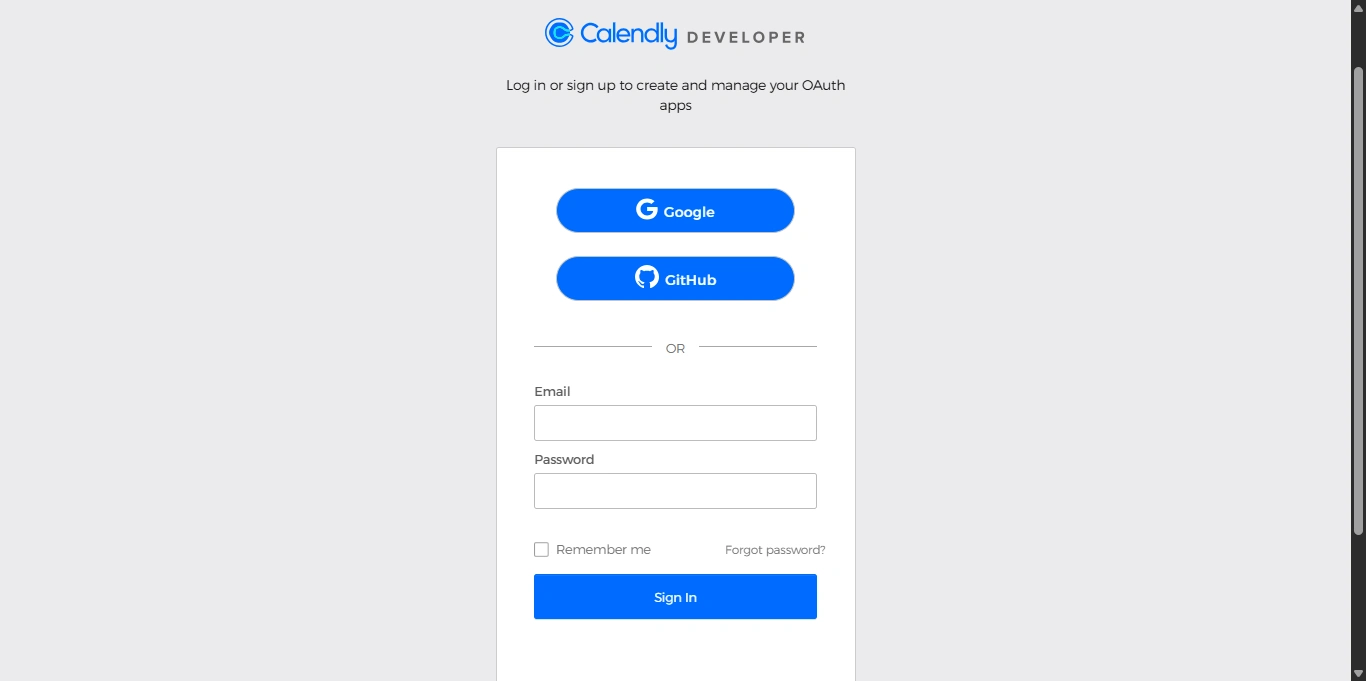
Step 1: If you already have a Calendly account, simply log into it, or else create a new account. https://developer.calendly.com/
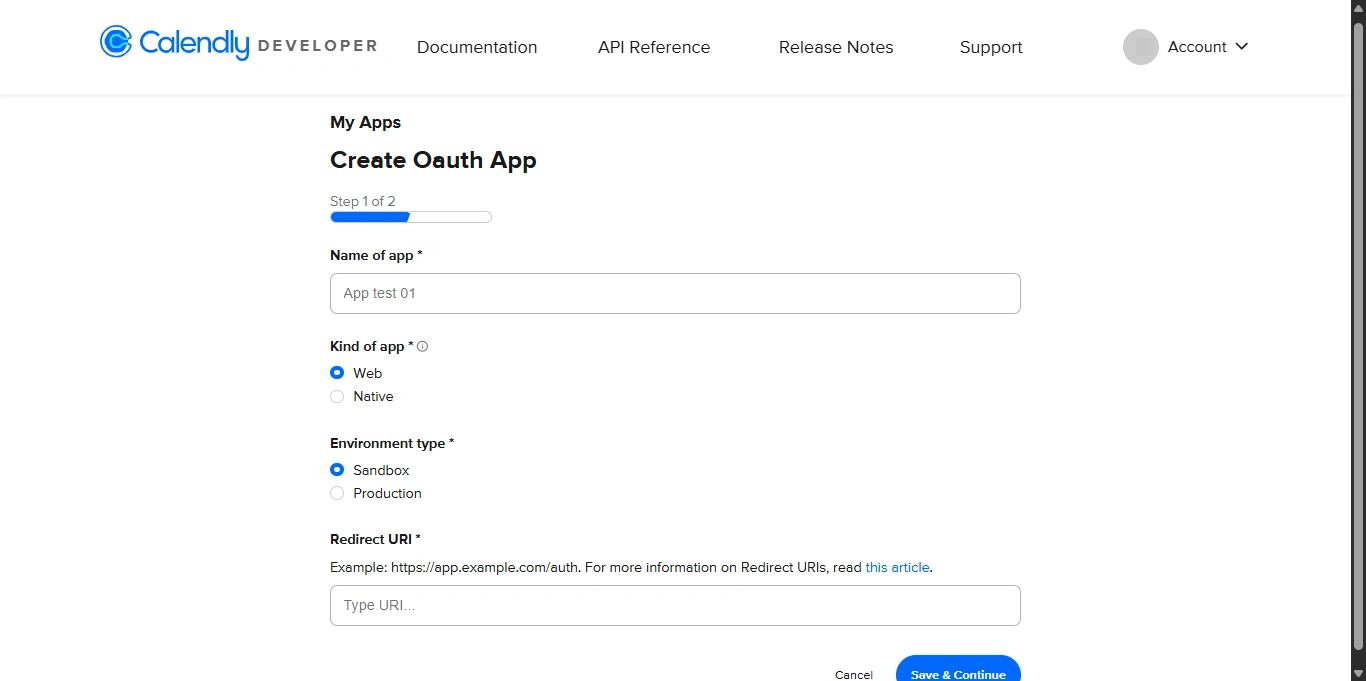
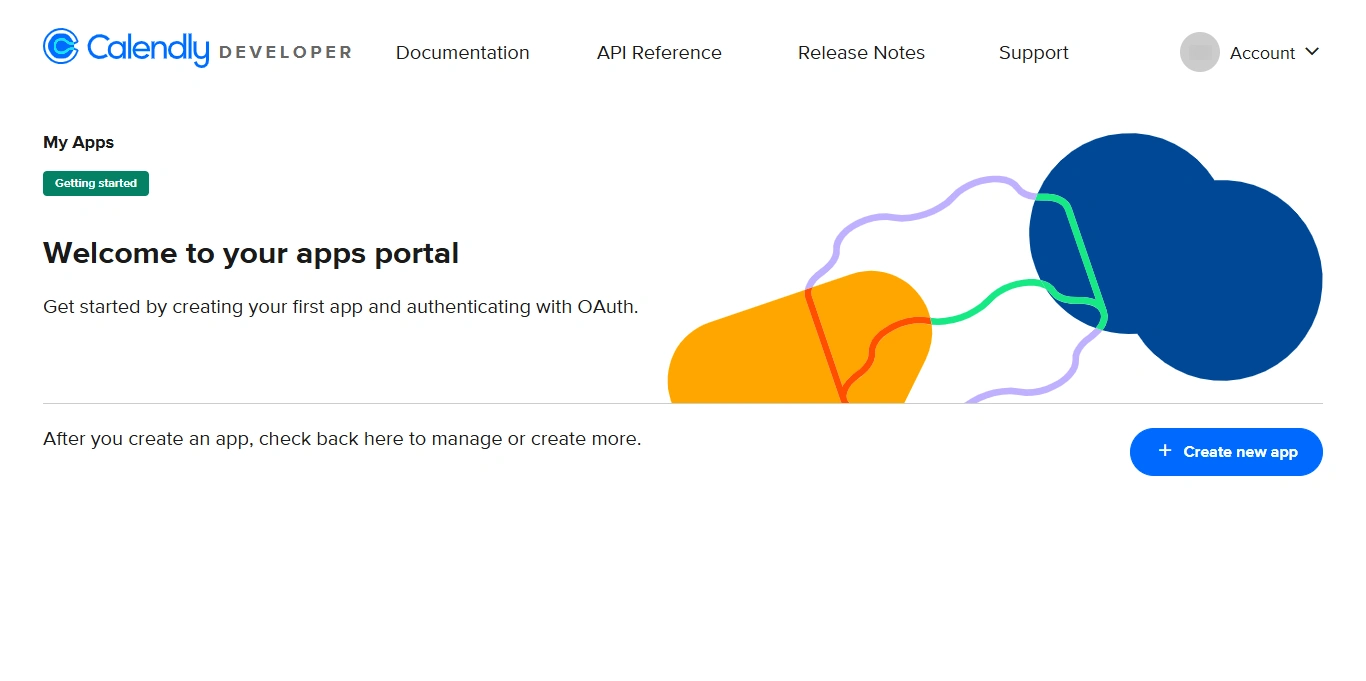
Step 2: Click the “Create new app” button to create an app that authenticates with OAuth.
Step 3: Provide the details and enter your callback URL just as shown in the screenshot below.
Note:
Here, you can set the “Redirect URL”. To add the Authorized Redirect URL, copy the Callback URL from Salesforce during the authentication process and paste it into the “Redirect URL” field.
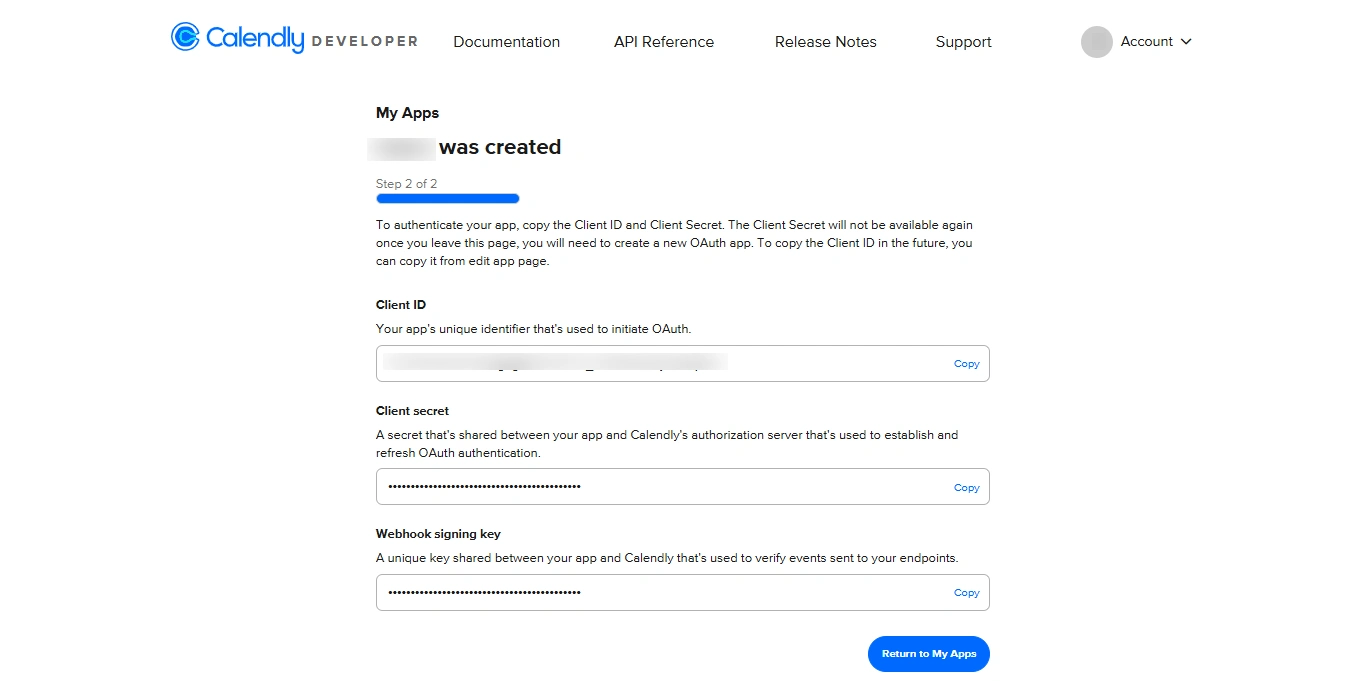
Step 4: Later, you will receive the client ID and client secret.
Now, let’s check out the steps on how to integrate Calendly and MultiSync Made Easy
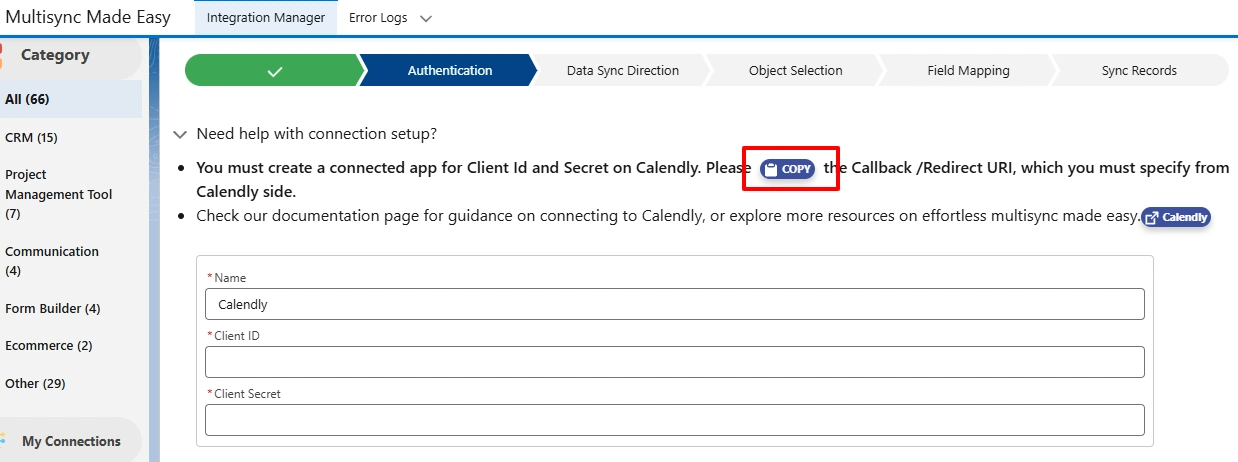
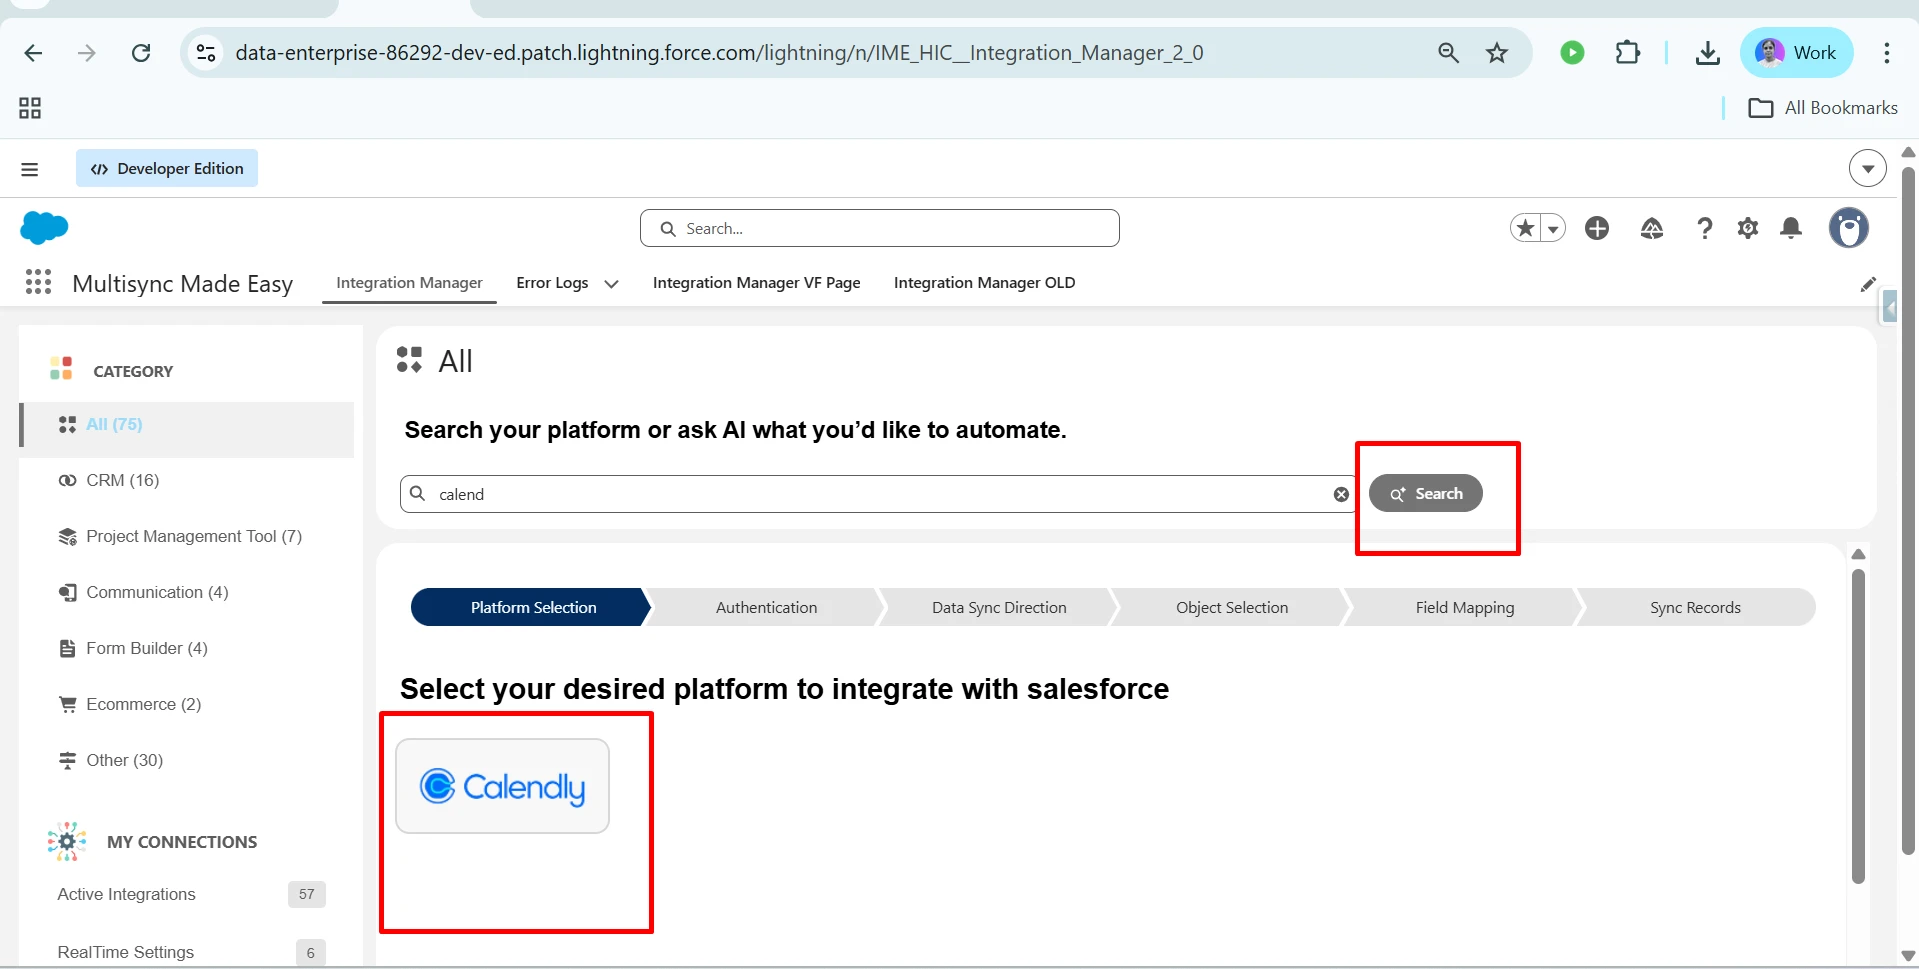
Step 5: Log in to Salesforce and go to the MultiSync Made Easy page and click on ‘All’ and search for ‘Calendly’.
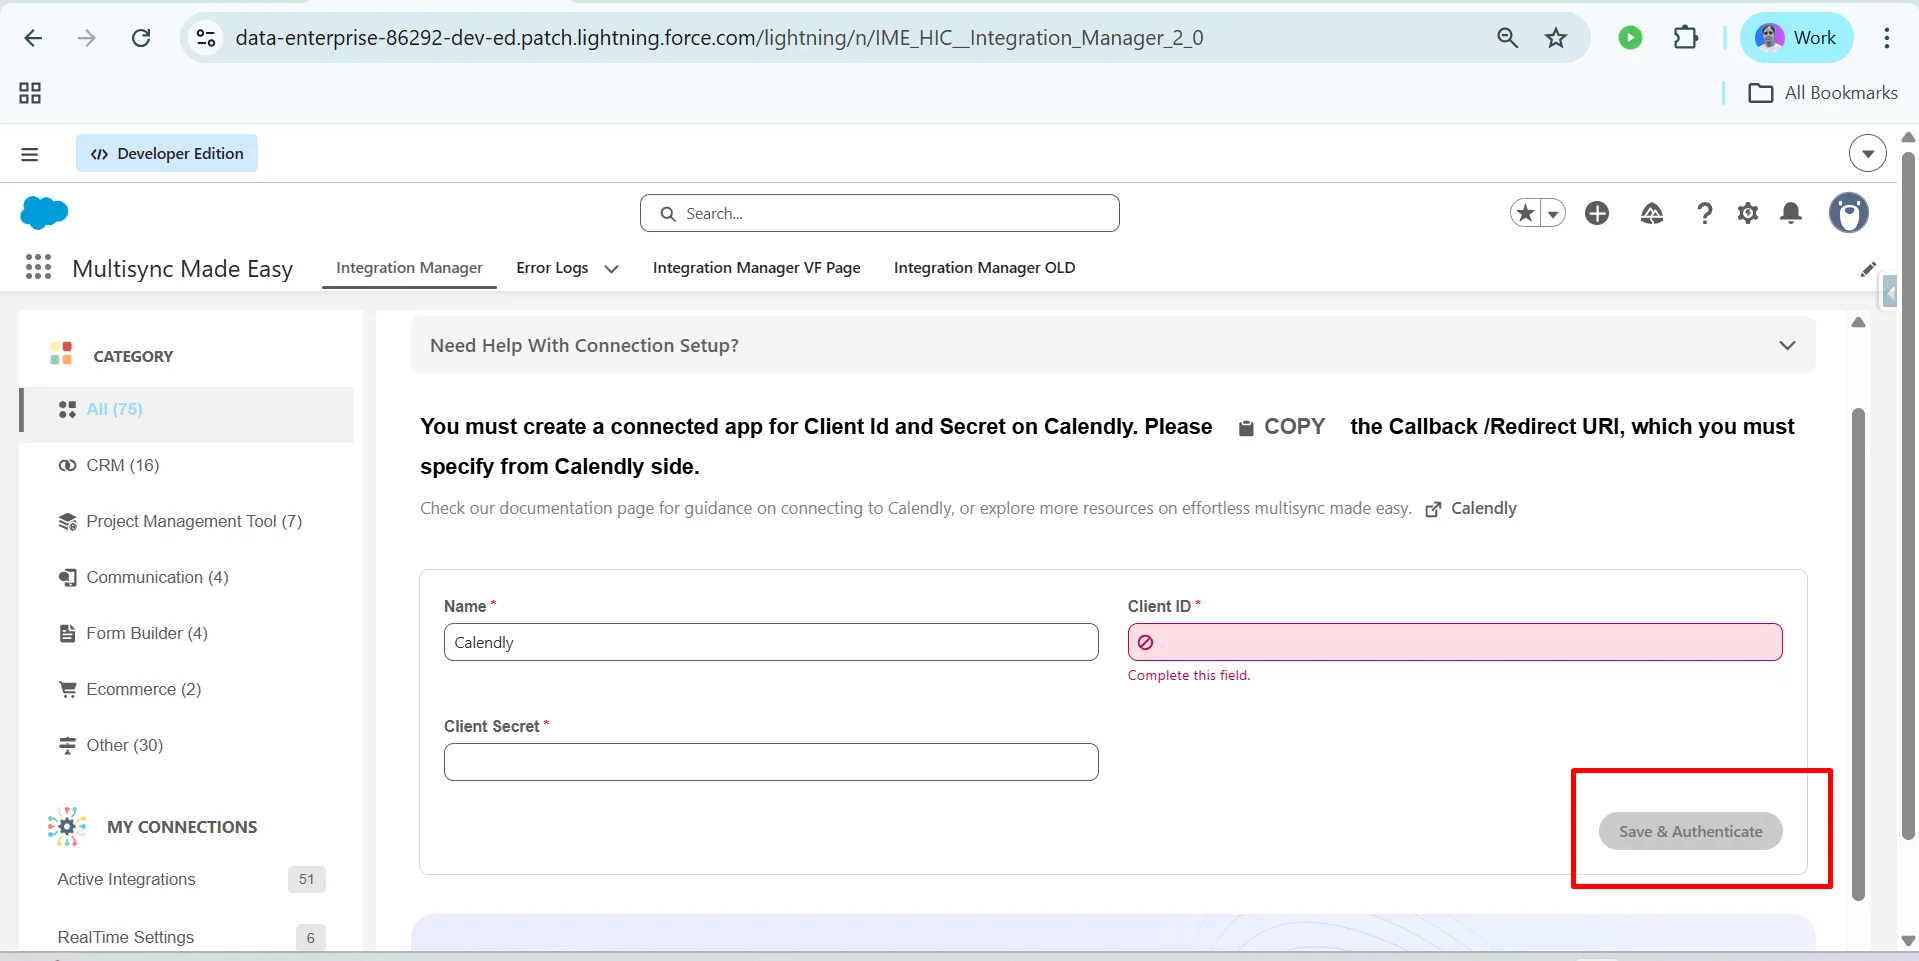
Step 6: After choosing Calendly, enter Client ID and Client Secret and click on Save & Authentication.
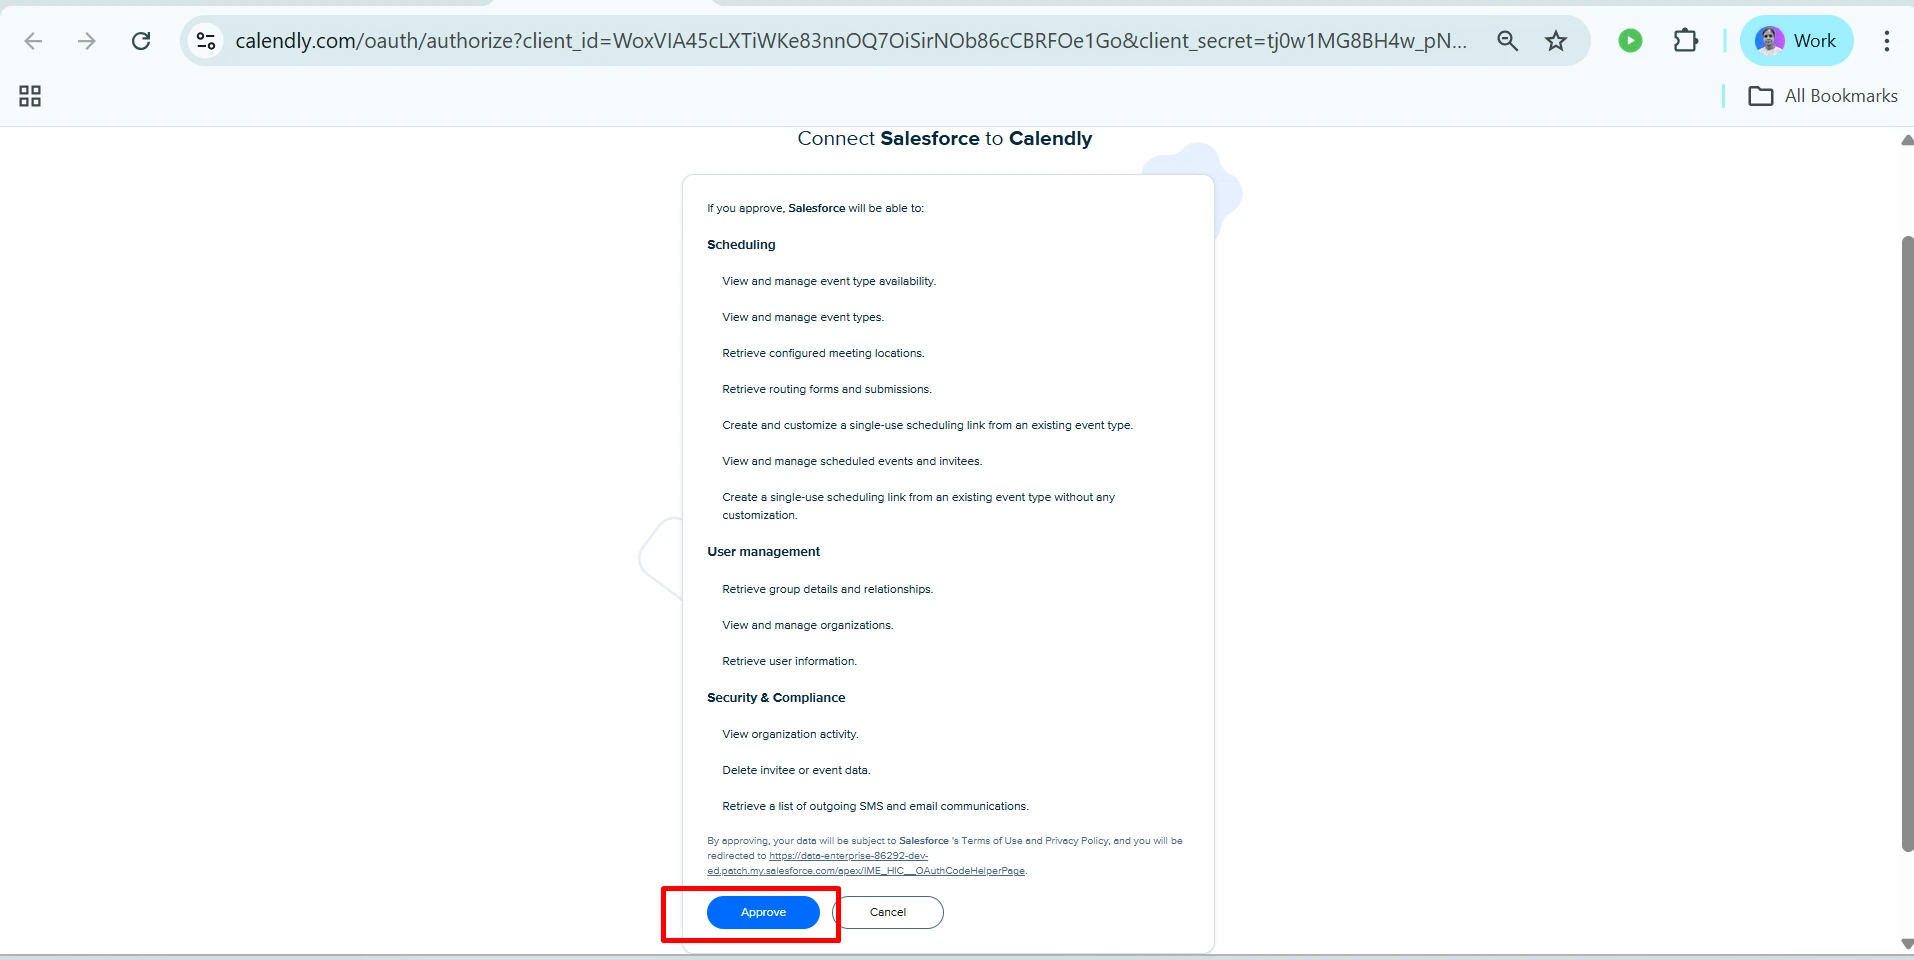
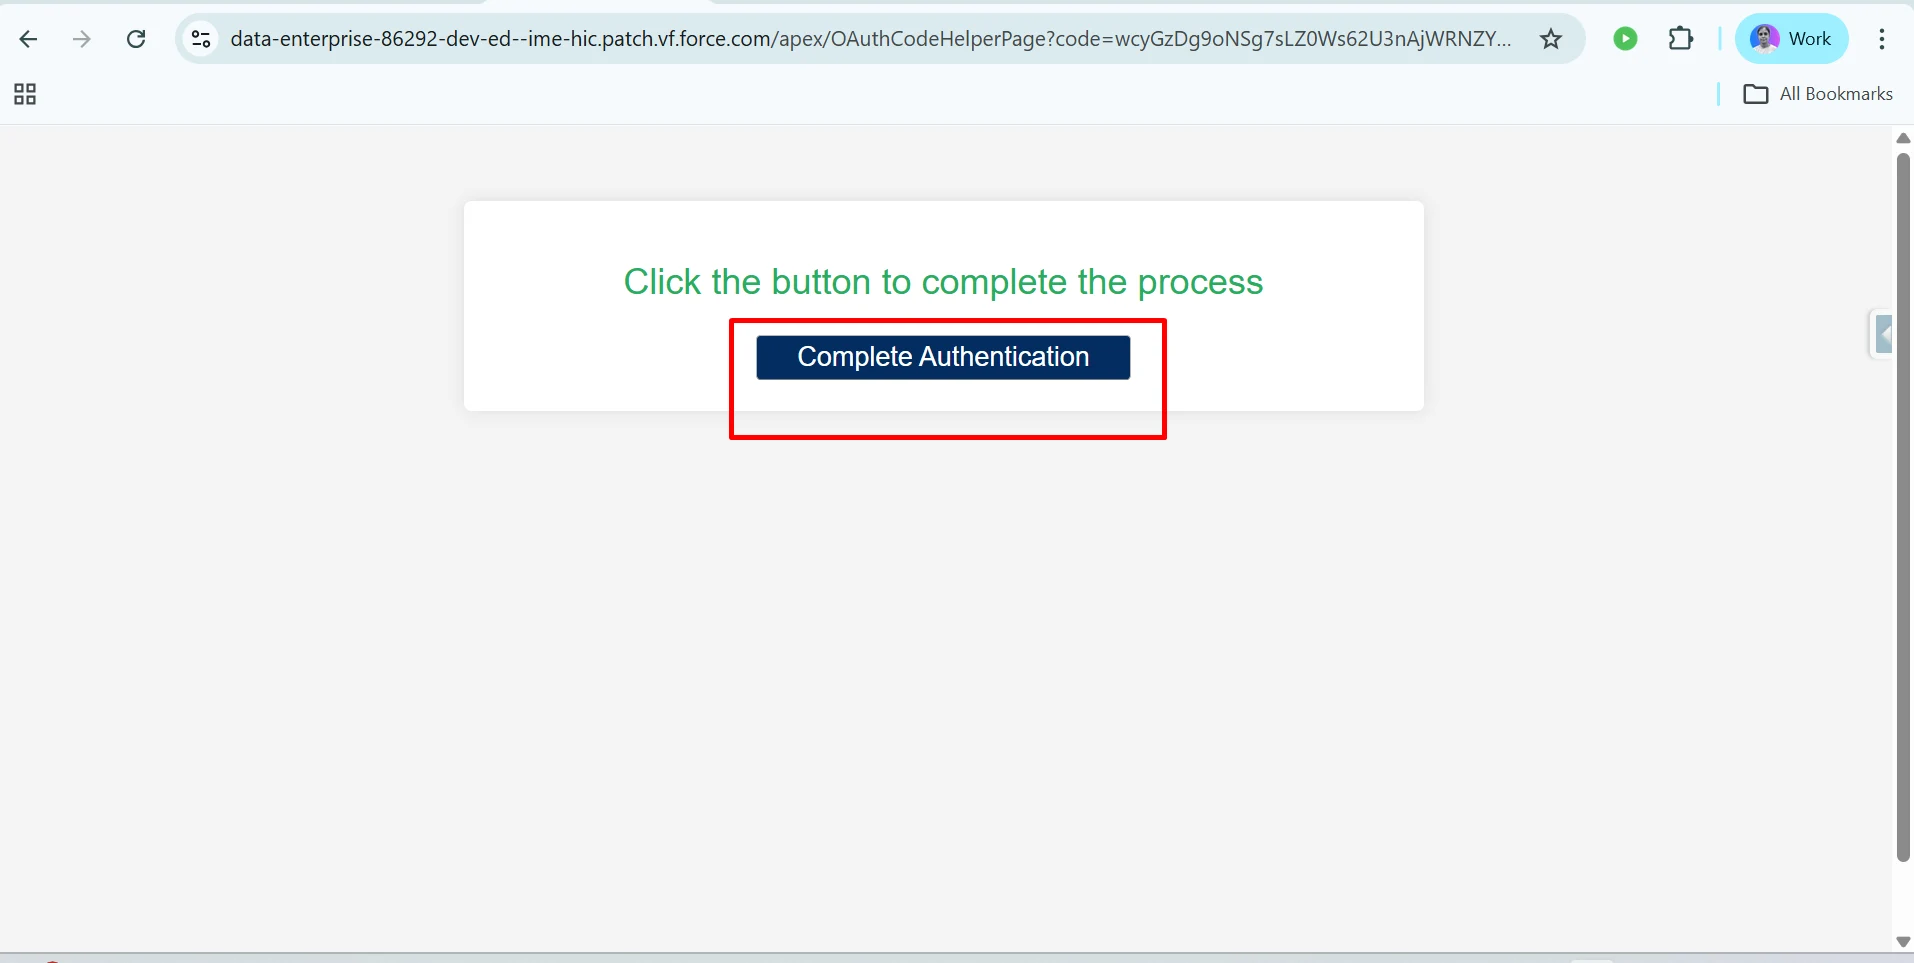
Step 7: After clicking on Save and Authentication, you will see the below dashboard. Next, click on Approve, and then Complete Authentication.
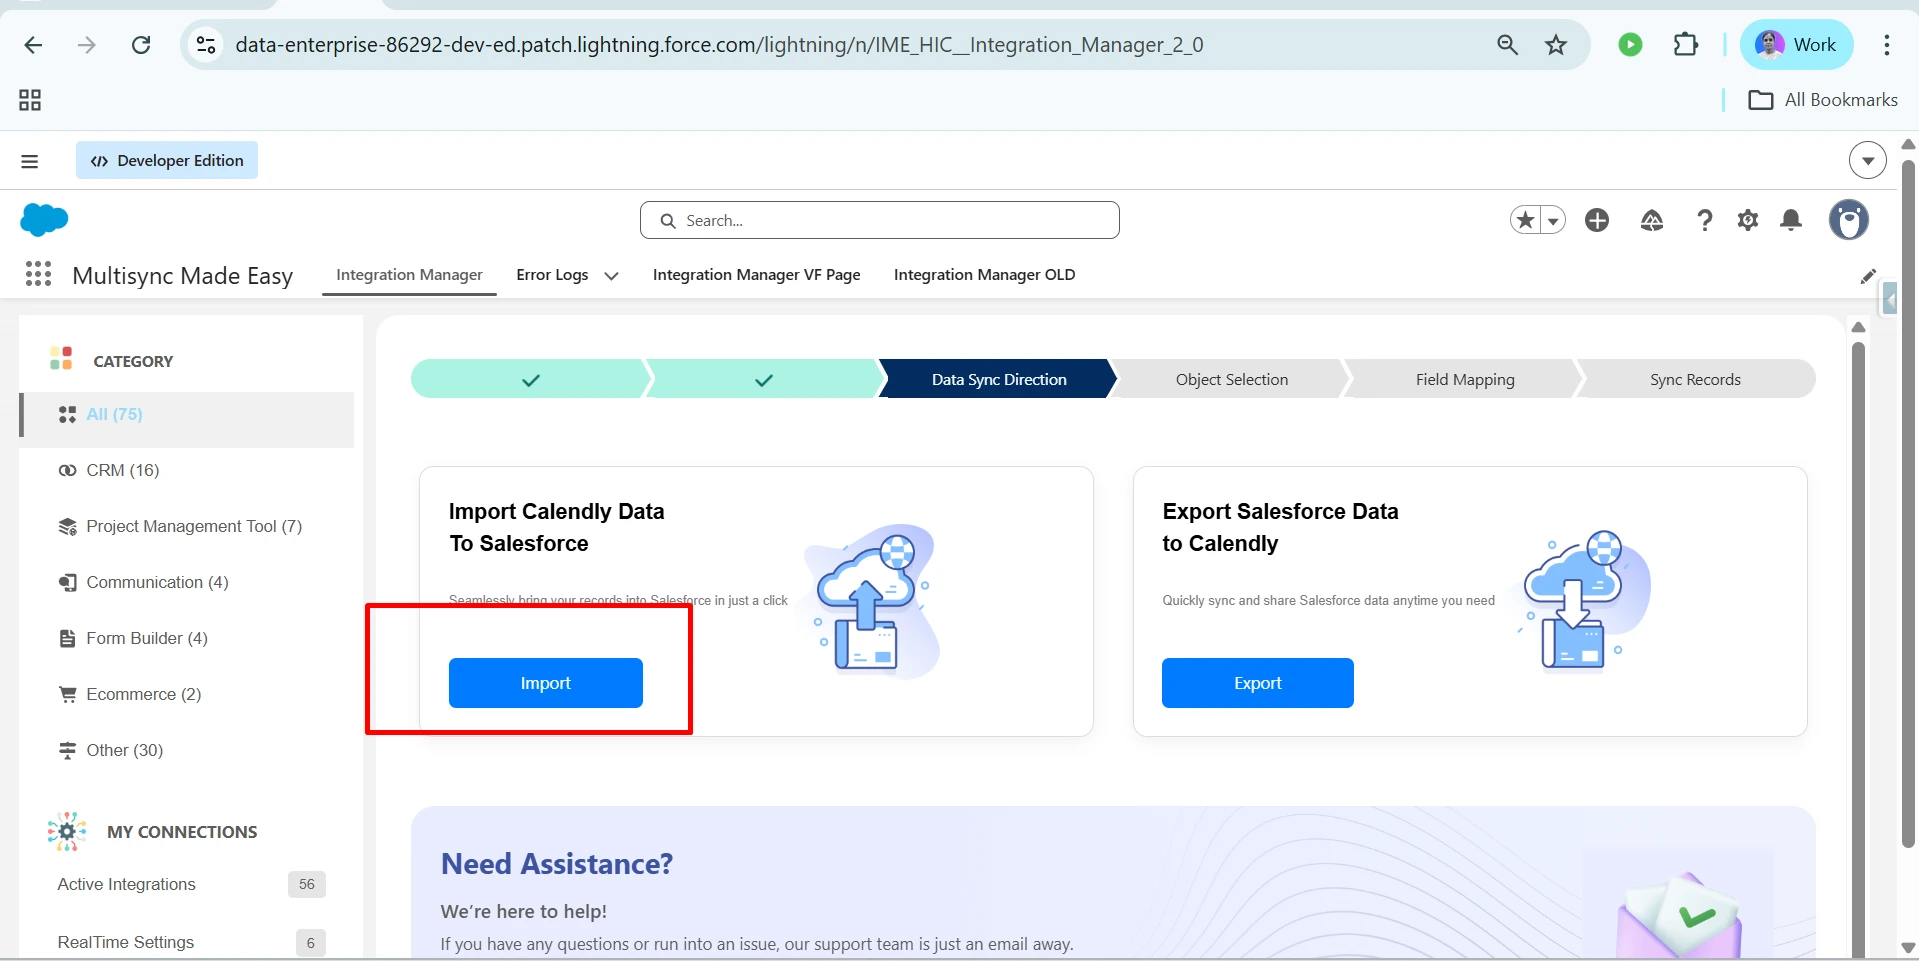
Step 8: After clicking on Complete Authentication, you will see the Data Sync Direction dashboard and click on Import.
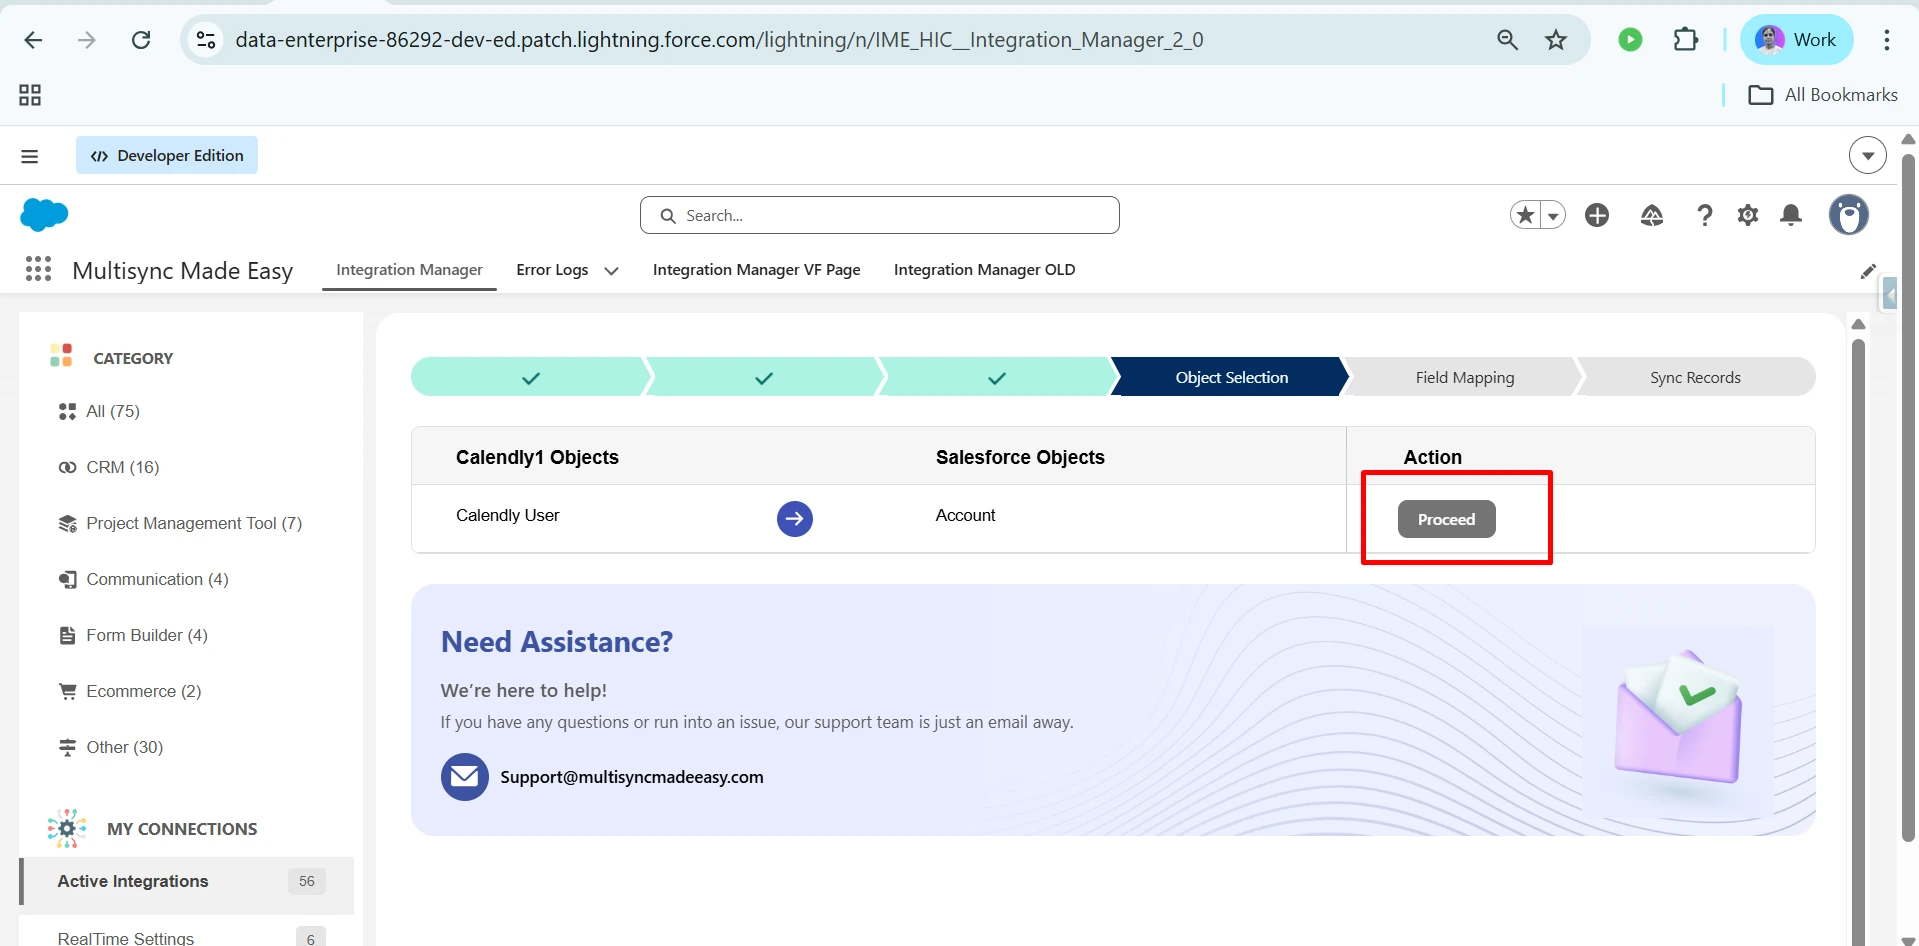
Step 9: After clicking on Import, you will see the dashboard as shown below, and then click on Proceed.
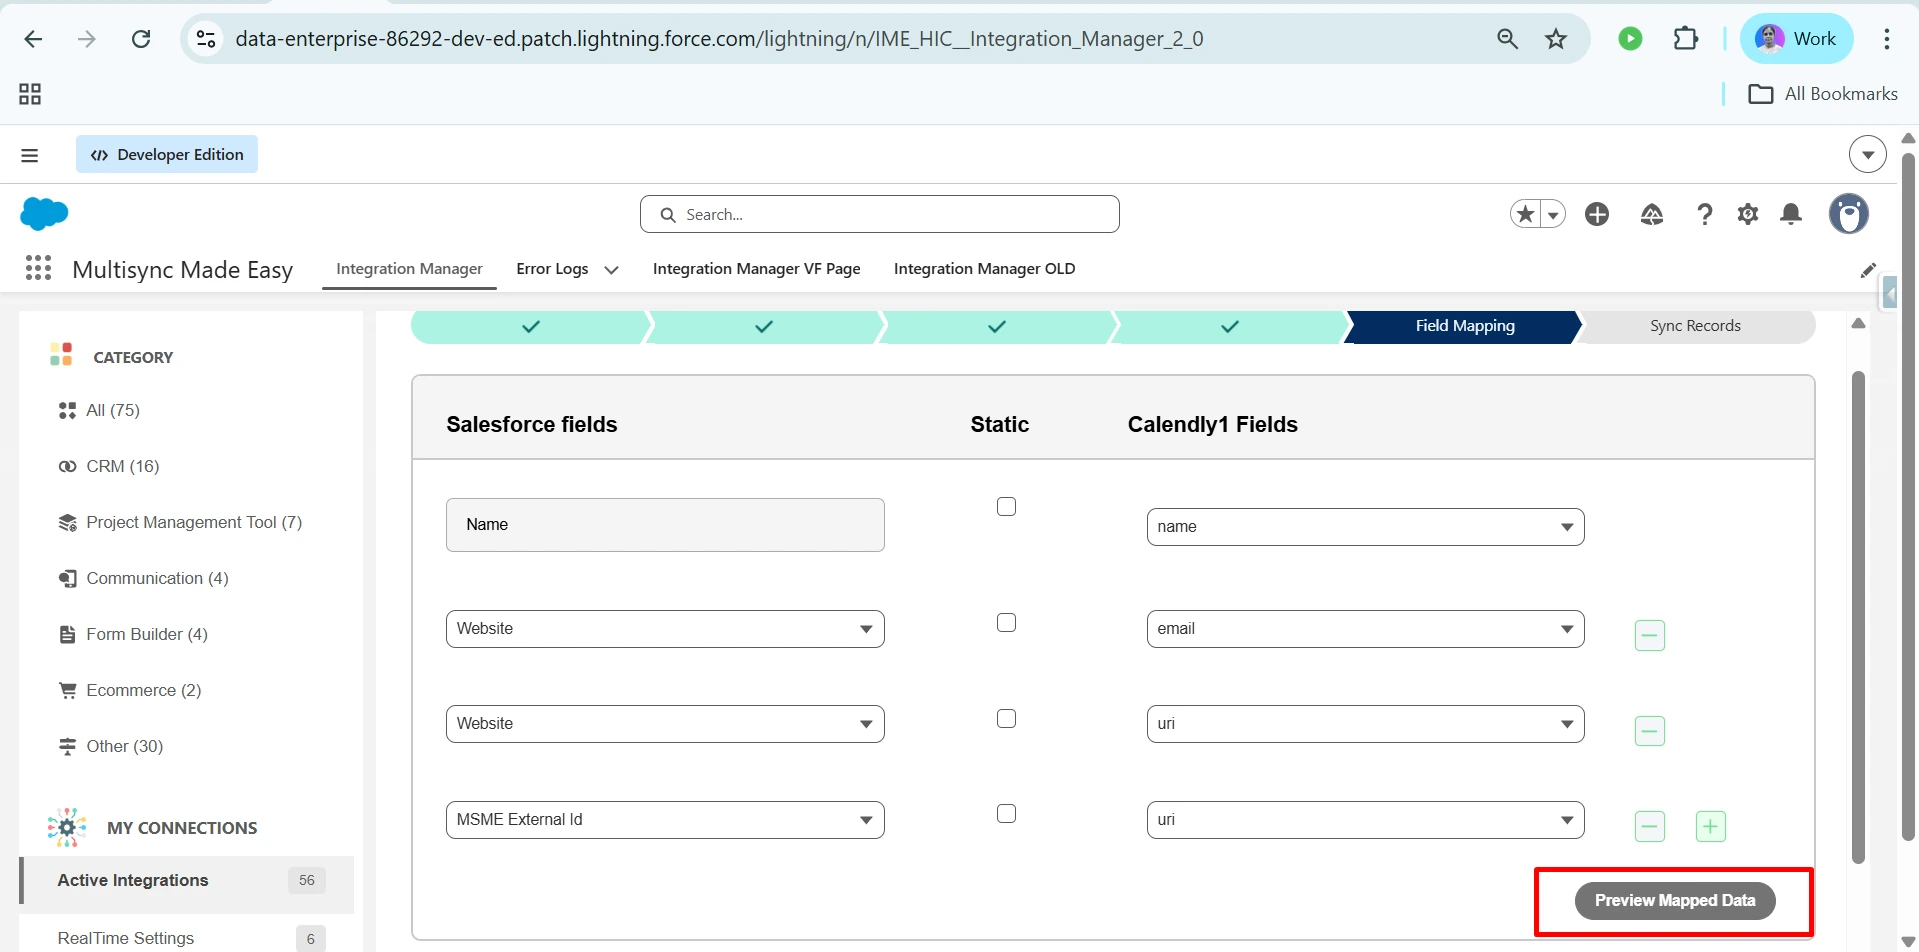
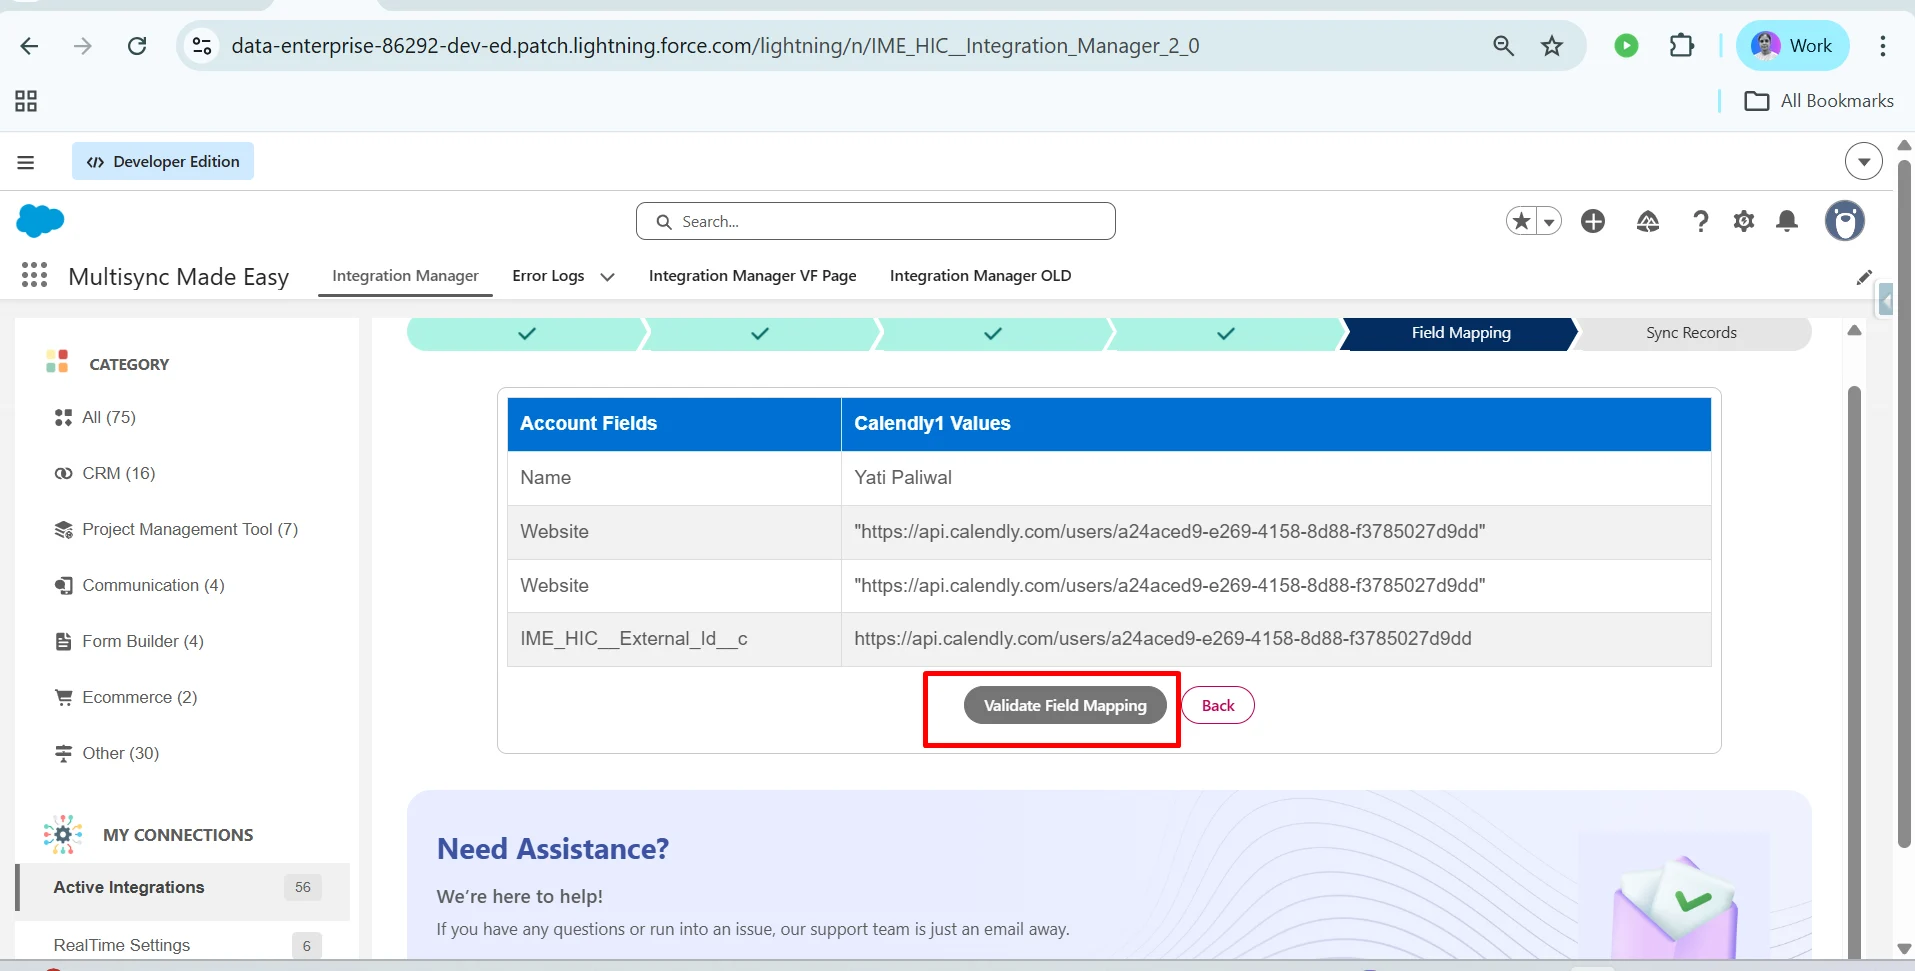
Step 10: After that, choose MSME External ID and click on Preview Mapped Data, and after that, click on Validate Field Mapping and then Save Field Mapping.
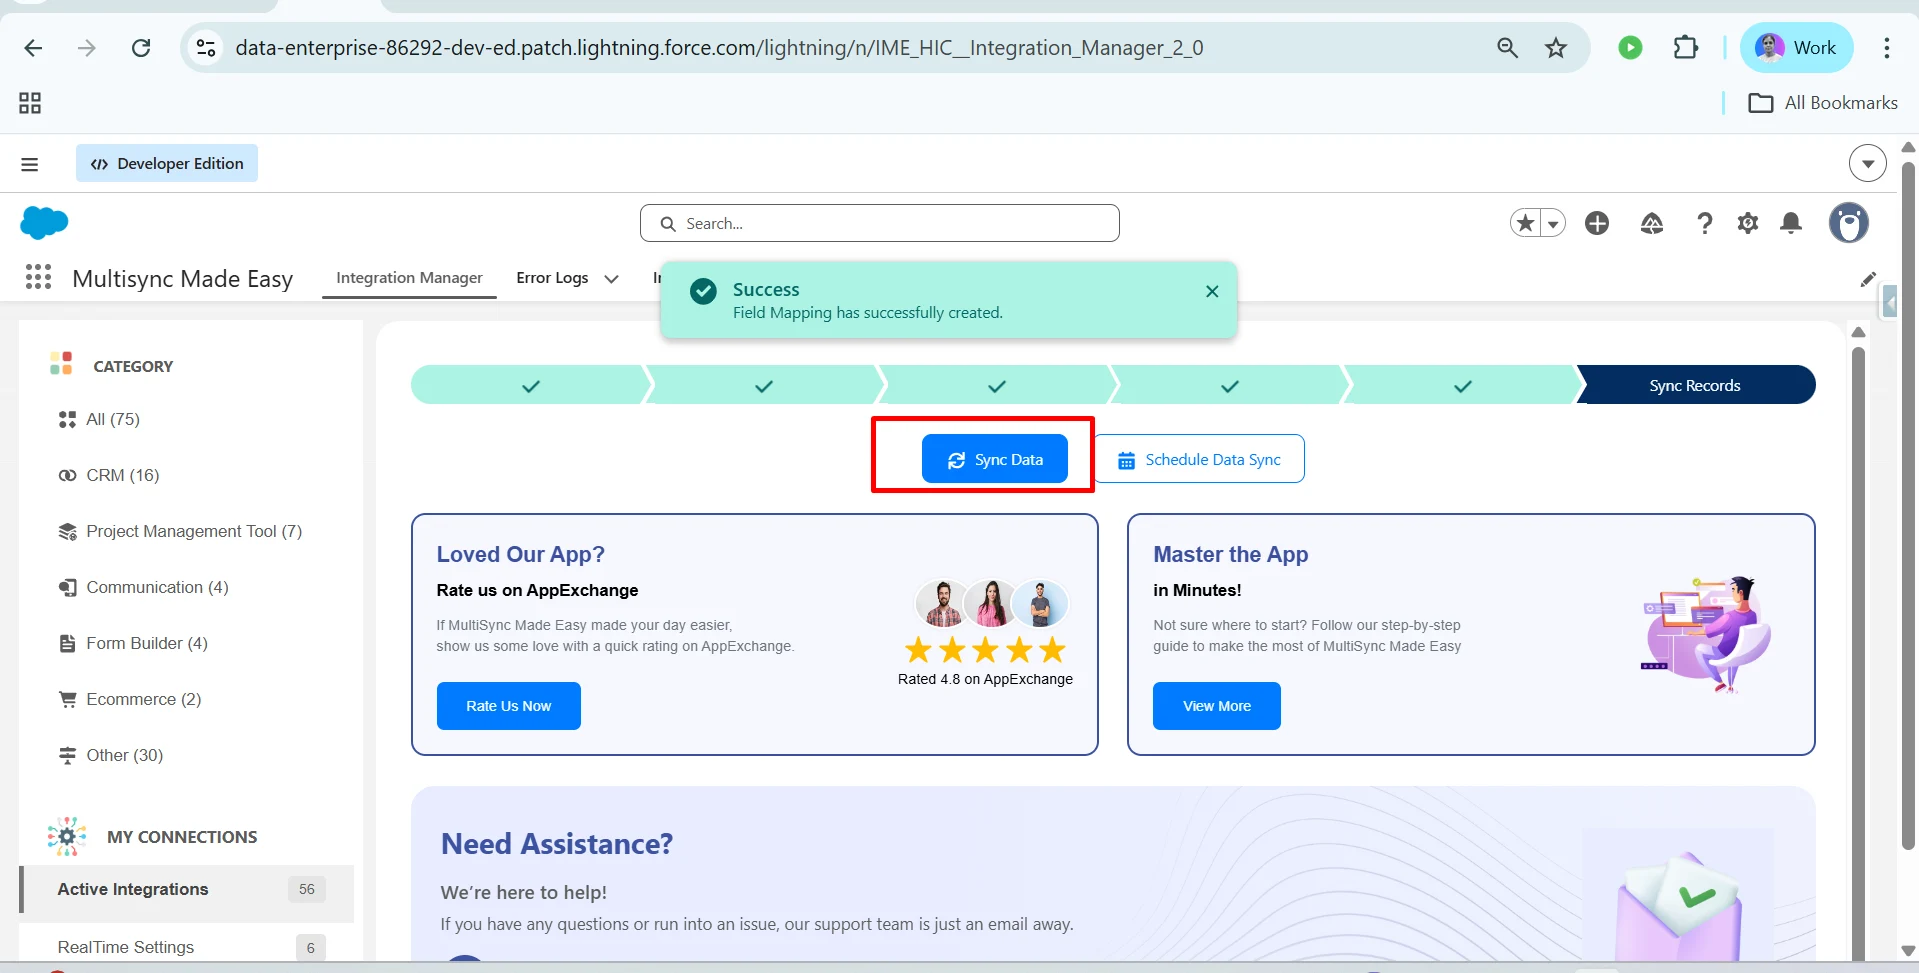
Step 11: Following that, click on Sync Data button.
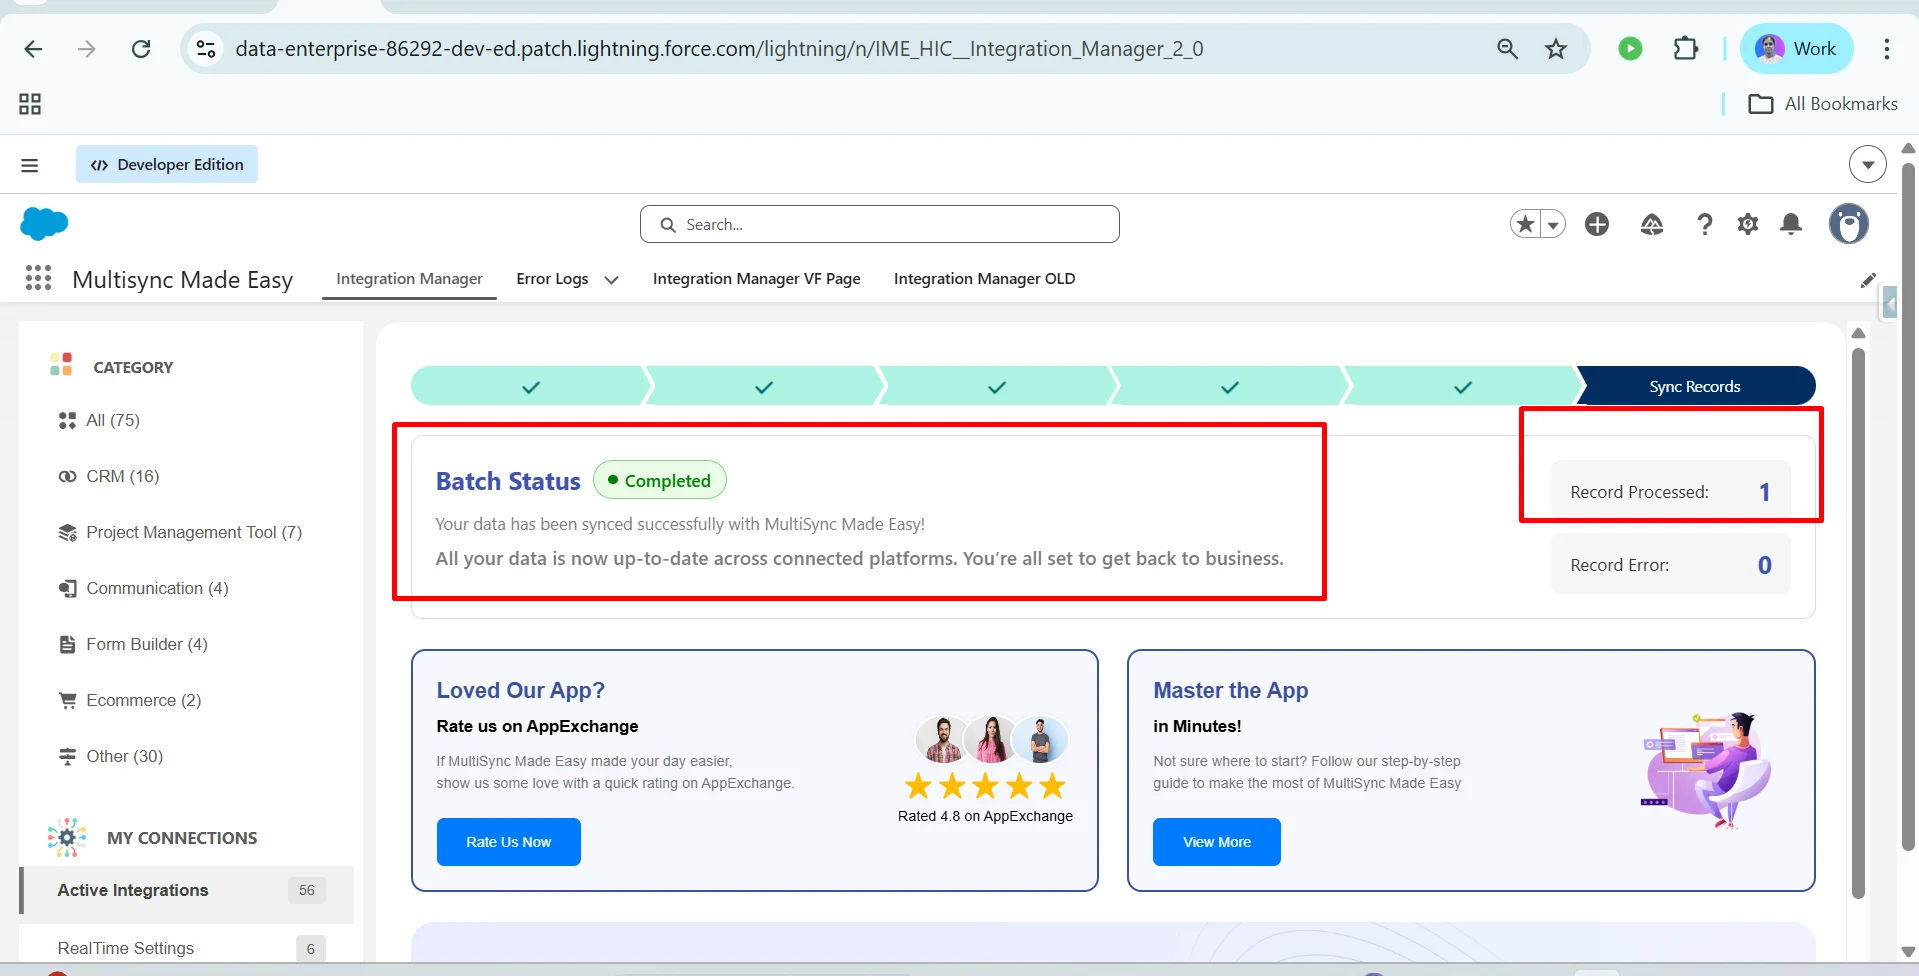
Step 12: After clicking on Sync Data, you will see that the data from Calendly has been synced with Salesforce with the help of MultiSync Made Easy. The record was created successfully, and the data has been generated.
Reference Link For API Request: https://developer.calendly.com/api-docs/
Conclusion
Successfully completing your Calendly integration allows you to automate scheduling data flow, improve data accuracy, and enhance team productivity. By using MultiSync Made Easy, businesses can integrate Calendly with Salesforce effortlessly, ensuring real-time synchronization between platforms.
As a robust Salesforce integration tool, MultiSync Made Easy simplifies complex integrations while supporting scalable automation and efficient Salesforce data migration. Whether you’re centralizing customer data or expanding your connected ecosystem, MSME helps create a unified and streamlined Salesforce experience.
If you need any further assistance, please contact the MultiSync Made Easy support team.