Managing translation data manually across platforms can take extra time and create confusion for teams. Businesses often need a simpler way to connect Crowdin with Salesforce using an advanced solution that keeps records updated automatically. If you are struggling with the process to integrate Crowdin with Salesforce, here are the step-by-step instructions to help you set it up properly with MultiSync Made Easy.
Step 1: Sign in to your Crowdin account. If you don’t have one, create a new account Here.

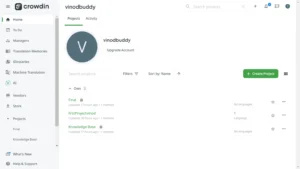
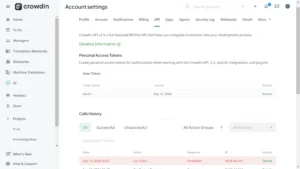
Step 2: After logging in successfully, your account dashboard will appear similar to the screen shown below.
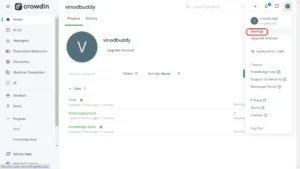
Step 3: To generate your API key, click on your profile icon then click on Settings.
Step 4: Here, click on API, then click New Token.
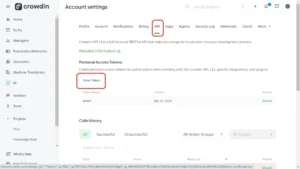
Step 5: Now, copy and securely store your generated token for future use.
Now that your Crowdin account setup is complete, let’s move forward with integrating Crowdin with MultiSync Made Easy.
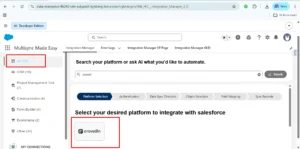
Step 6: Log in to Salesforce, go to the MultiSync Made Easy page, click on All, and search for Crowdin.
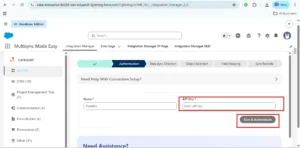
Step 7: After selecting Crowdin, enter the API key and click on Save & Authenticate.
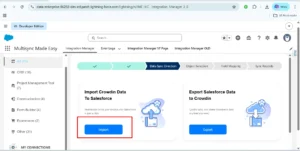
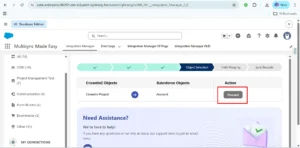
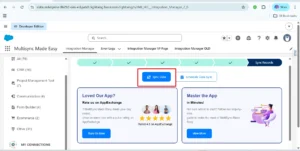
Step 8: Here, you will see the dashboard shown below. Next, click on Import.
Step 9: Then, click on Proceed.
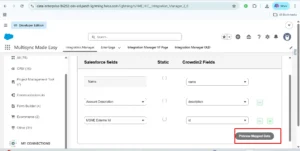
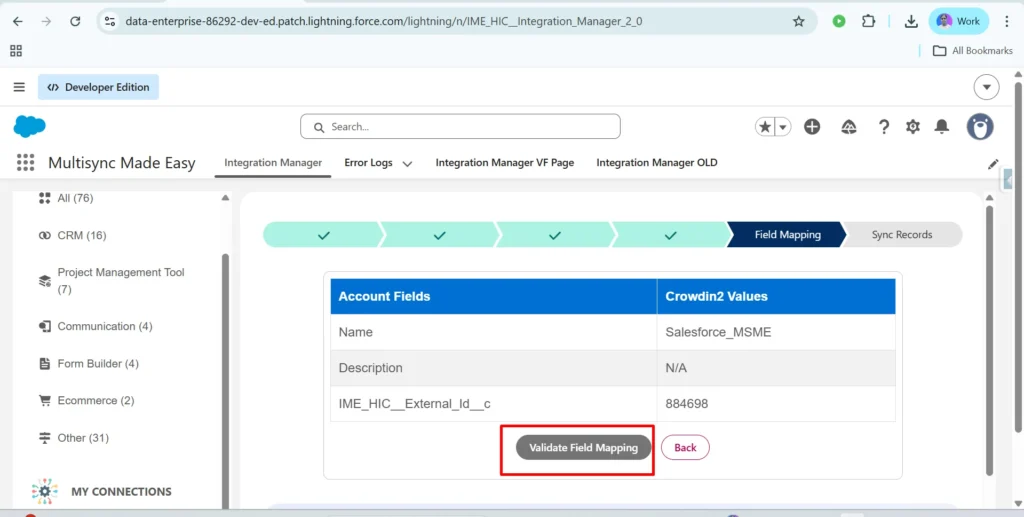
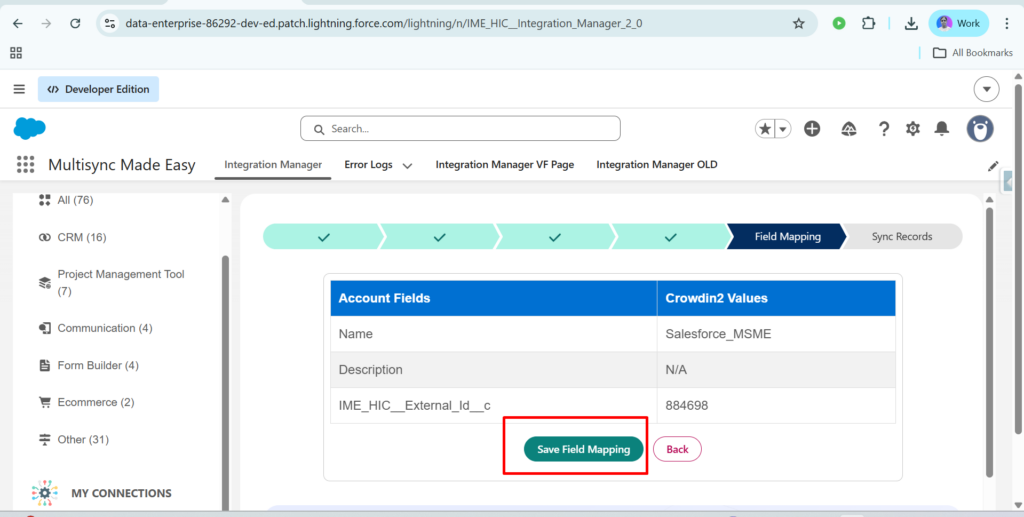
Step 10: After that, click on Preview Mapped Data, then click on Validate Field Mapping, and finally click on Save Field Mapping.
Step 11: Click on Sync Data.
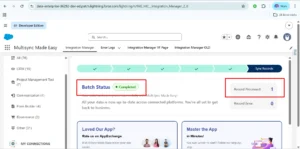
Step 12: After clicking on Sync Data, you will see the dashboard below. The data from Crowdin has been successfully synced with Salesforce, and the record has been created successfully.
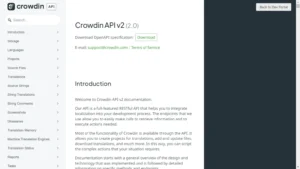
Step 13: Next, obtain the API endpoint from which you want to retrieve the required data. You can refer to the official Crowdin documentation here.
Conclusion
By following these steps, businesses can connect Salesforce and Crowdin using MultiSync Made Easy and manage synced records more efficiently. The setup helps simplify data transfer, reduce manual work, and keep information updated across both platforms. If you need additional help while configuring the integration or syncing records, you can contact the Support Team for assistance.