Managing sales data across multiple platforms can slow teams down and create visibility gaps. An effective Agendor Salesforce integration solves this by bringing your Agendor sales activities and Salesforce CRM data into one connected workflow. With a no-code Salesforce integration tool like MultiSync Made Easy, you can integrate Agendor Salesforce quickly without APIs, custom scripts, or technical complexity.
Acting as a native ETL tool inside your Salesforce CRM tool, MultiSync Made Easy helps you sync records, map fields, and automate workflows using a secure Salesforce connector app.
In this step-by-step guide, you’ll learn how to integrate Agendor with Salesforce and build reliable Salesforce workflow automation that keeps your sales data accurate, aligned, and always up to date.
Step 1: First, head over to the Salesforce AppExchange and search for MultiSync Made Easy. Click “Get It Now” and follow the steps to install the app into your Salesforce org.
After installation, open the App Launcher (that grid icon in the top left) and search for “MultiSync Made Easy” to access the app.

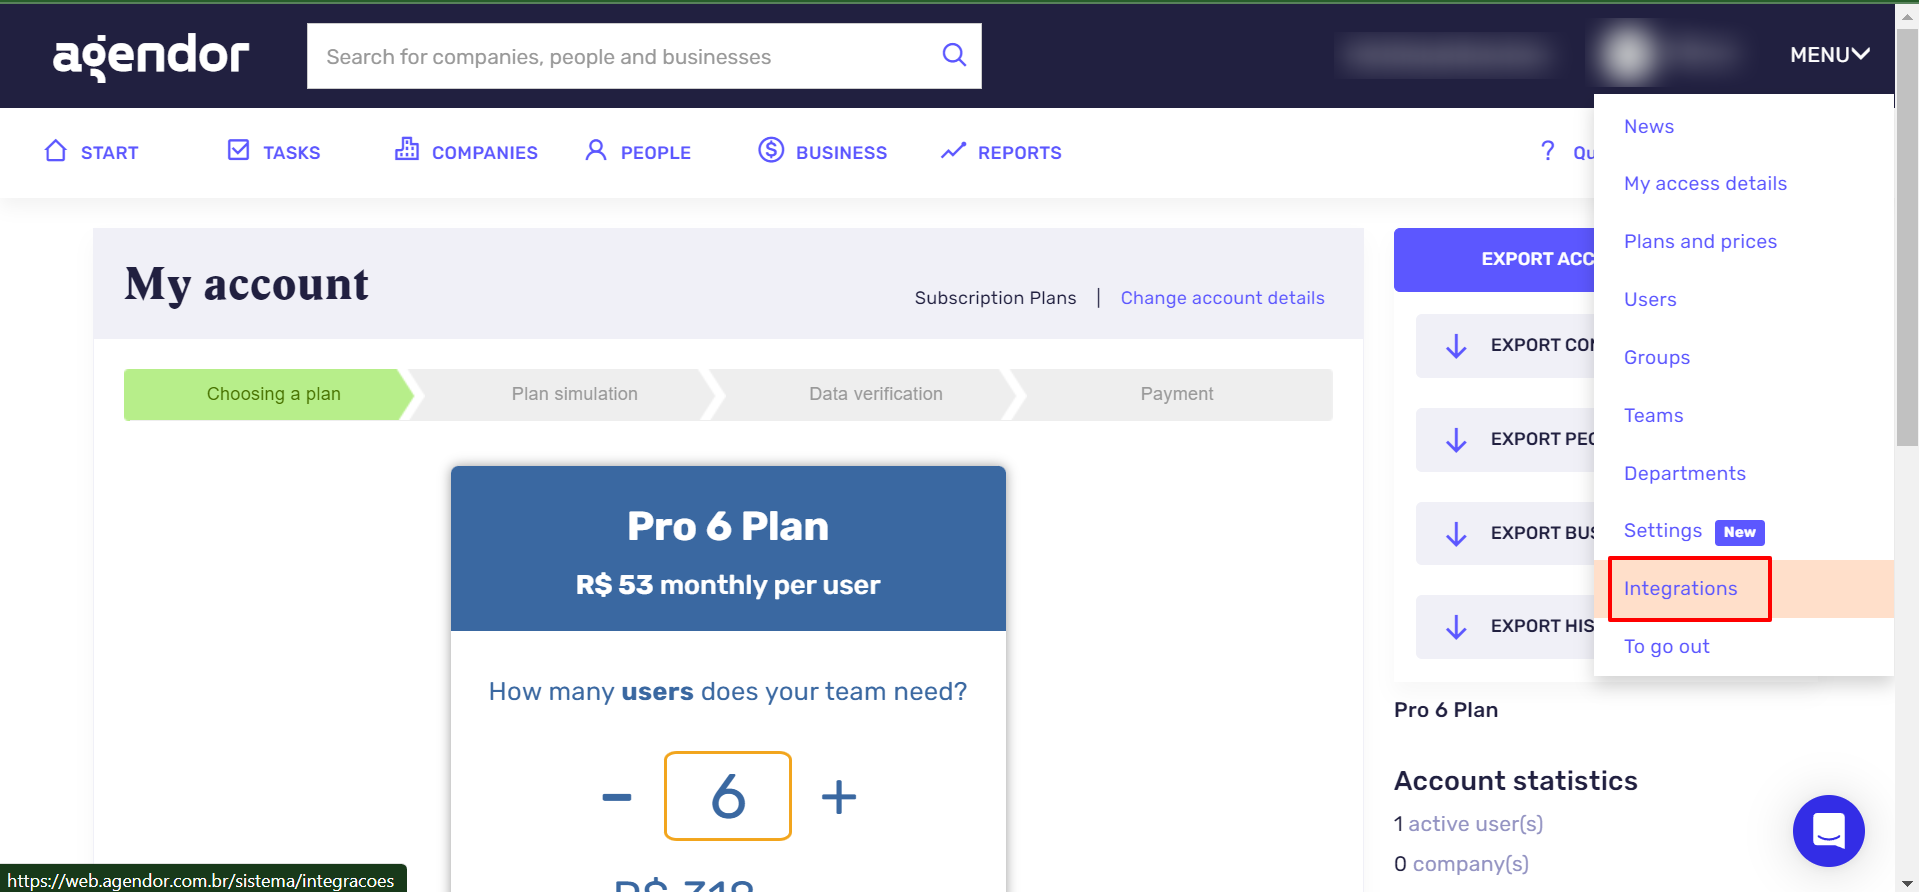
Step 2: After logging in to the Agendor account, click on the Menu button in the top-right corner, then select Integrations.
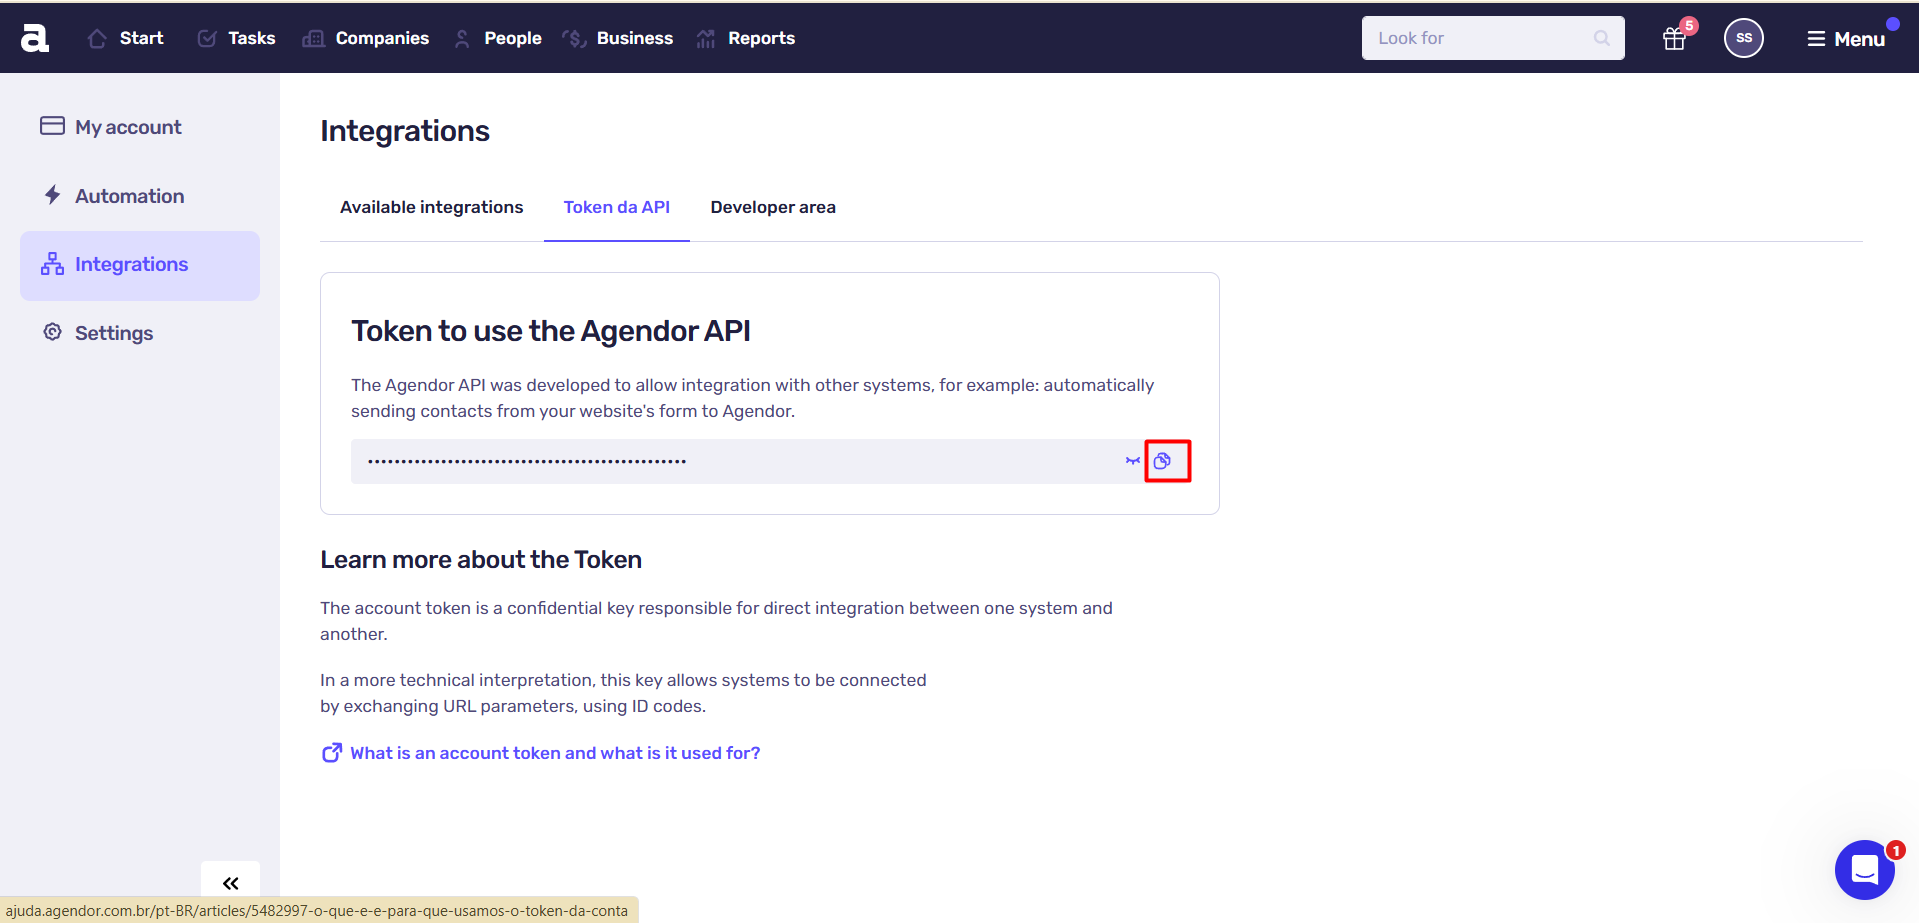
Step 3: After navigating to the Integrations section, click on the ‘Token da API’ tab. Agendor API Key will be displayed on this screen. Copy the “API Key” displayed on this screen.
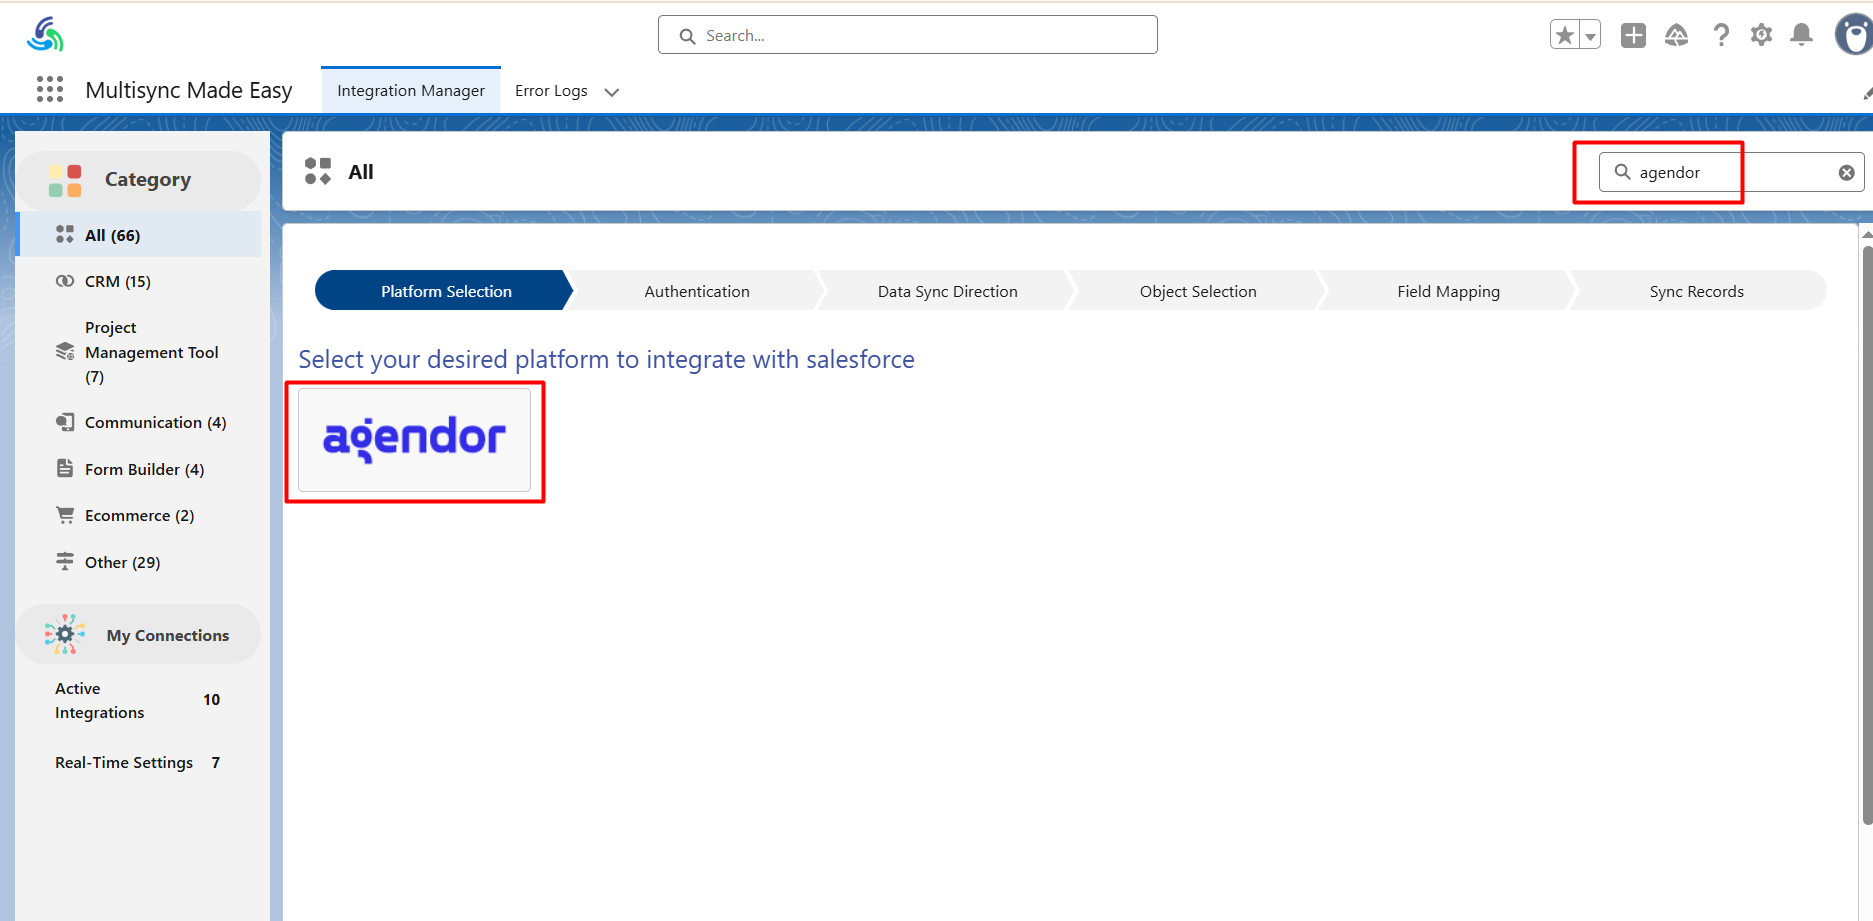
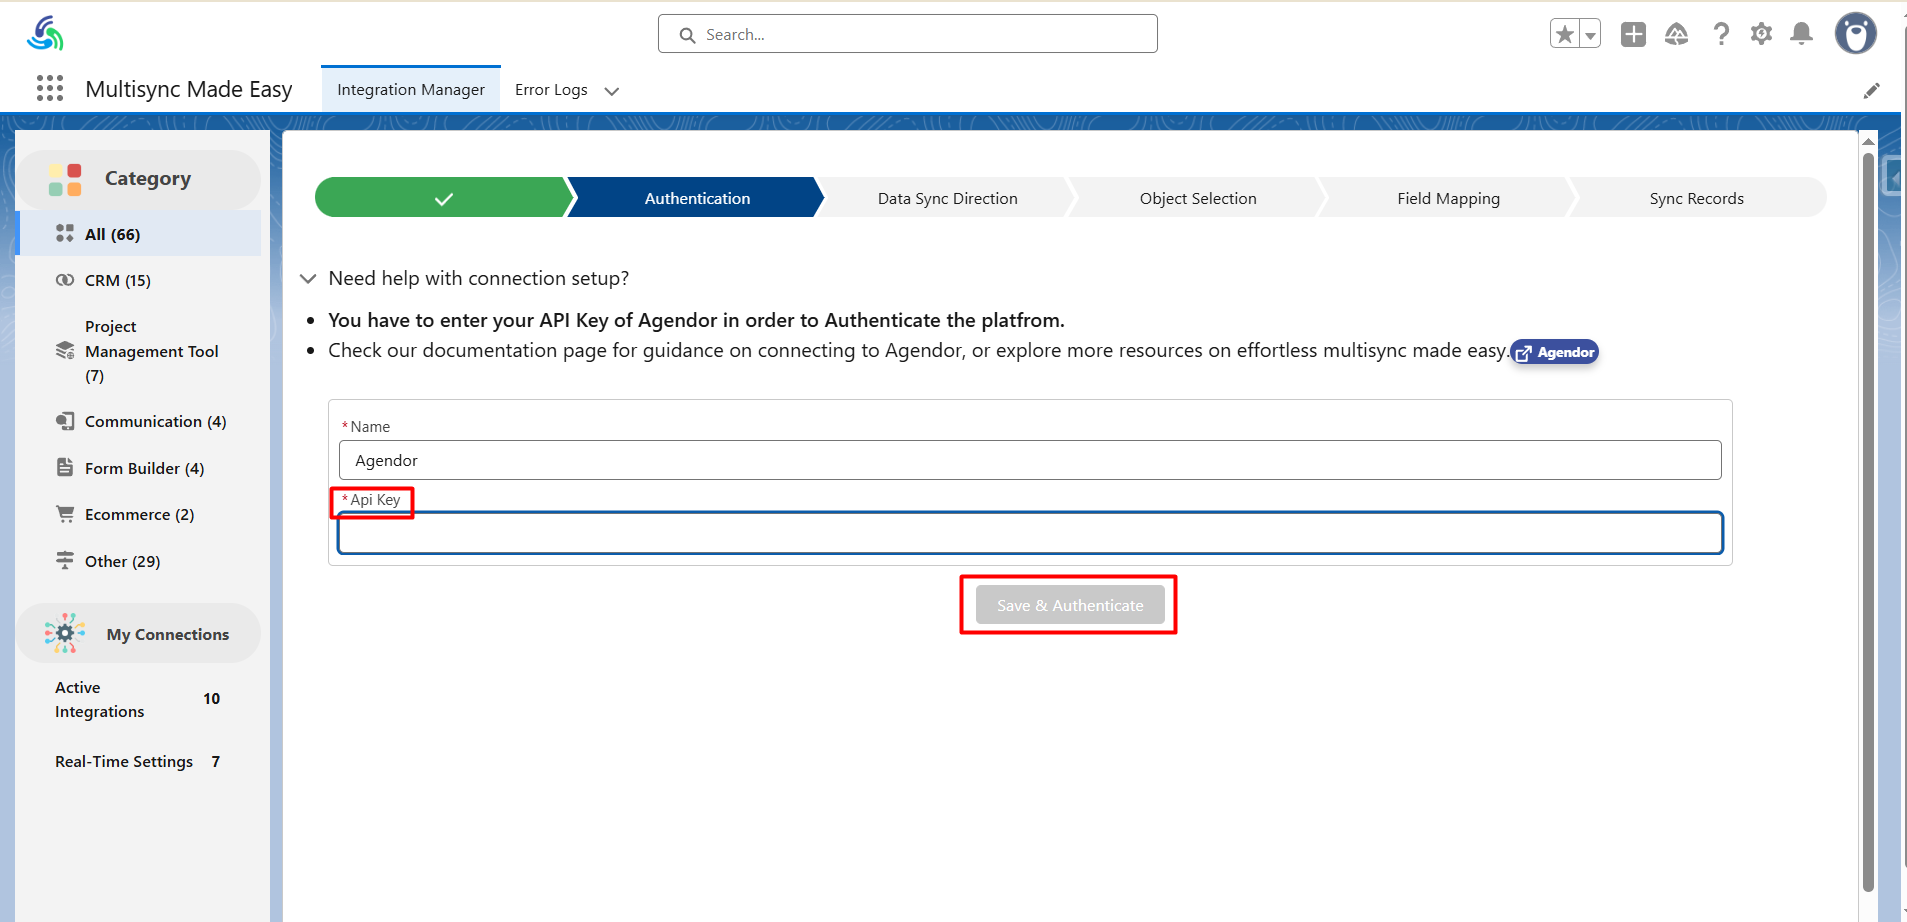
Now, go to the MultiSync Made Easy home page in Salesforce and search for the Agendor platform.
Step 4: Name your integration and paste the copied API key, and then click on the “Save & Authenticate” button.
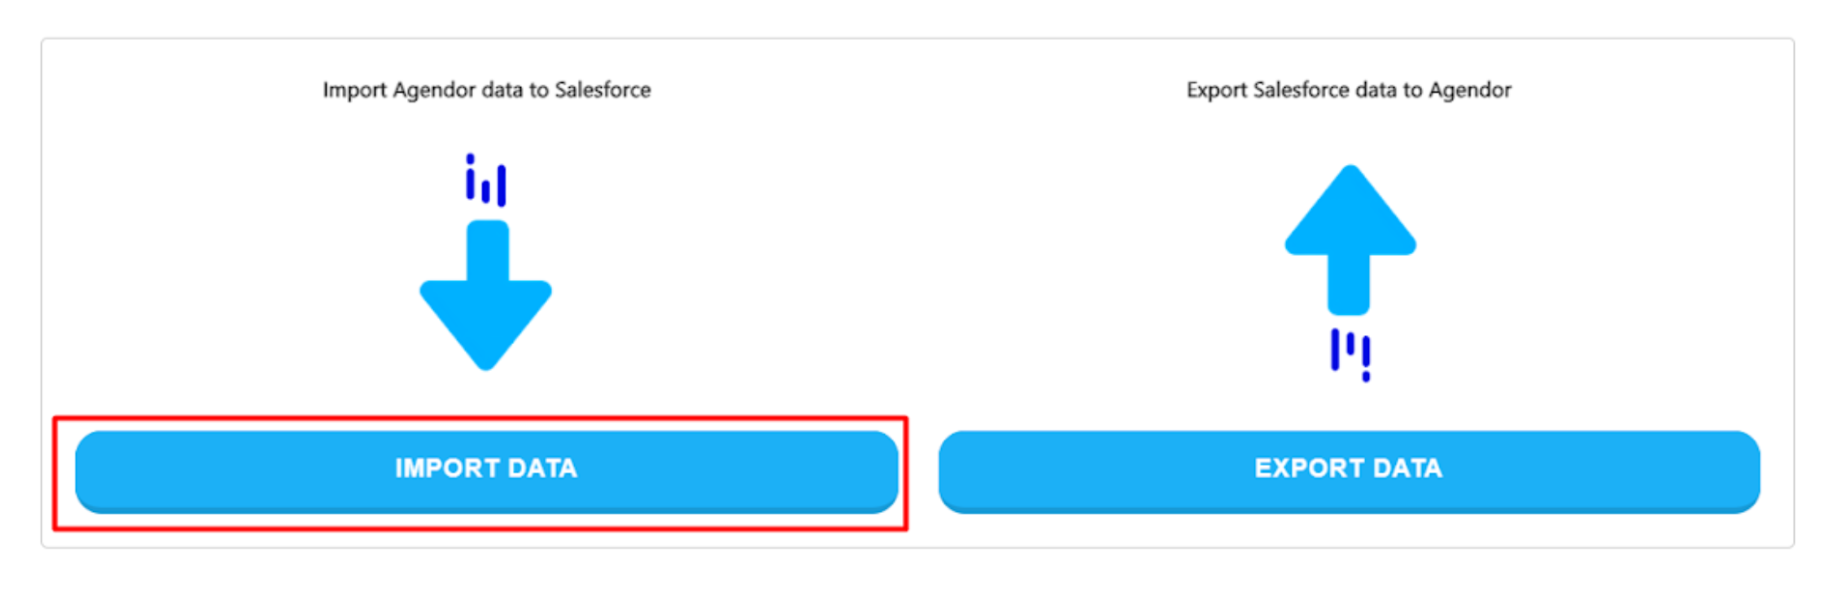
Step 5: Next, map Salesforce Objects with Agendor, and select whether you would like to import or export data.
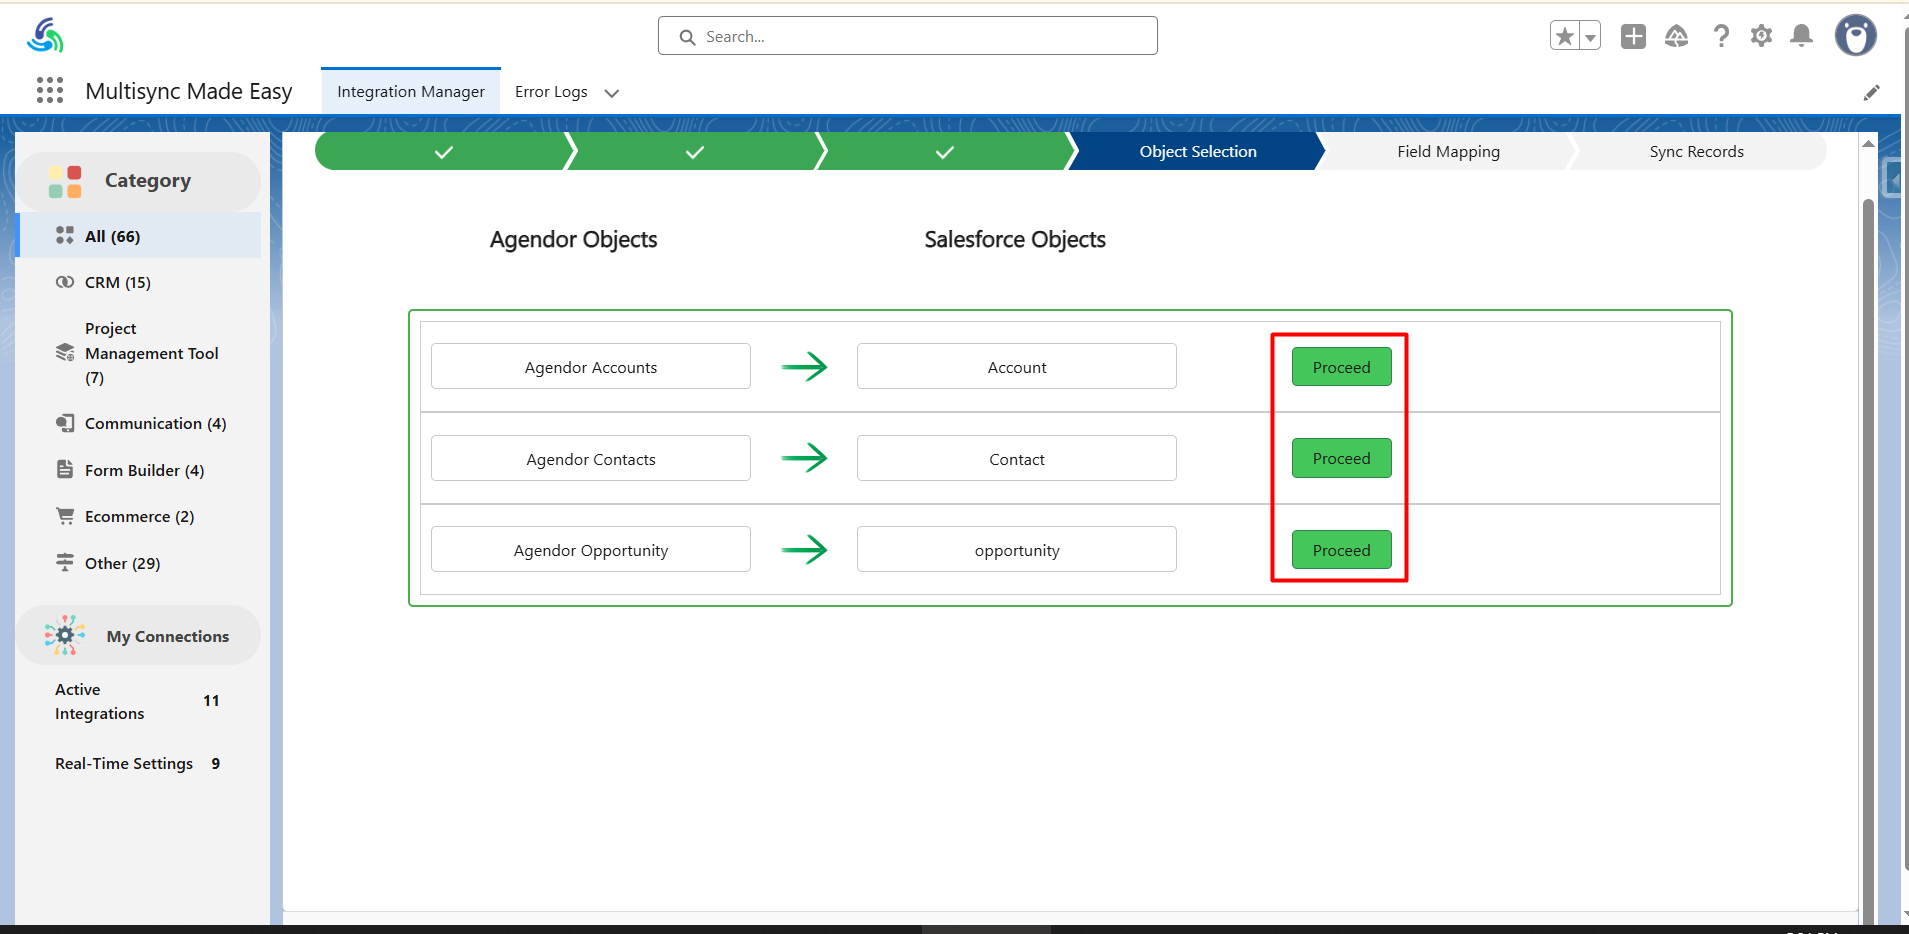
Step 6: After that, select the ‘proceed’ button for the object you want to import data into.
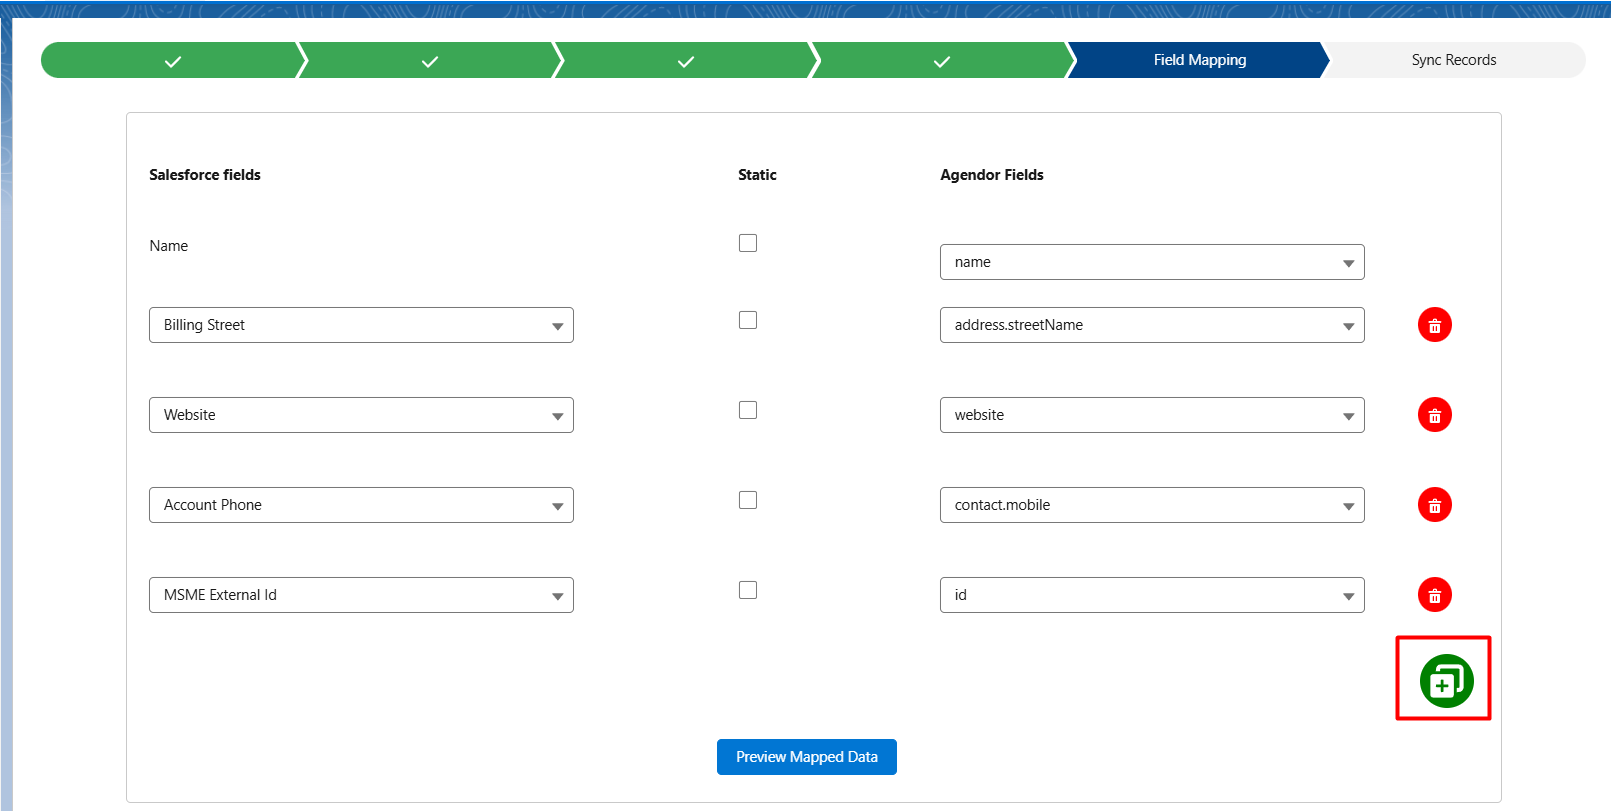
Step 7: You can change the field mapping or proceed with the default one.
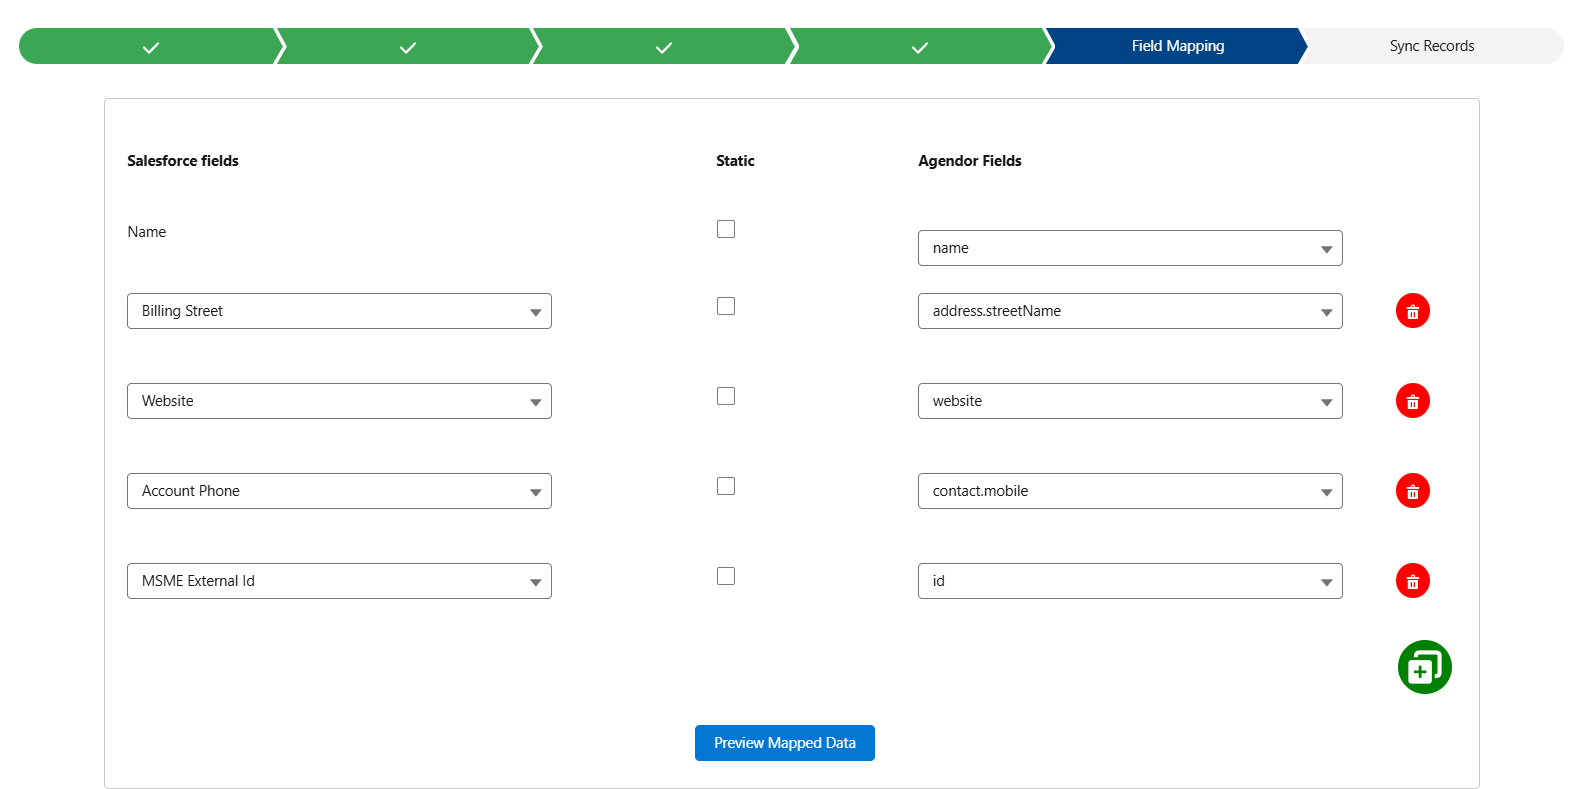
Step 8: If you want to create a custom field mapping, you need to click the “Add” button present at the right corner.
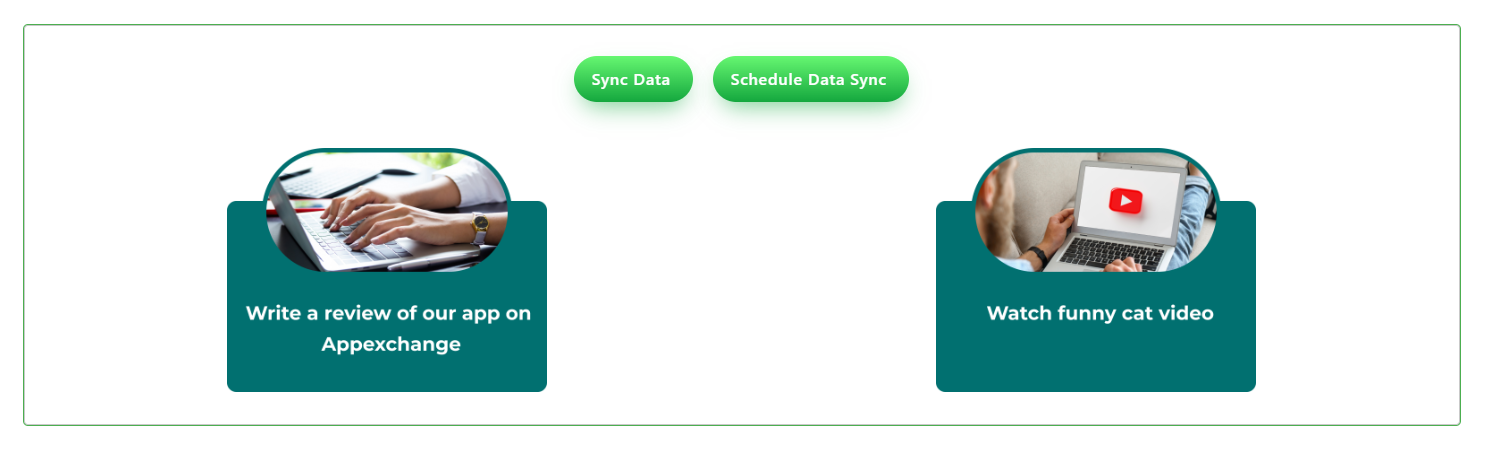
Step 9: Now, you can effectively sync data. You can schedule the data sync for a specific time or can sync it instantly.
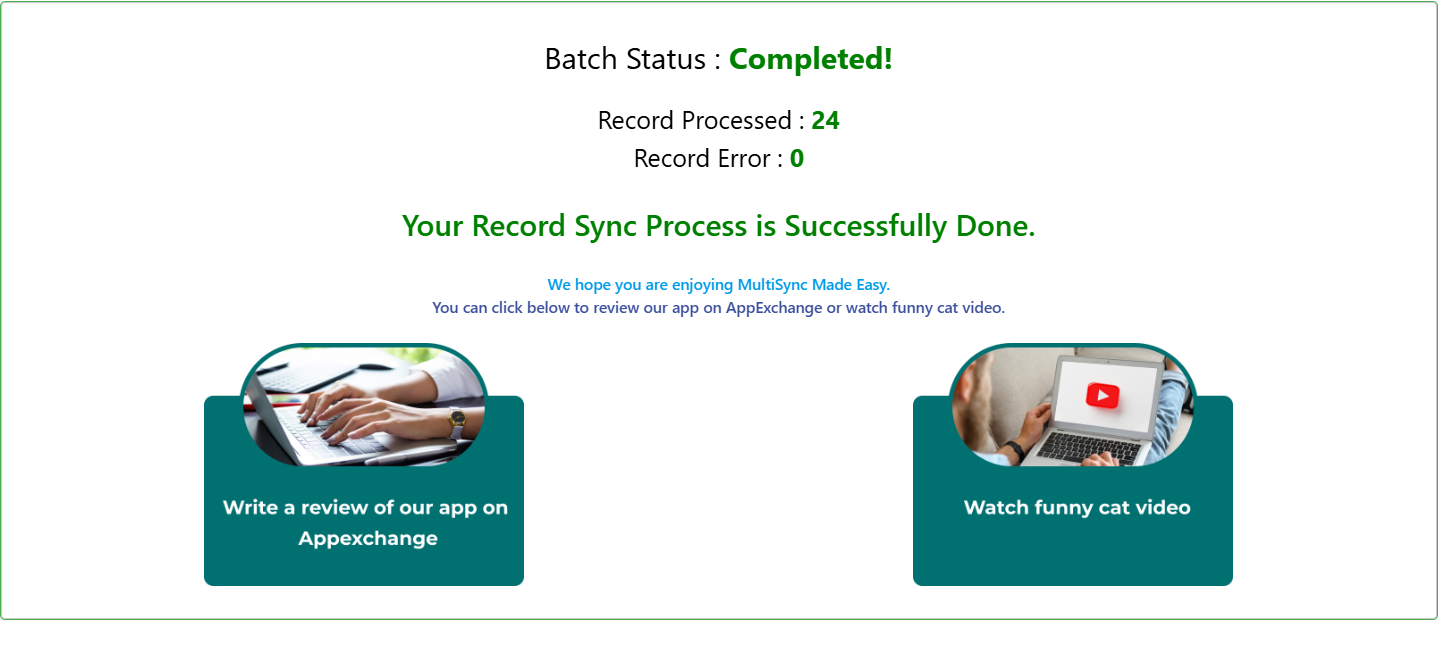
Step 10: Next, all the data with the selected object is imported and synced with Salesforce, and you can monitor it with real-time progress.
Setting up an Agendor Salesforce integration doesn’t need to be complex or developer-dependent. With a no-code Salesforce connector app like MultiSync Made Easy, you can integrate Agendor with Salesforce, sync data seamlessly, and maintain consistent records across both platforms.
From object mapping to scheduled or real-time syncing, MultiSync functions as a native ETL tool within your Salesforce CRM tool, ensuring smooth data flow without manual effort.
By automating data movement and enabling Salesforce workflow automation, teams gain better visibility, improved efficiency, and a unified sales ecosystem that supports faster decision-making and scalable growth.
Step ahead with our robust and intelligent app that instantly integrates multiple platforms — even the unknown ones!